Automating Dependency Updates
Last modified on July 1, 2025 • 7 min read • 1,372 words
Introduction
The Hinode template uses both Hugo modules and npm packages. In this guide we will use GitHub actions to upgrade both types of dependencies automatically, ensuring our repository is always up to date. However, before we enable these automation steps, we will set up branch protection first. This guide assumes you have successfully setup a site based on the Hinode template. See the guide on How to Create a Site With Hinode for more information.
Note
This guide uses branch protection. You will require a paid plan if you have a private repository. See GitHub’s Plans for more details.
Step 1 - Testing the Branch for the First Time
The
Hinode Template
includes a GitHub action, or workflow, to automatically test and build the main branch upon each change. You can find the full configuration in .github/workflows/lint-build.yml. The workflow references two npm commands, being test and build. By default, Hinode tests content files (extension .md), scripts (extension .js), and styles (extension .scss). The Hinode docs provide more background about the
Coding Guidelines.
The same package.json file also defines a build command, which is just a call to the embedded hugo binary. The GitHub action lint-build.yml calls both the lint and build commands and is invoked on each push to the main repository, or a PR against the same branch. It also includes a workflow_dispatch trigger that enables us to run the workflow manually.
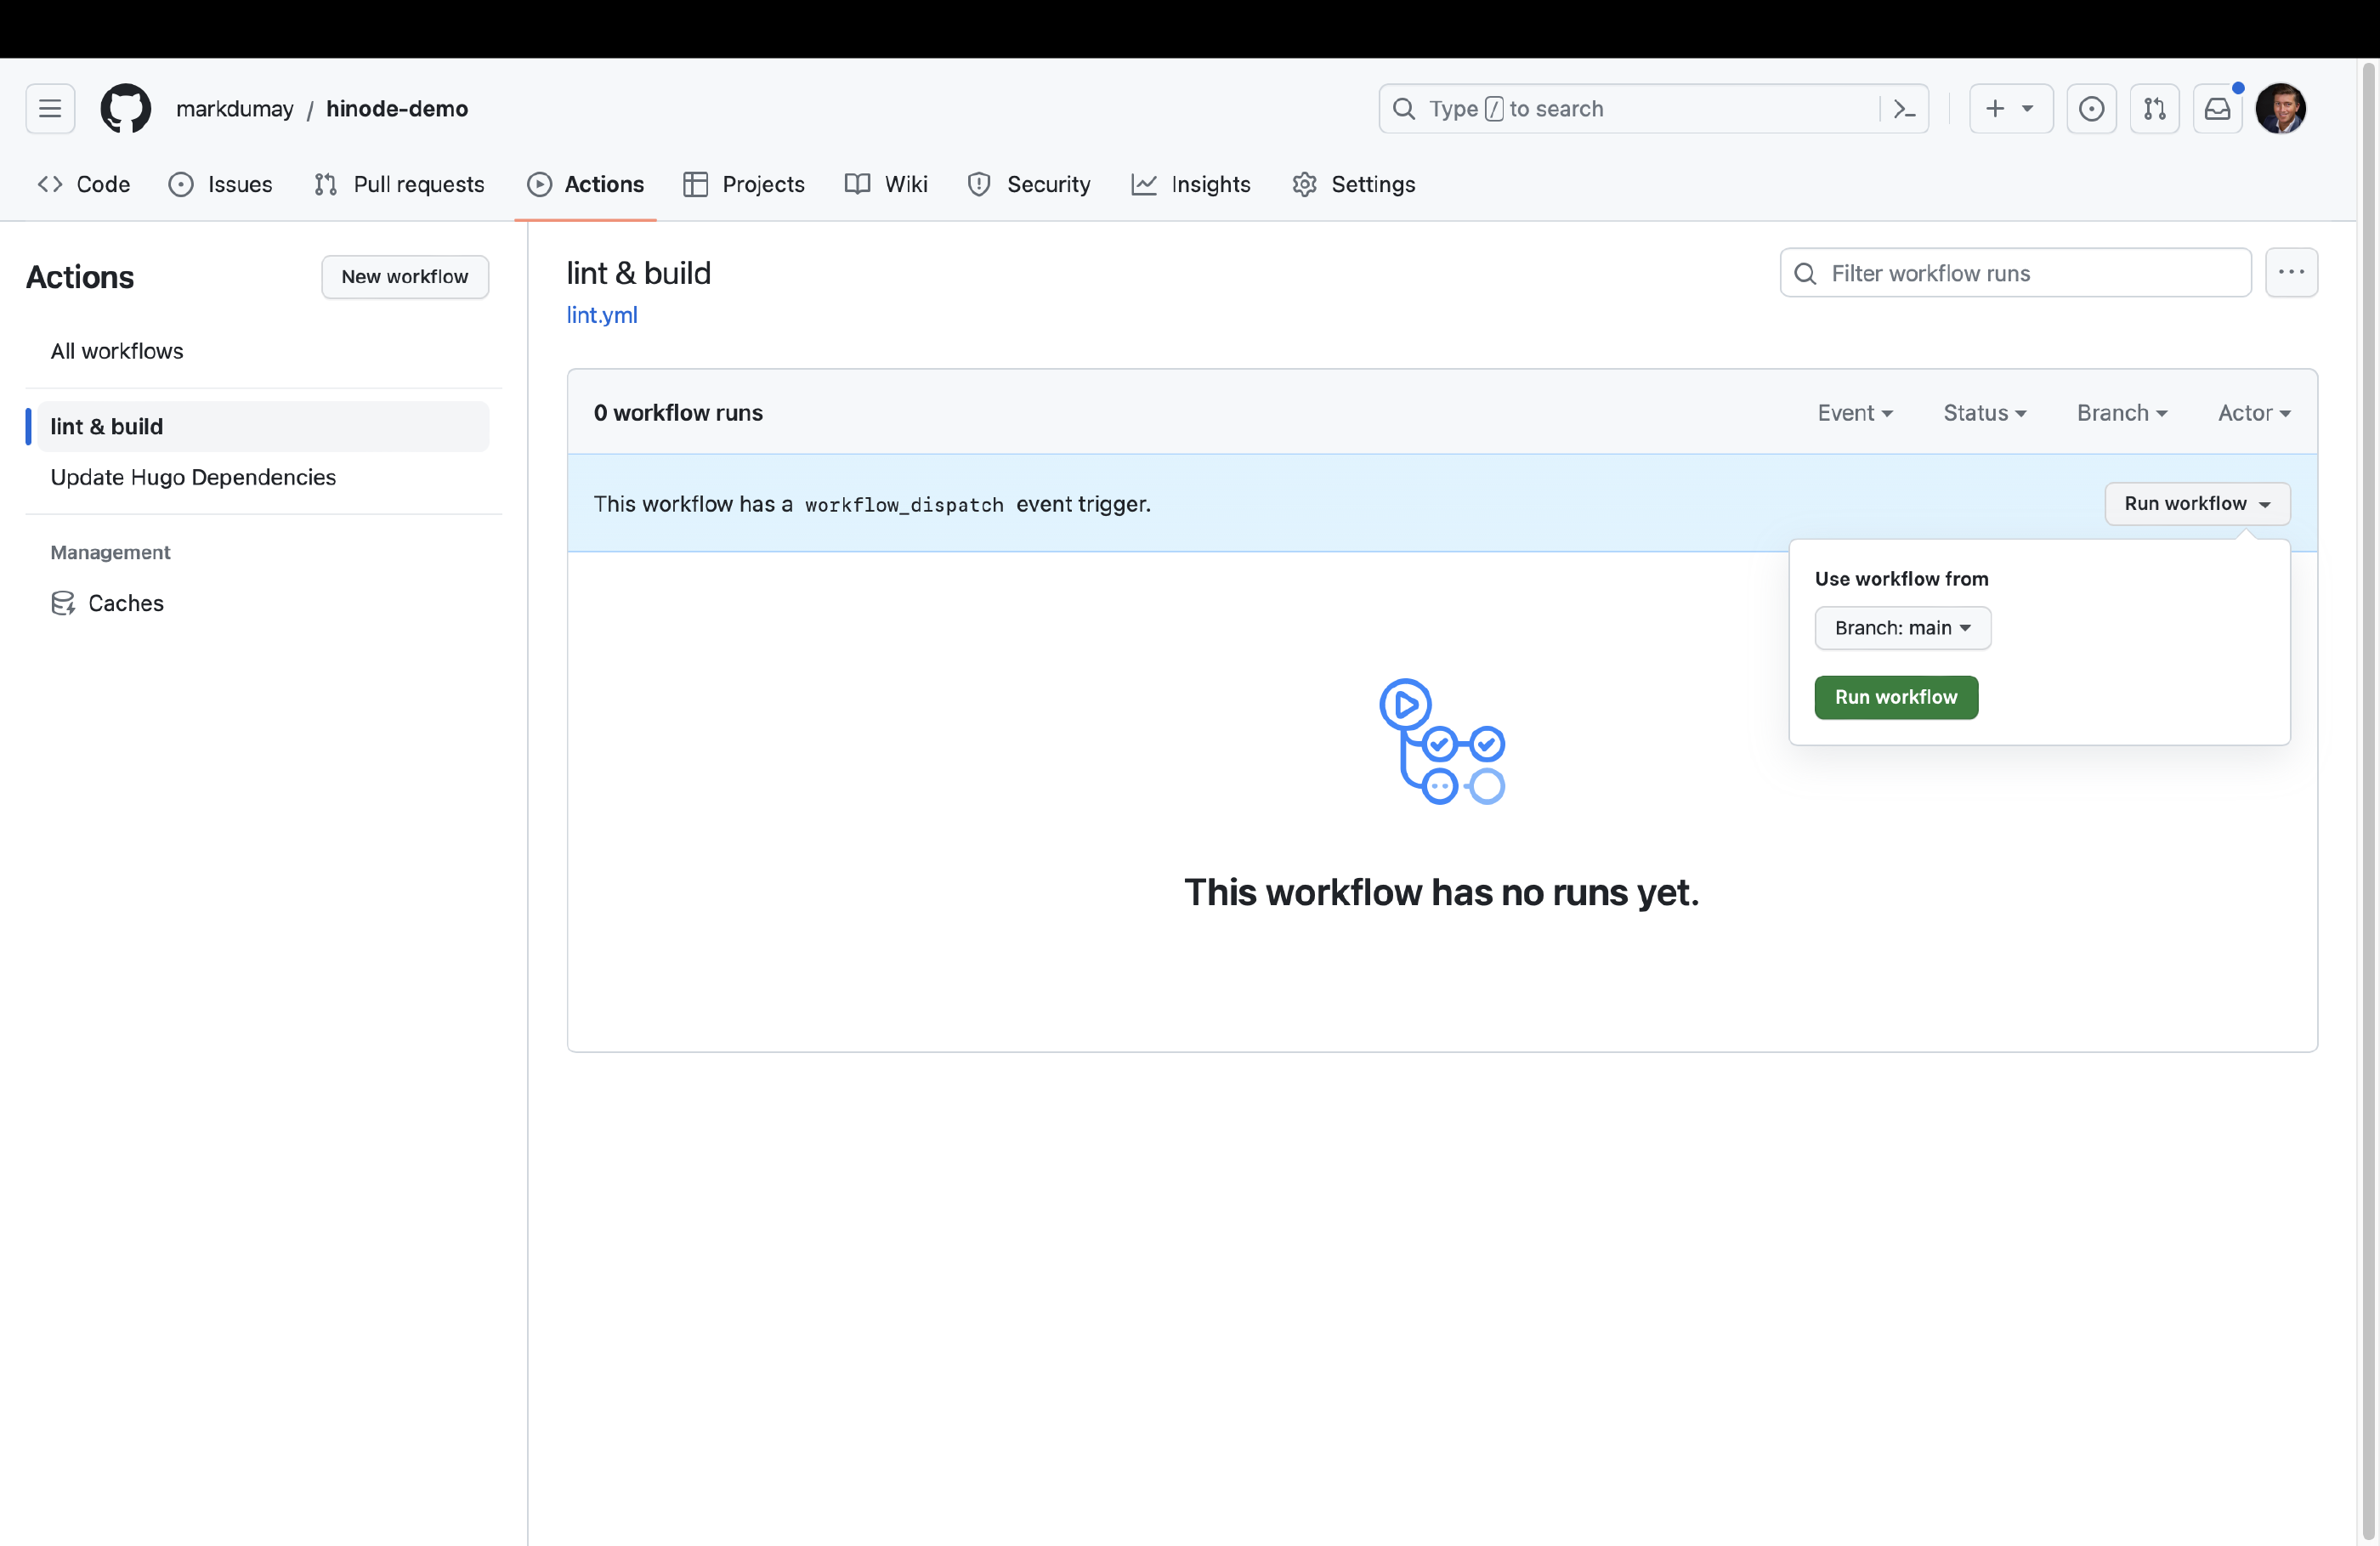
Head over the Actions panel of your GitHub repository. It lists two actions, of which we will select lint & build. Click on Run workflow
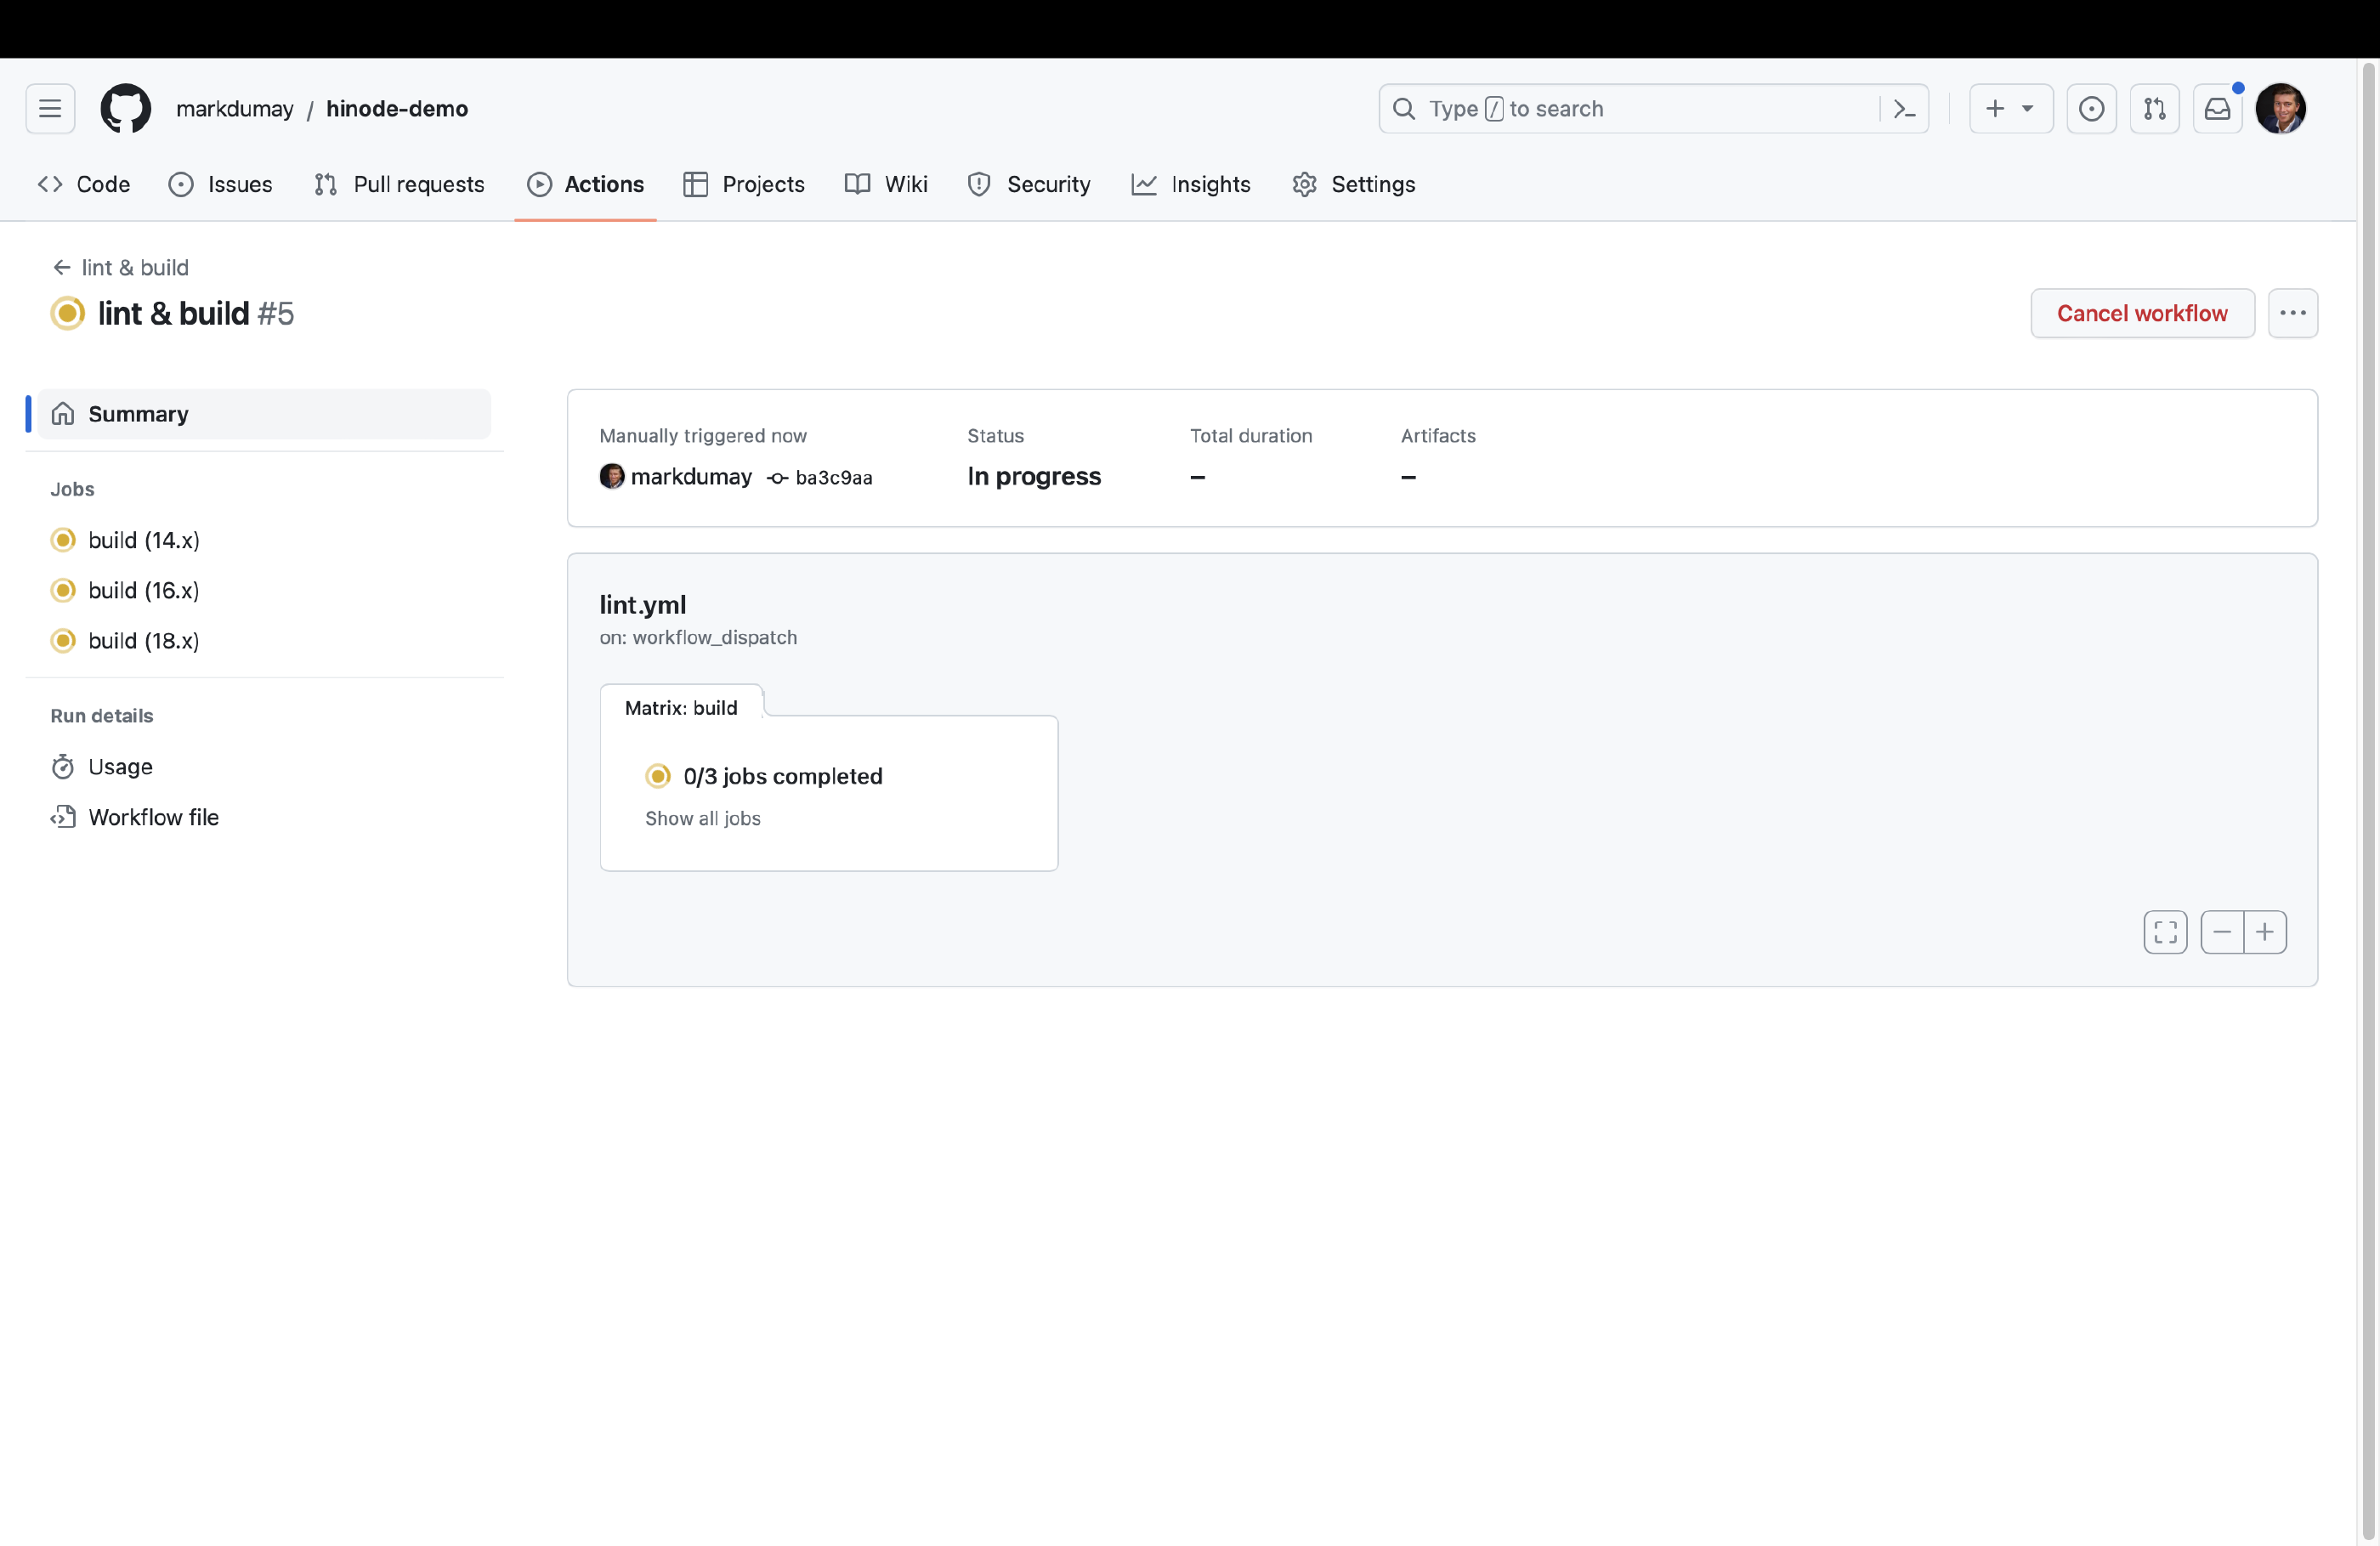
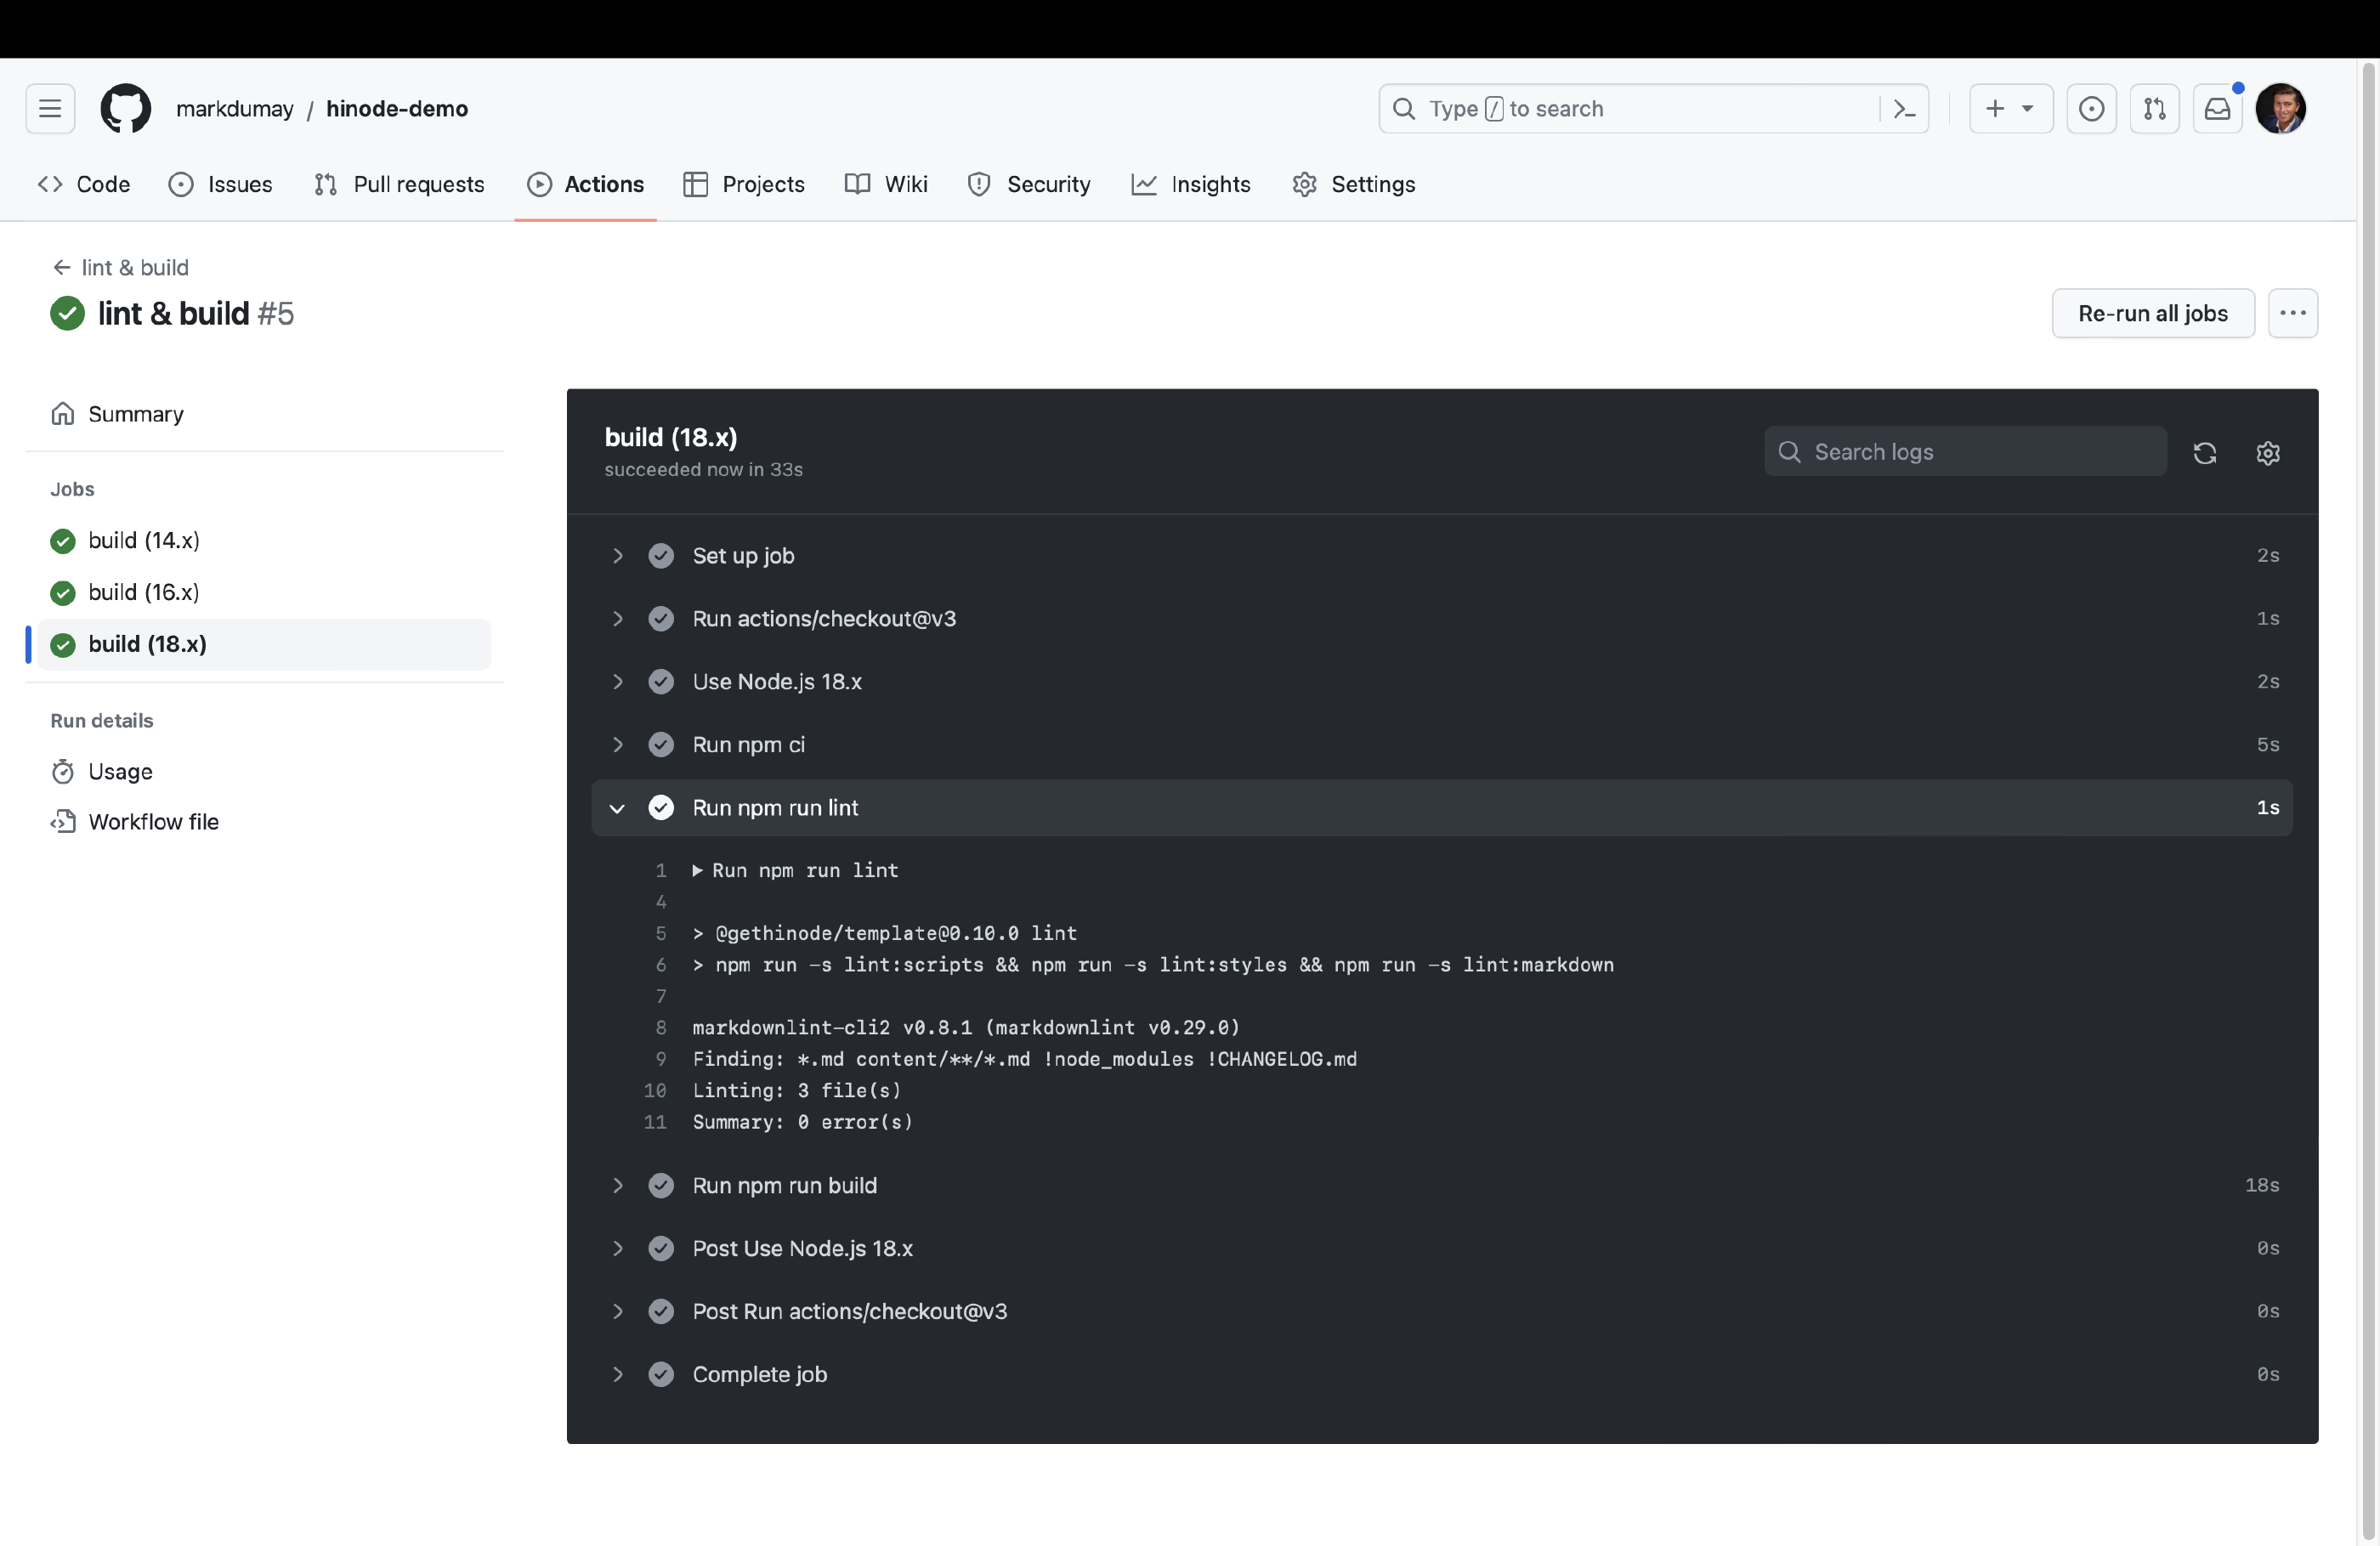
and Run workflow to manually invoke the workflow. GitHub will then show the various jobs running in parallel. The action runs the npm lint and npm build commands sequentially against a so-called test matrix. The test matrix includes different versions of Node.js to test, but could also include a host Operating System (OS) for example. The main panel shows the terminal output of a runner, which is simply a container running on GitHub’s server with the specified host OS and packages. You can click on each of the jobs’ steps to view the output - which should look familiar. When all jobs have finished successfully, GitHub will report the entire workflow run as completed.
Step 2 - Configuring Branch Protection
Branch protection sets up rules that must be satisfied before a Pull Request can be merged with a specific branch. This should include your production branch (usually main), but could also include other branches that you would like to control. Branch protection acts as a safeguard to prevent any changes to break your build. Ofcourse, it is not 100% fool proof, so it would still make sense to do regular testing of any changes before you submit them. However, minor dependency updates and security updates should (in theory) not introduce any breaking changes. If you have a stable repository and (main) branch, it is quite safe to assume that, as long as all your tests are successful, these minor updates can be automatically merged without unexpected impact.
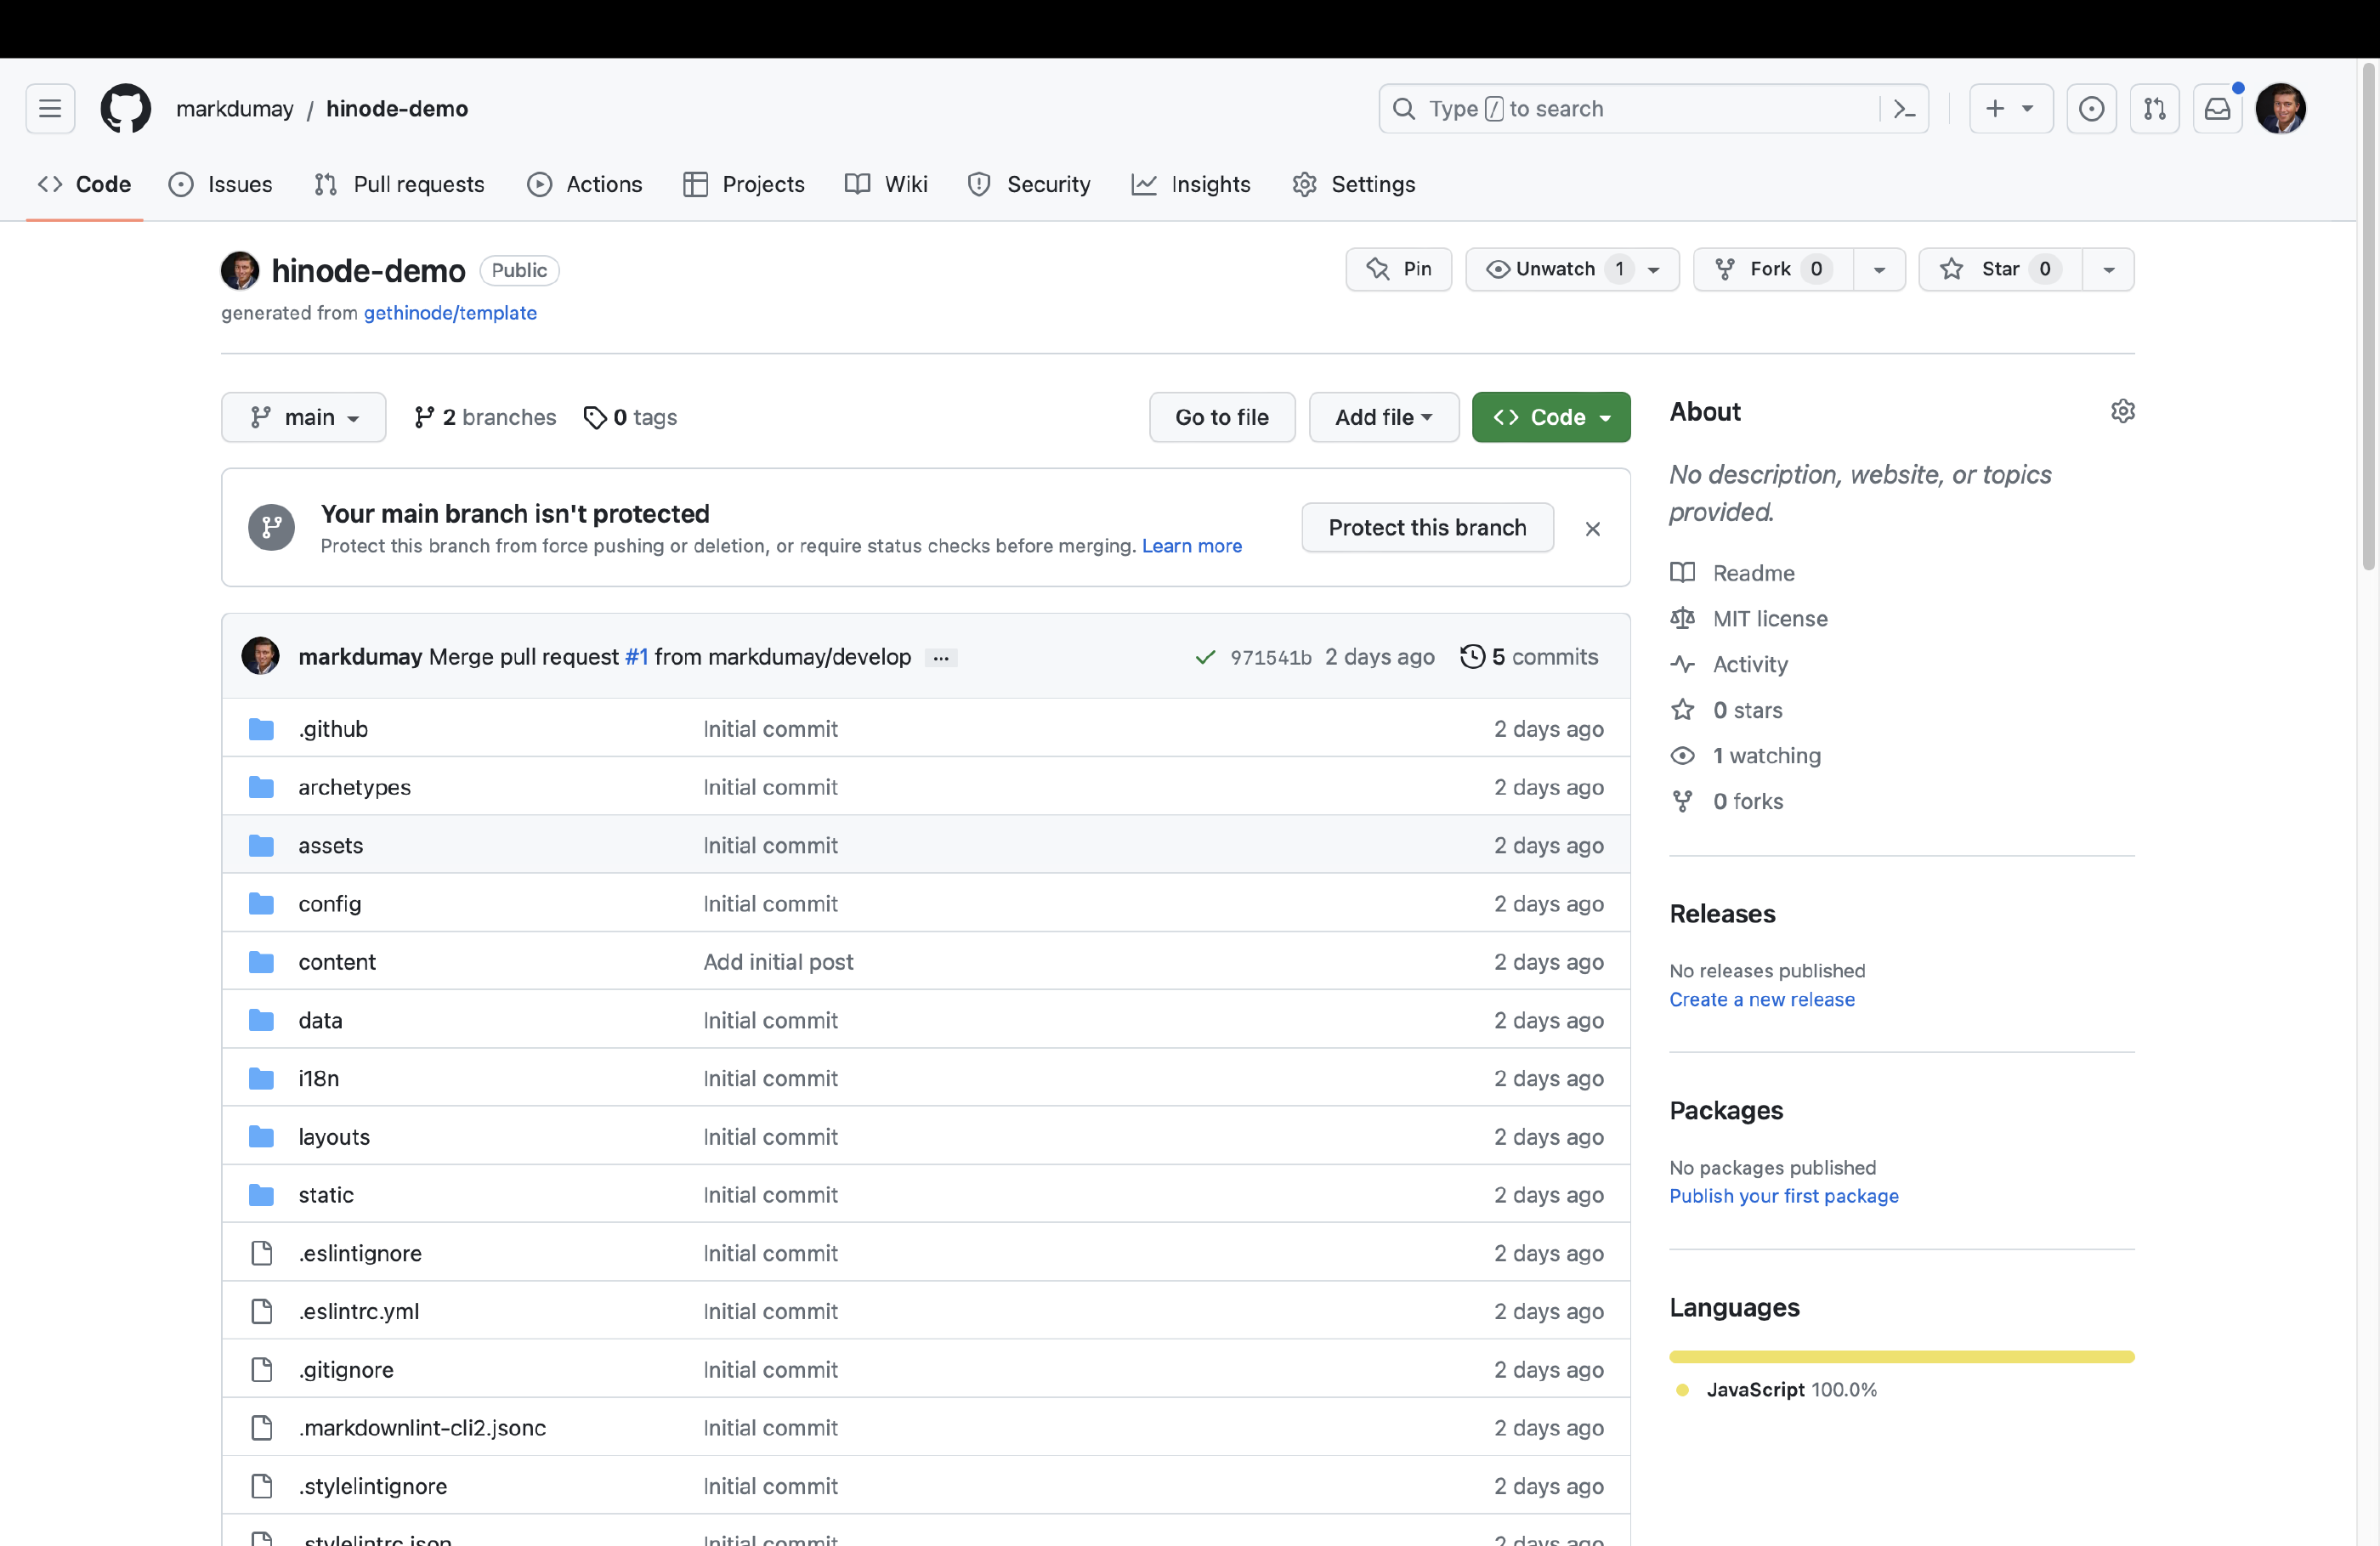
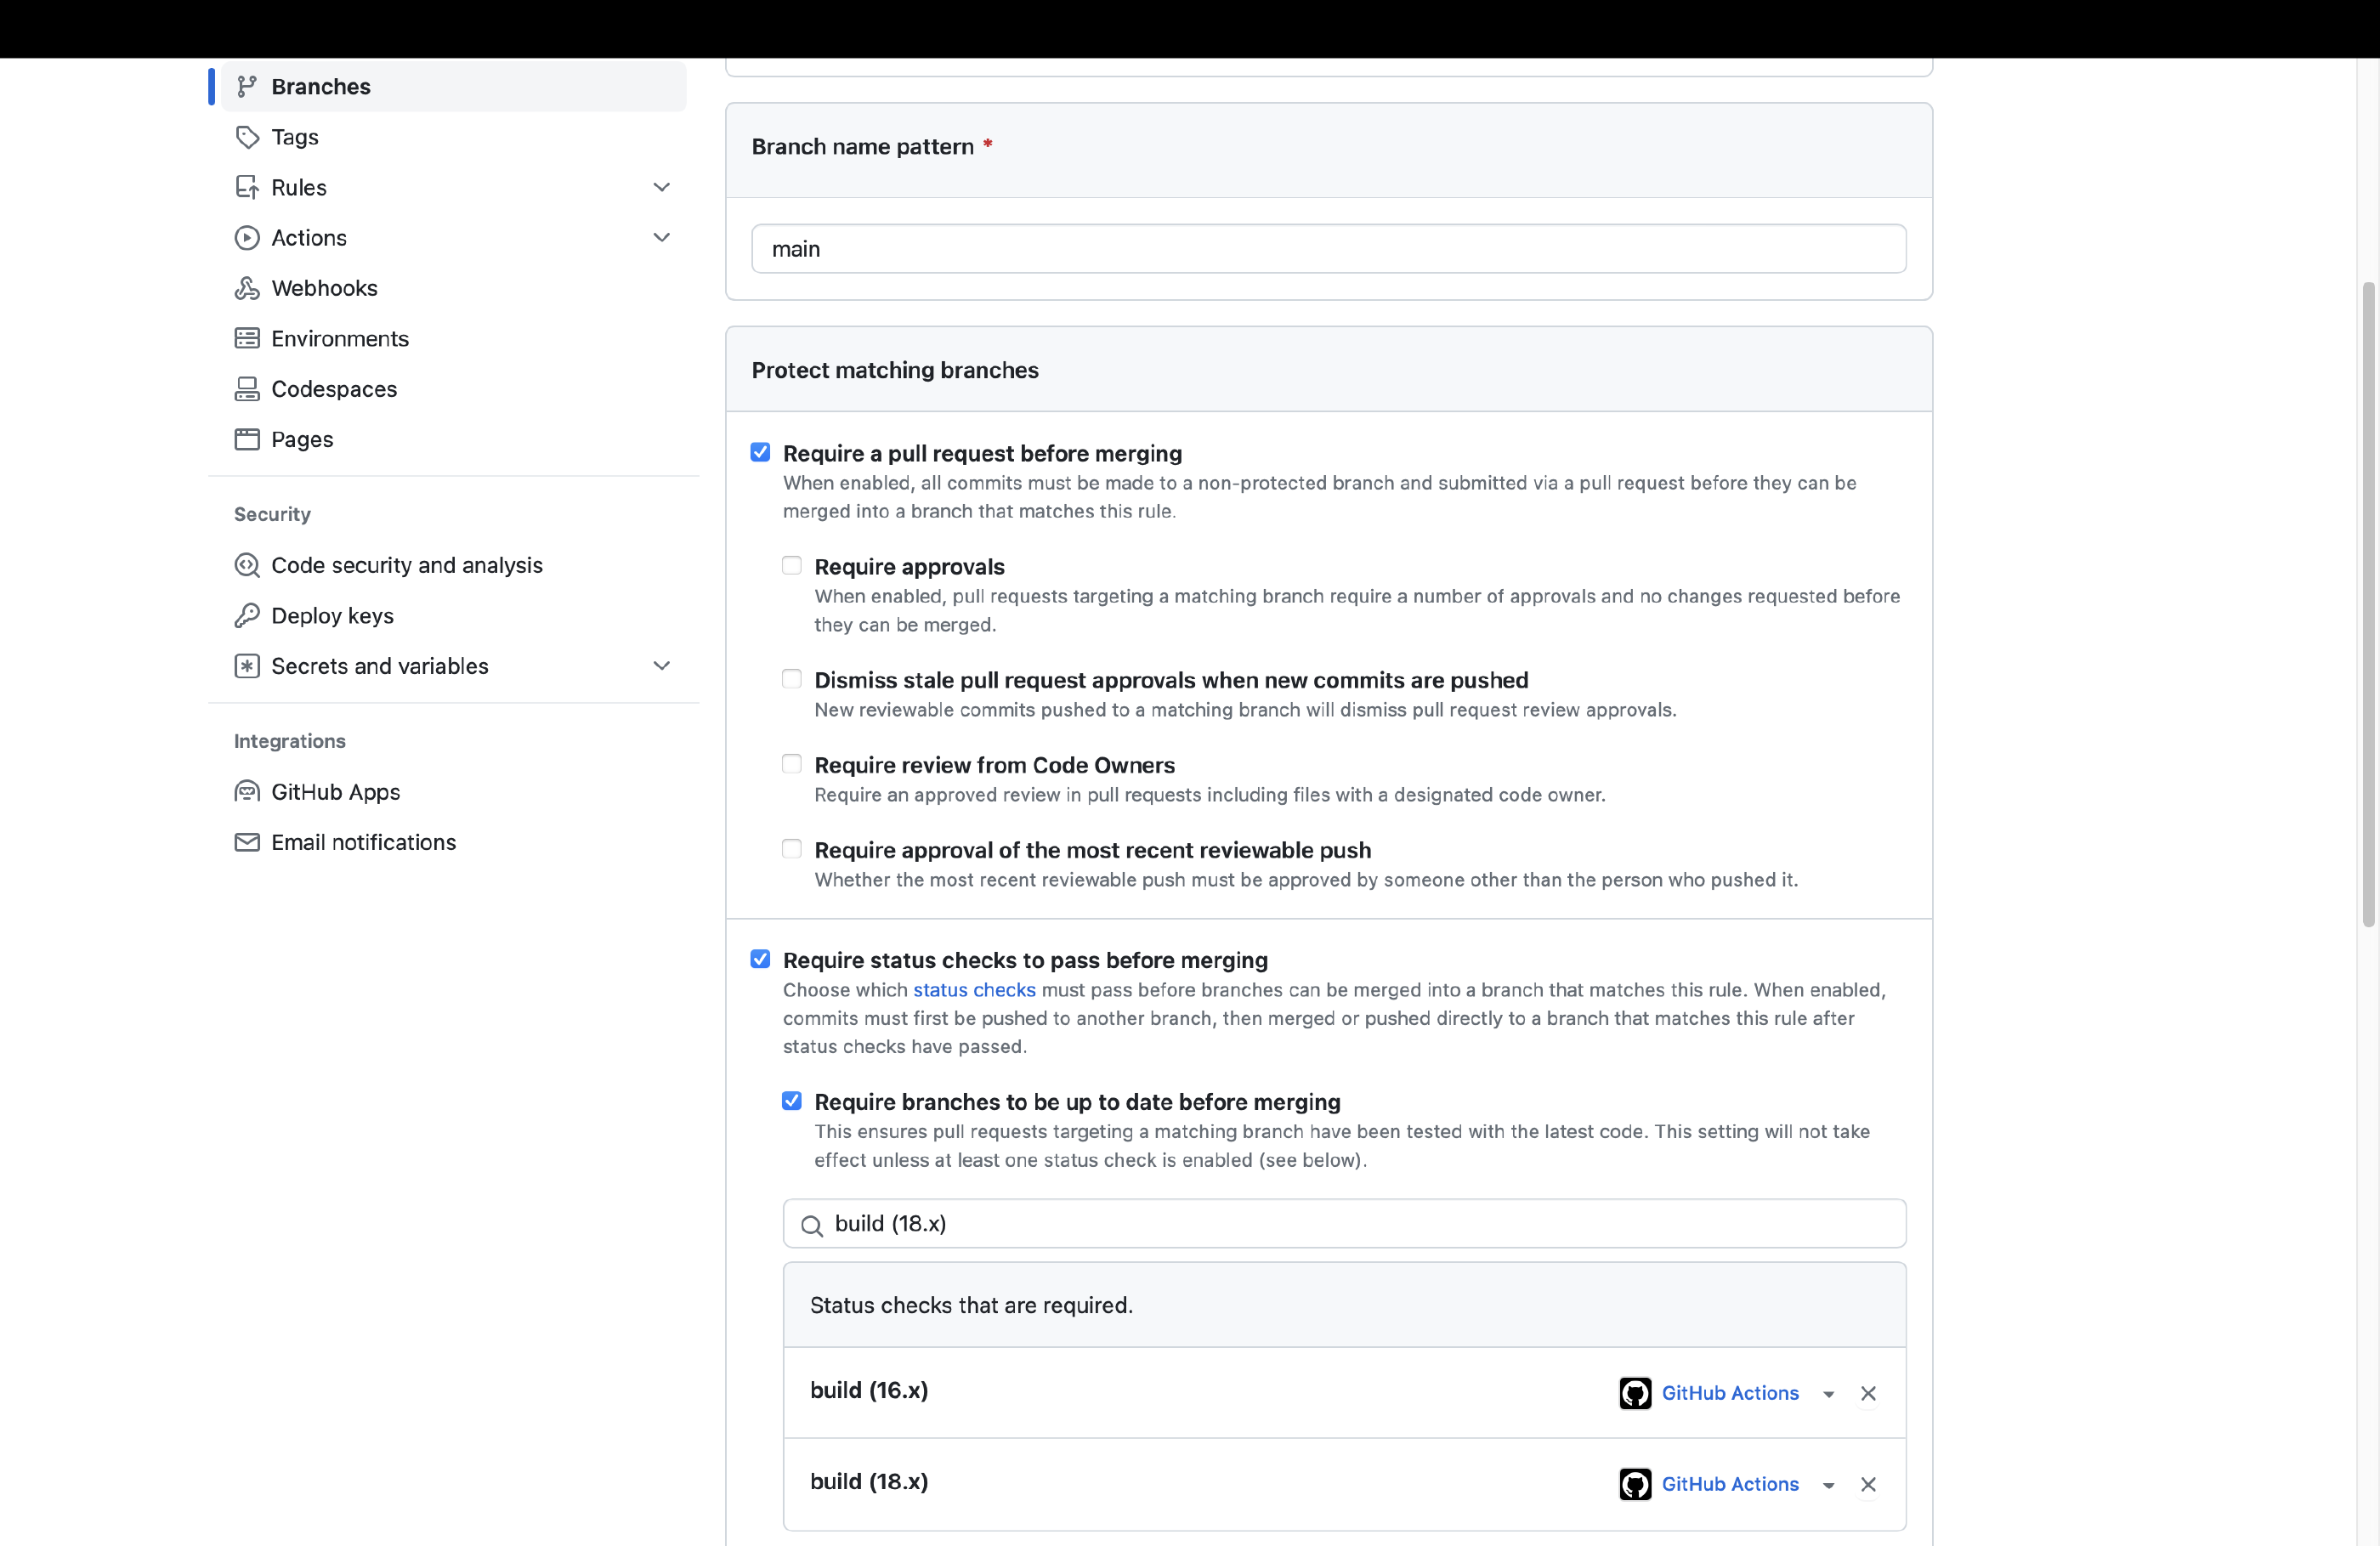
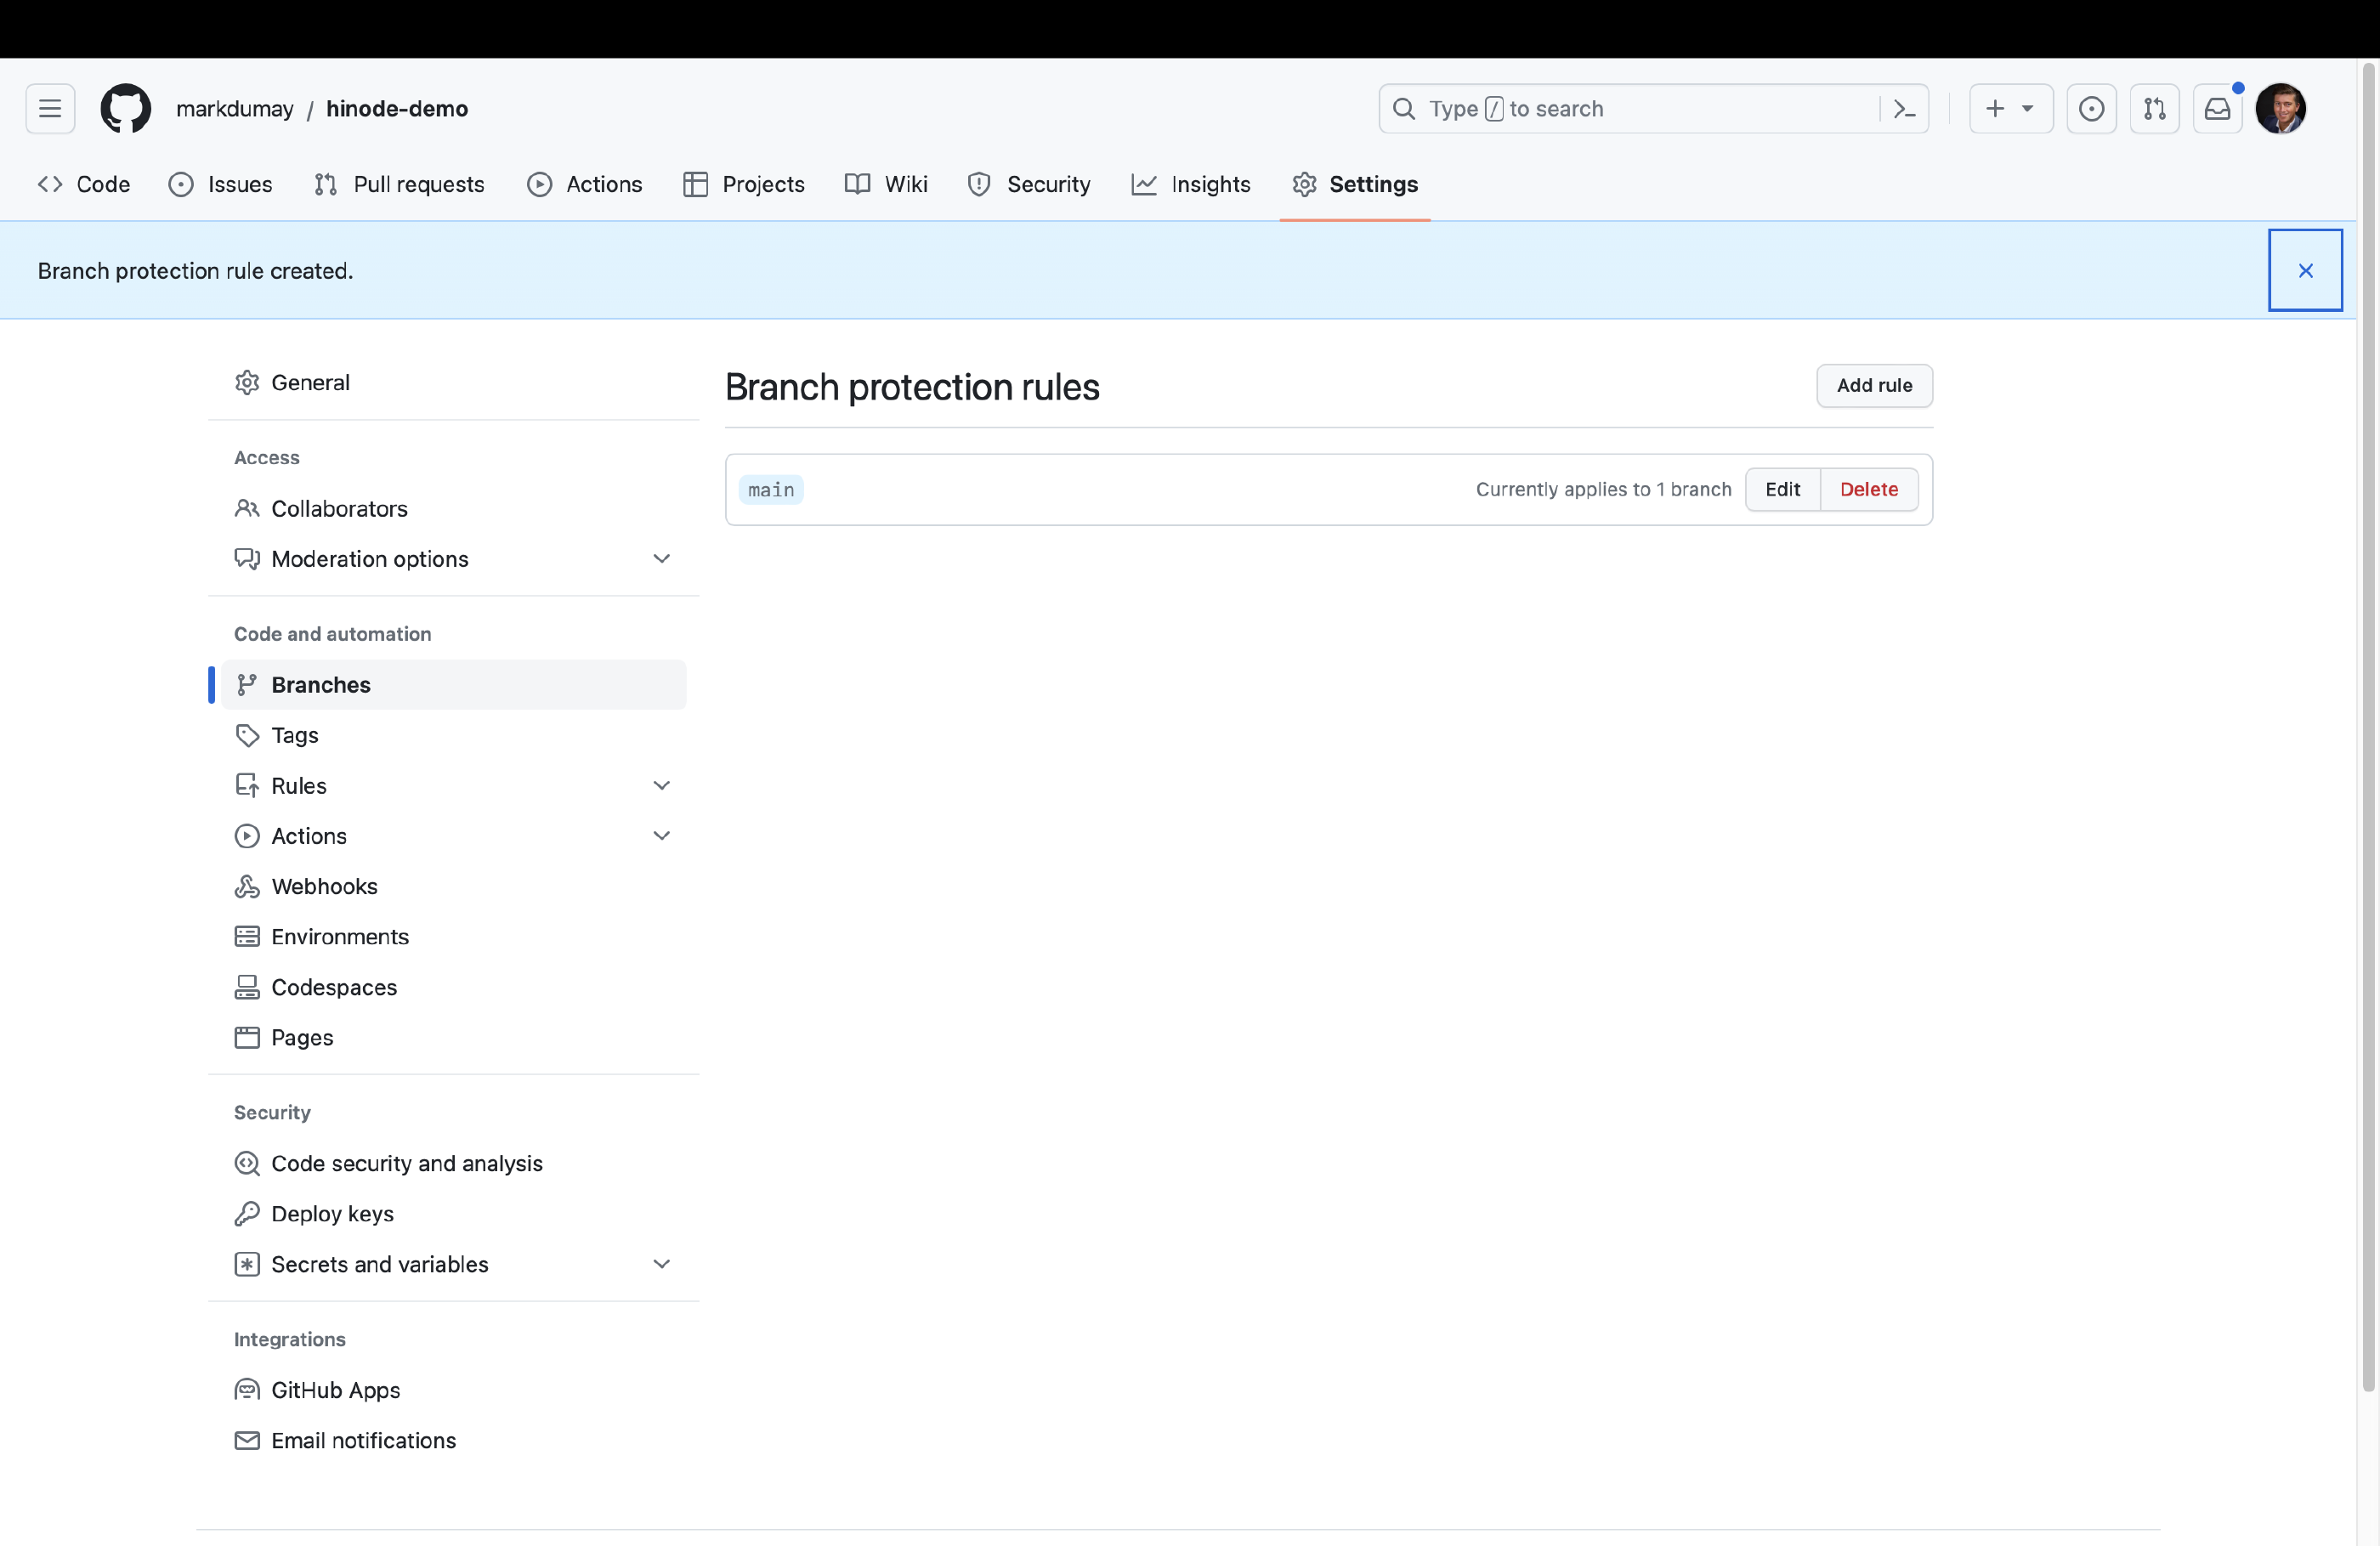
Navigate to the homescreen of your repository on GitHub. You should see a warning that says your main branch is not protected. Click on the button Protect this branch to initiate branch protection. You can set up multiple rules to your liking. The recommended rules to enforce at a minimum are the following:
- Require a pull request before merging
- Require status checks to pass before merging
- Require branches to be up to date before merging
Important
GitHub does not automatically update your status checks. For example, if you decide to modify your test matrix, you need to manually remove the obsolete labels and add the new labels.
These settings ensure all proposed changes are submitted as part of a PR and prevents any commits directly on the main branch. We can then use each PR request as a trigger to test our codebase and build. We will now select the tests we ran previously in our lint & build action. Add all test labels to the second check (Require status checks to pass before merging) individually. For example, you can add the build (18.x) label as prerequisite, meaning that your site should be compatible with Node.js v18. We are now ready to automate our dependency upgrades.
Step 3 - Enabling Auto-Merged Npm Updates
GitHub provides an action called
Dependabot
that helps us to automate the upgrades of our npm dependencies. The Hinode template has enabled Dependabot by default. The configuration can be found in .github/dependabot.yml. In the default setting, Dependabot creates a Pull Request for each dependency update. You will need to review these PRs and approve them manually.
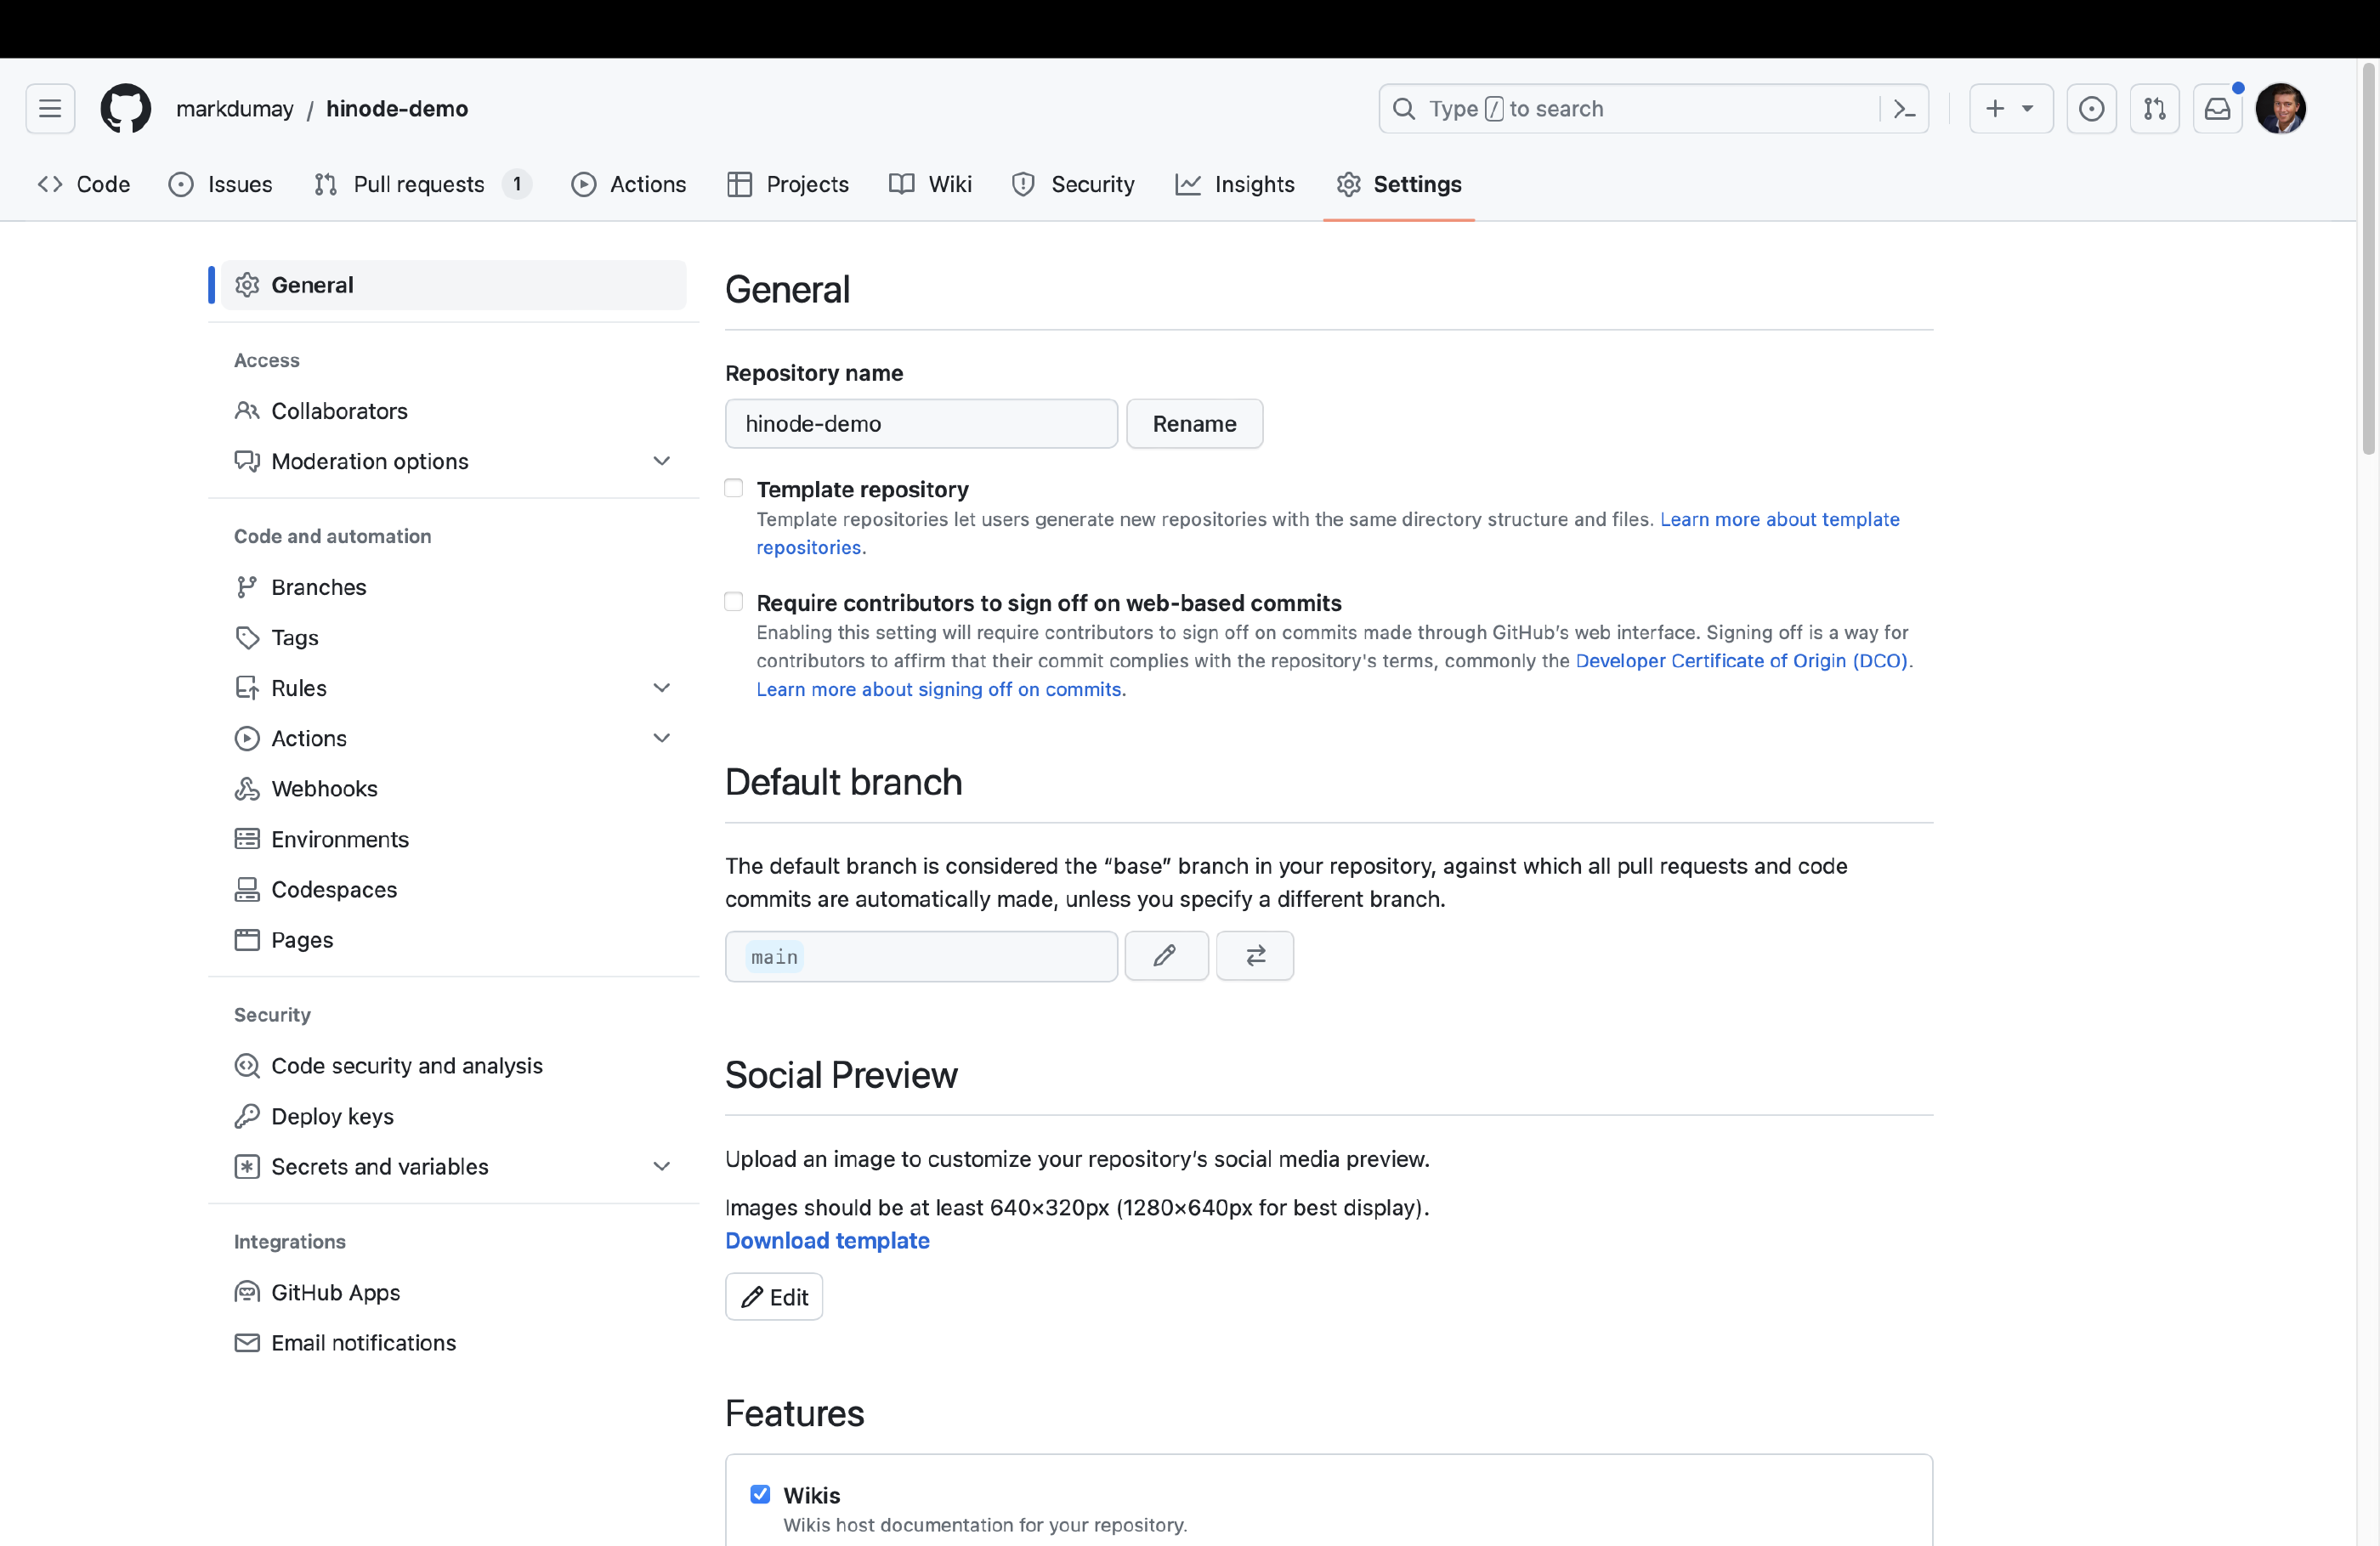
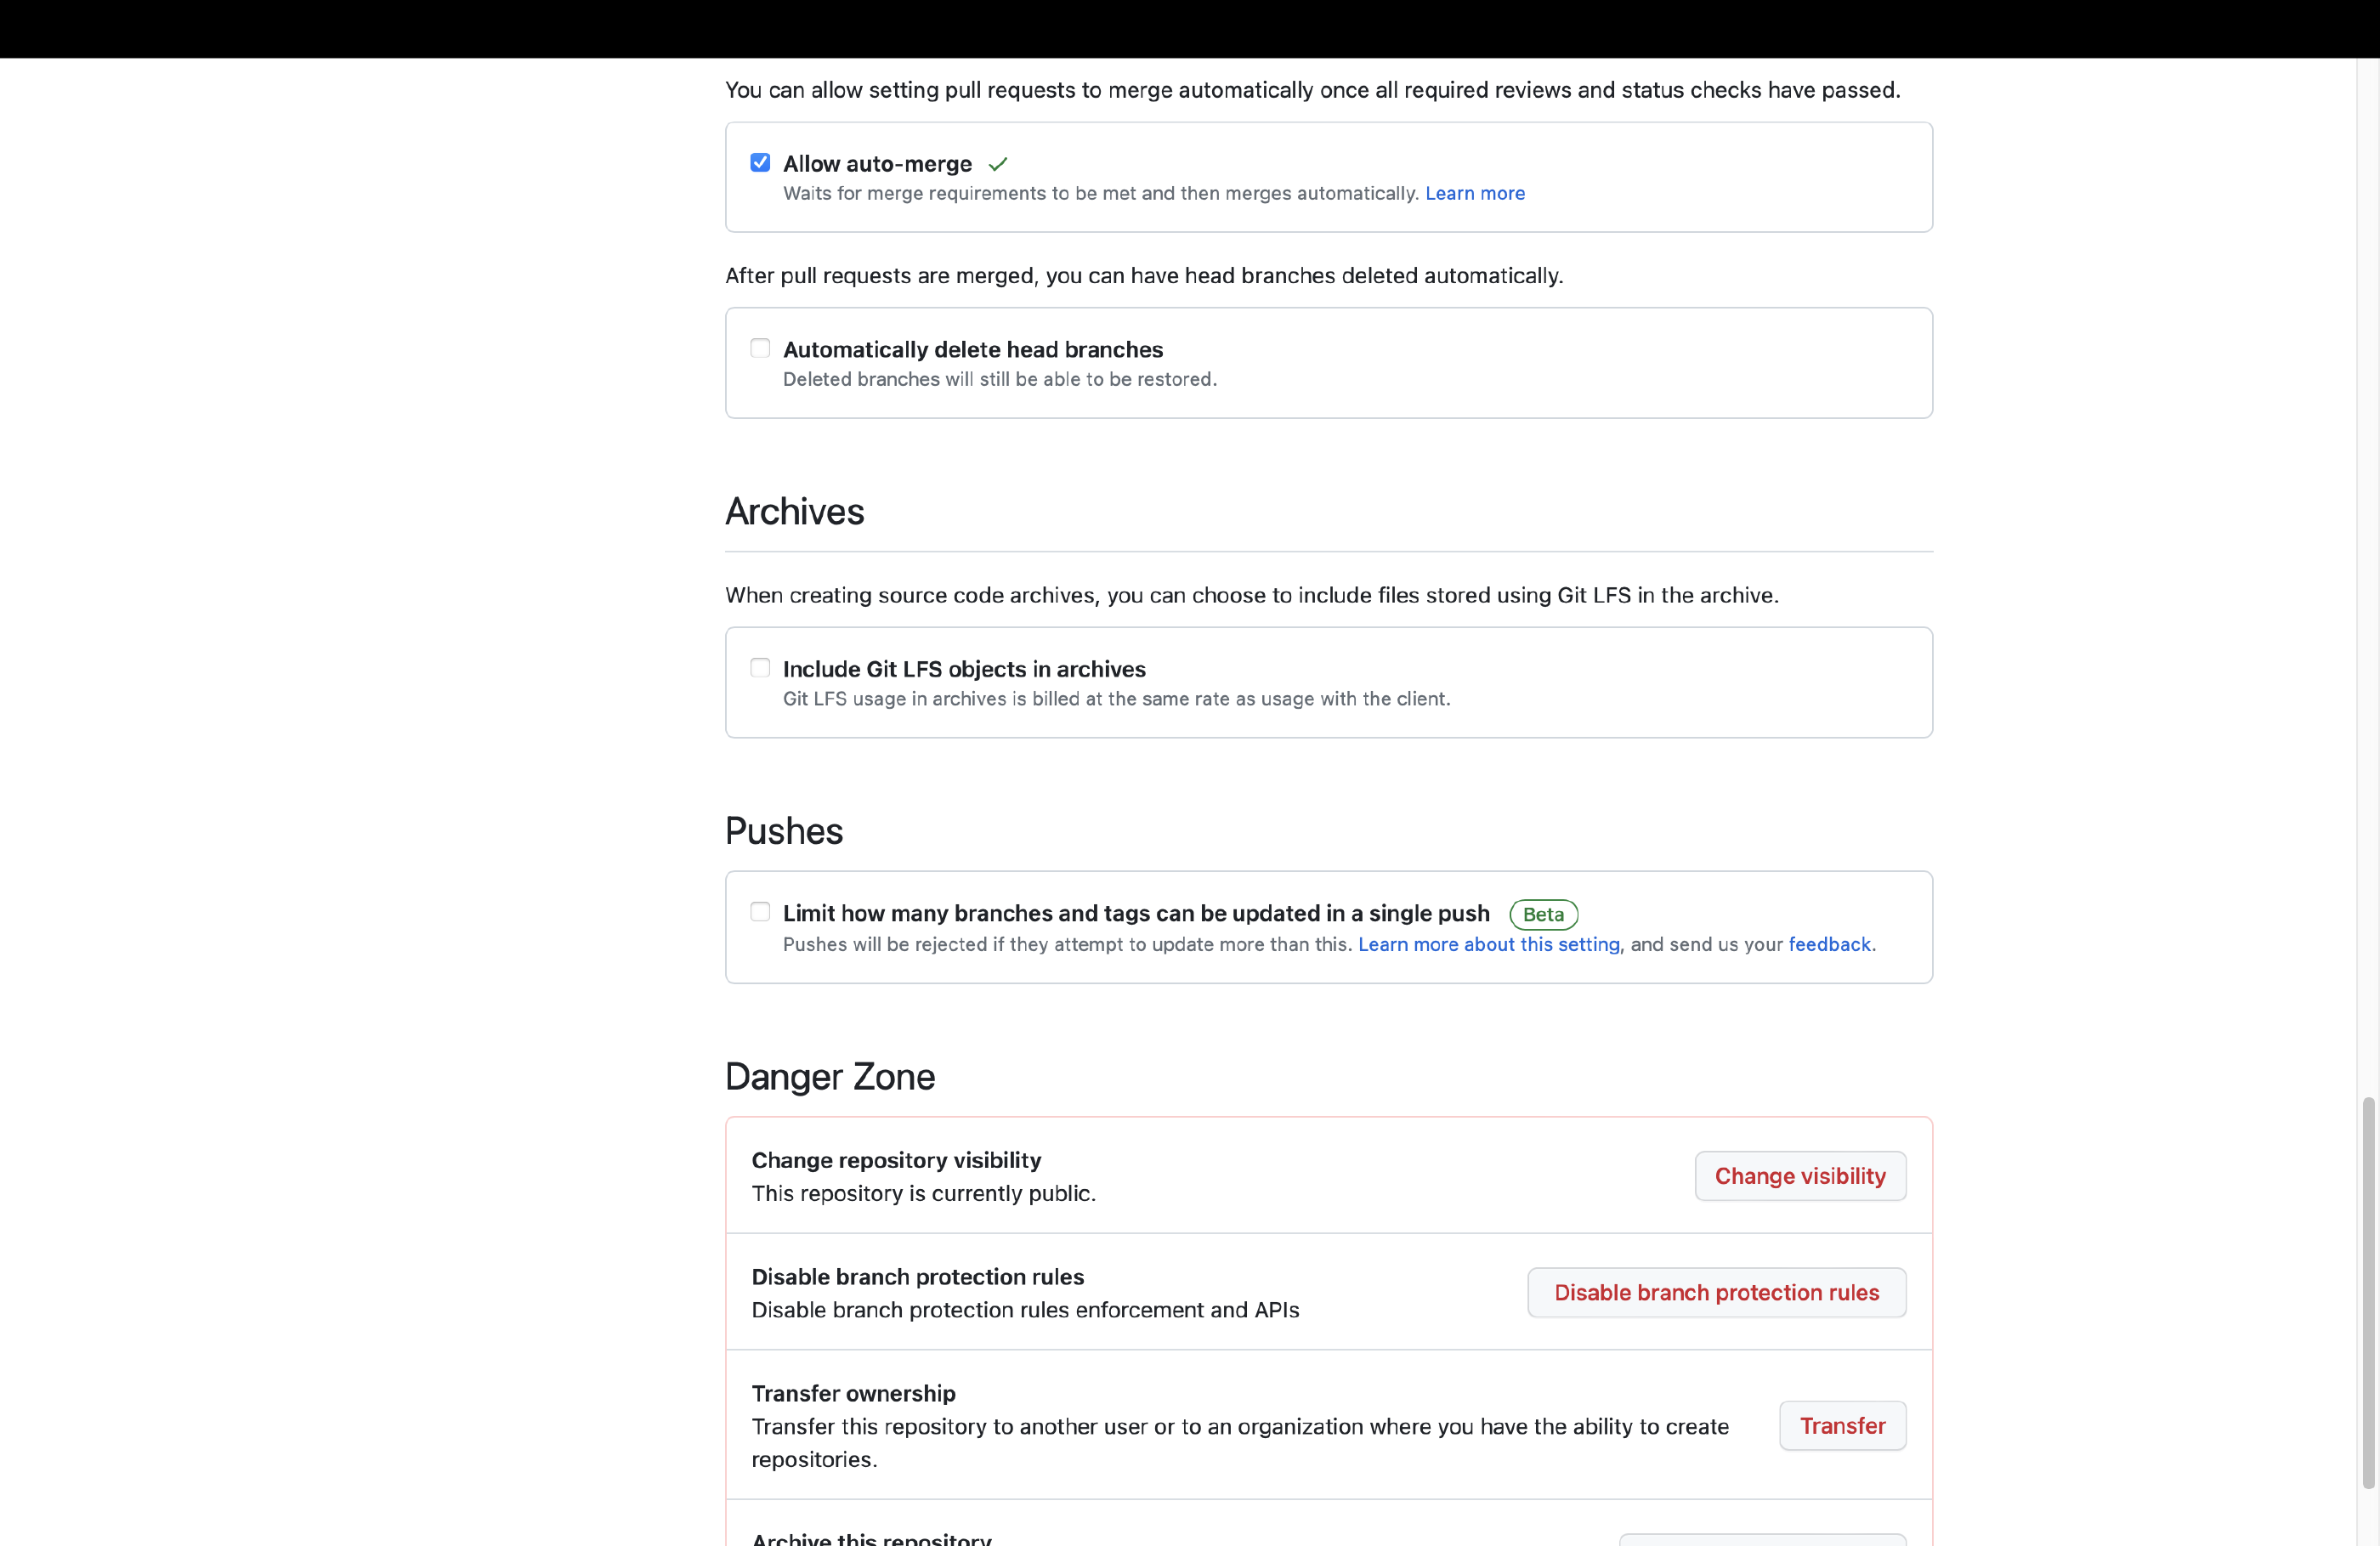
With the branch protection in place we can enable auto-merge. This setting, which is disabled by default, allows merges to be automated if all preconditions (~branch protection rules) have been met. We can use this feature to automatically merge Dependabot PRs into our main branch. Head over to the general section in the repository settings. Within the section, scroll down until you find a setting called Allow auto-merge. Select it to apply this setting.
The template repository includes a workflow created by Nícolas Iensen to Configure Auto-Merge for Dependabot PRs . It approves any PR that includes a minor or patch upgrade. Major upgrades are not automatically approved and still require manual validation.
Step 4 - Automating Hugo Module Upgrades
Dependabot Is Not Compatible With Hugo Modules Yet
. Instead, Hinode uses a fork of
Create-Pull-Request
from Peter Evans to update the Hugo modules. It calls the npm mod:update command on a scheduled interval. It will create a new branch and a Pull Request if it finds any updates. The corresponding action with the title Update Hugo Dependencies can be found in .github/workflows/mod-update.yml.
Caution
Be careful with using actions from the marketplace, as this introduces a security risk. Rob Bos has written an excellent Blog About the Risks Involved and How You Can Mitigate This .
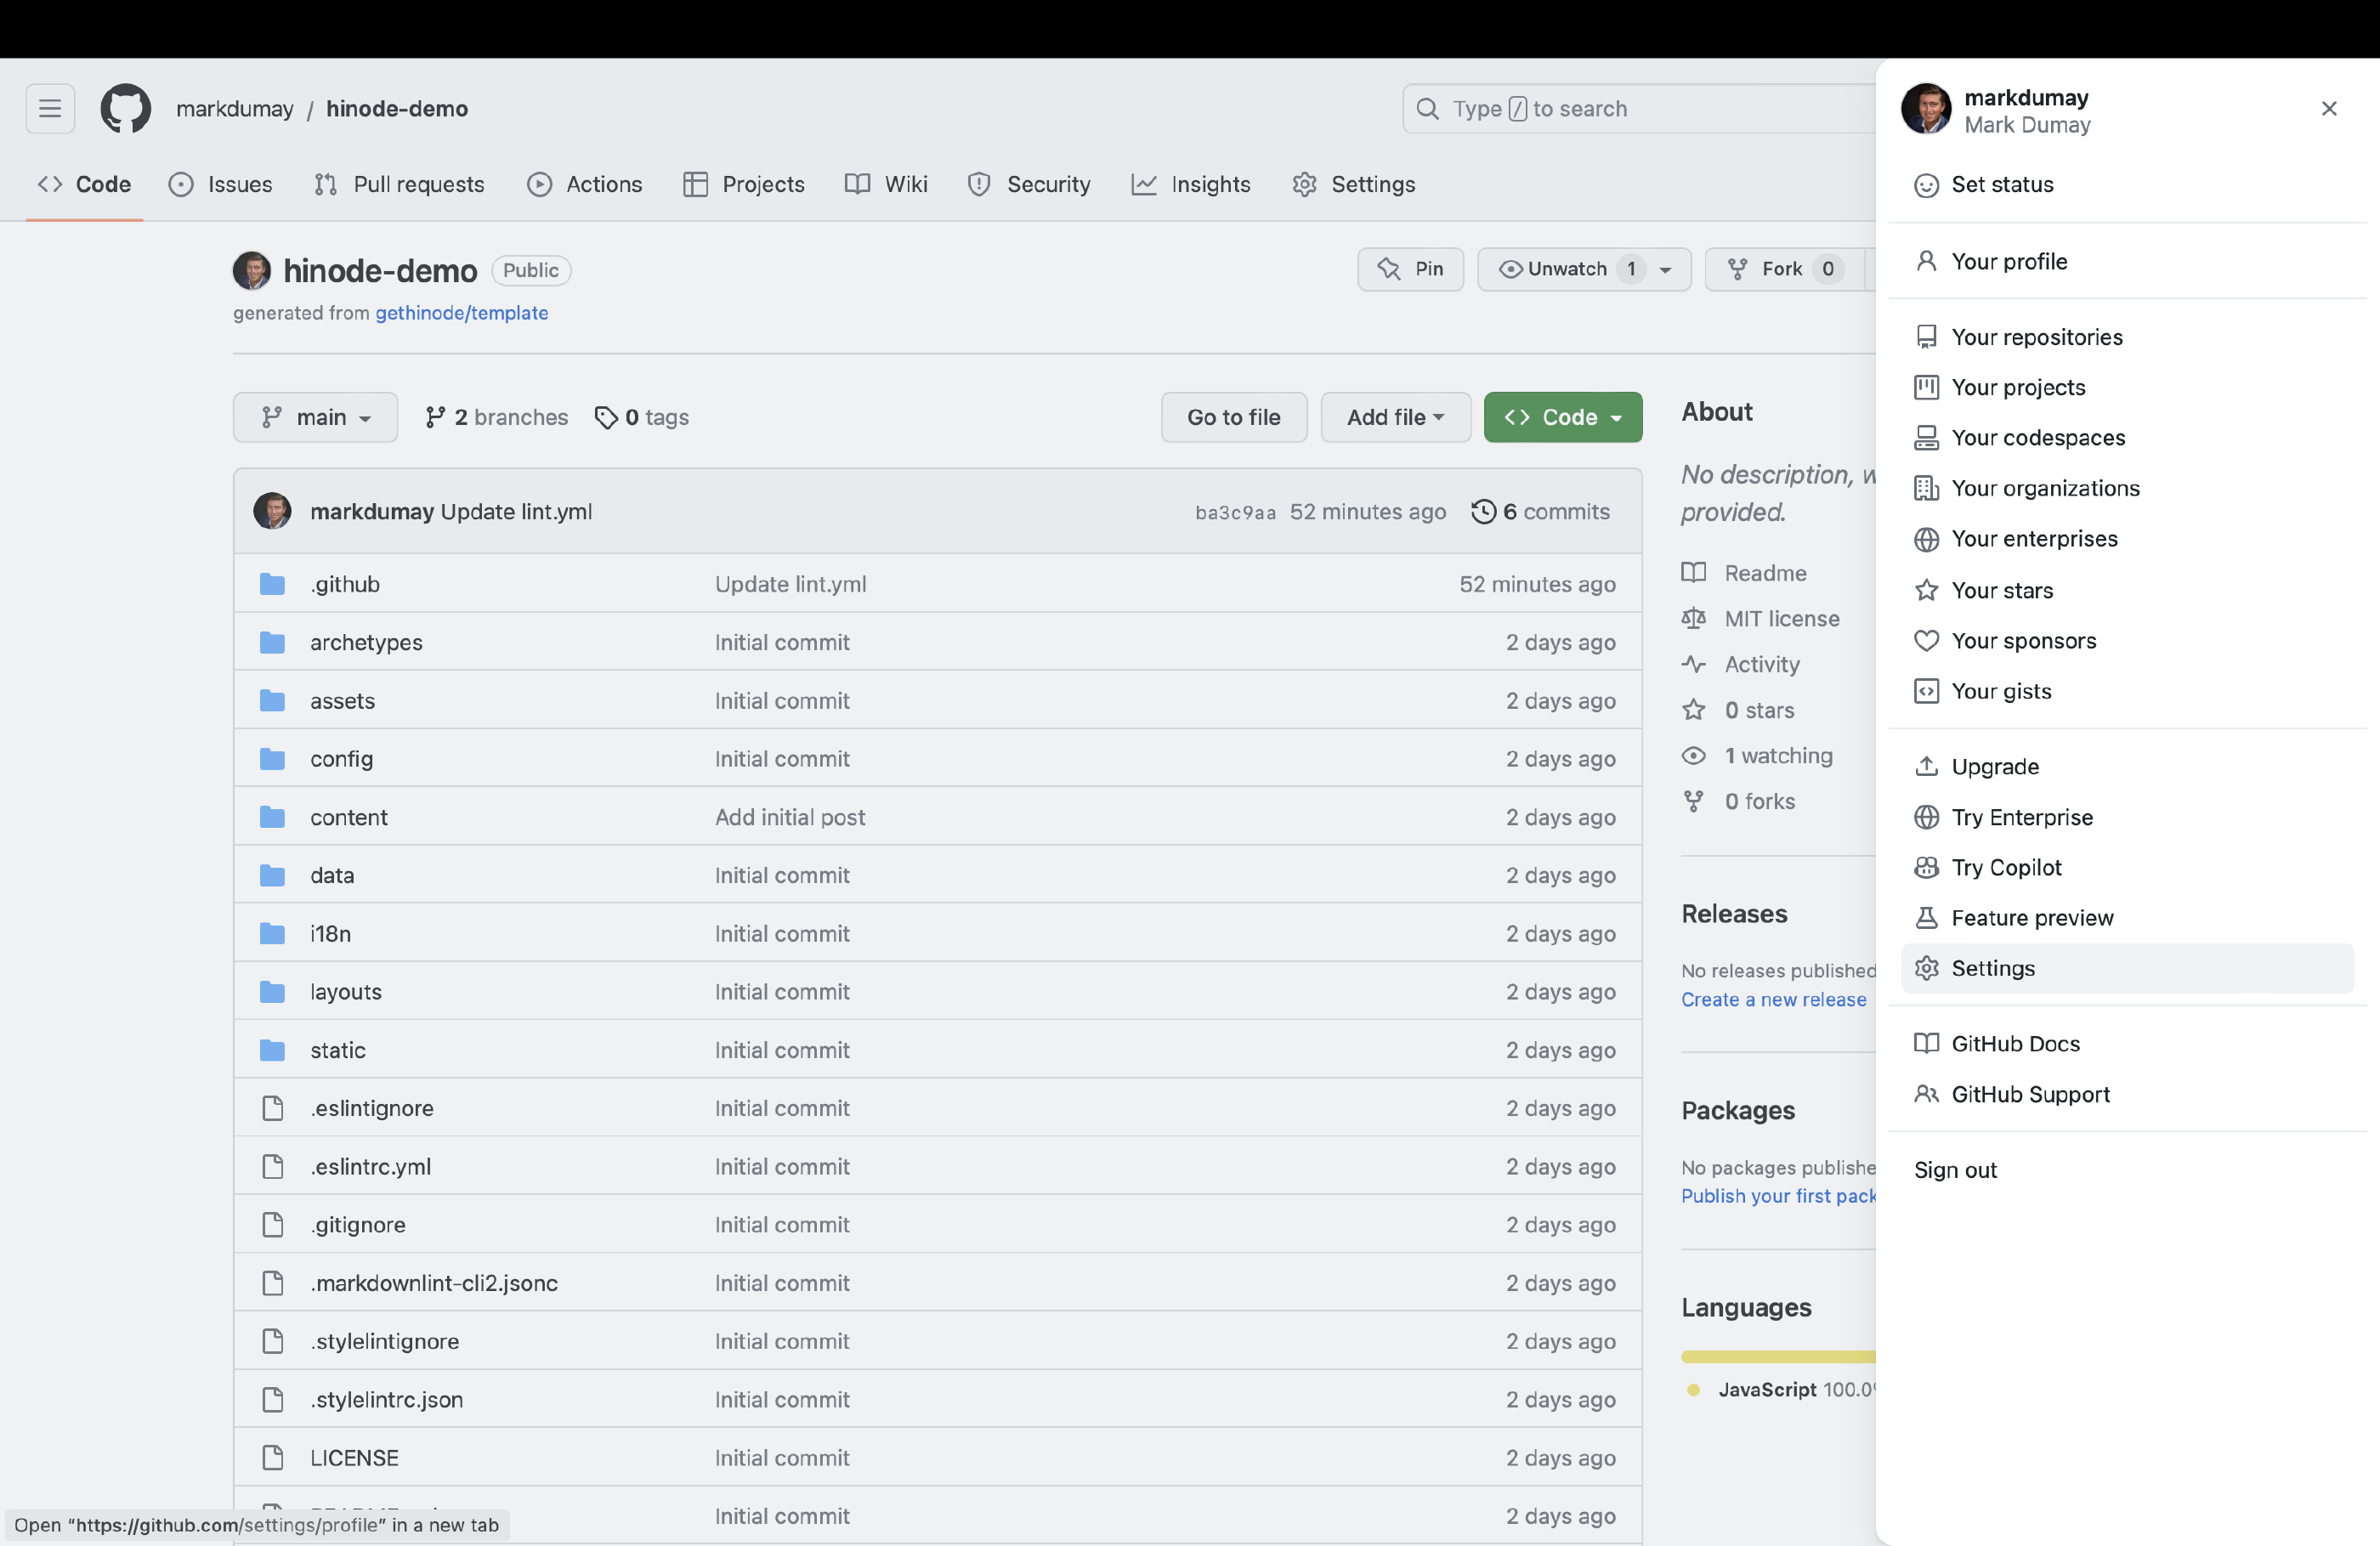
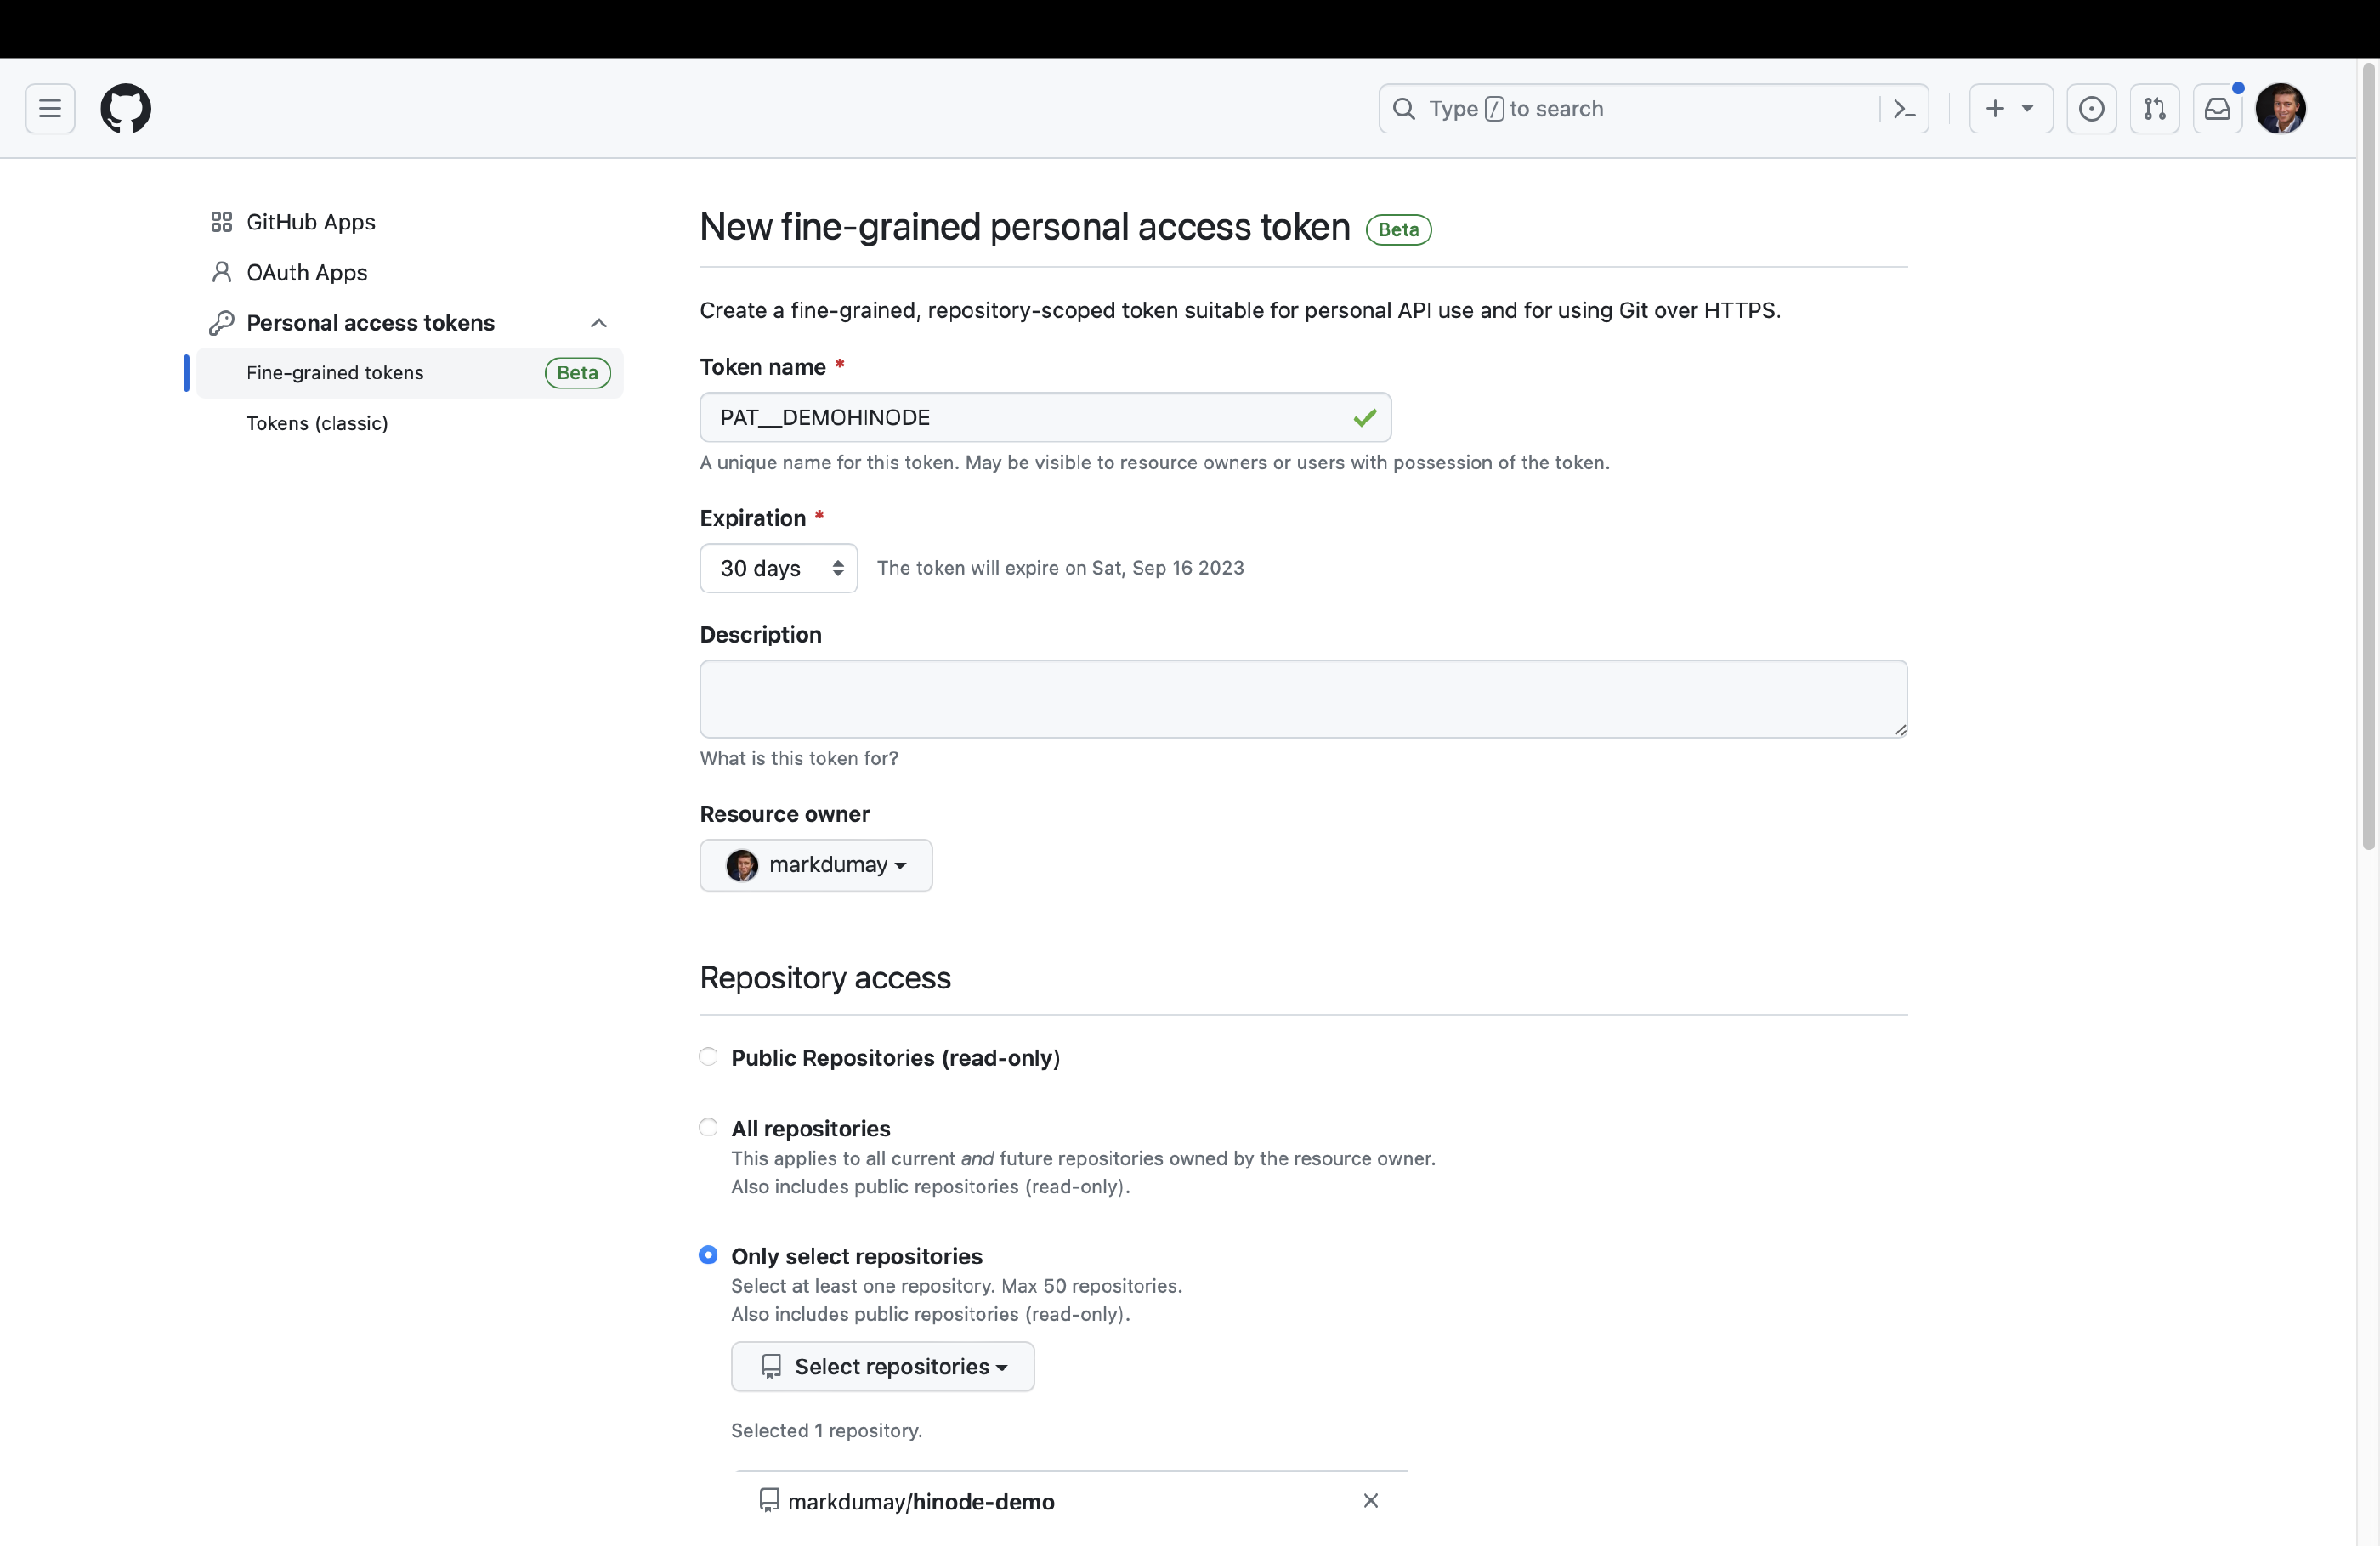
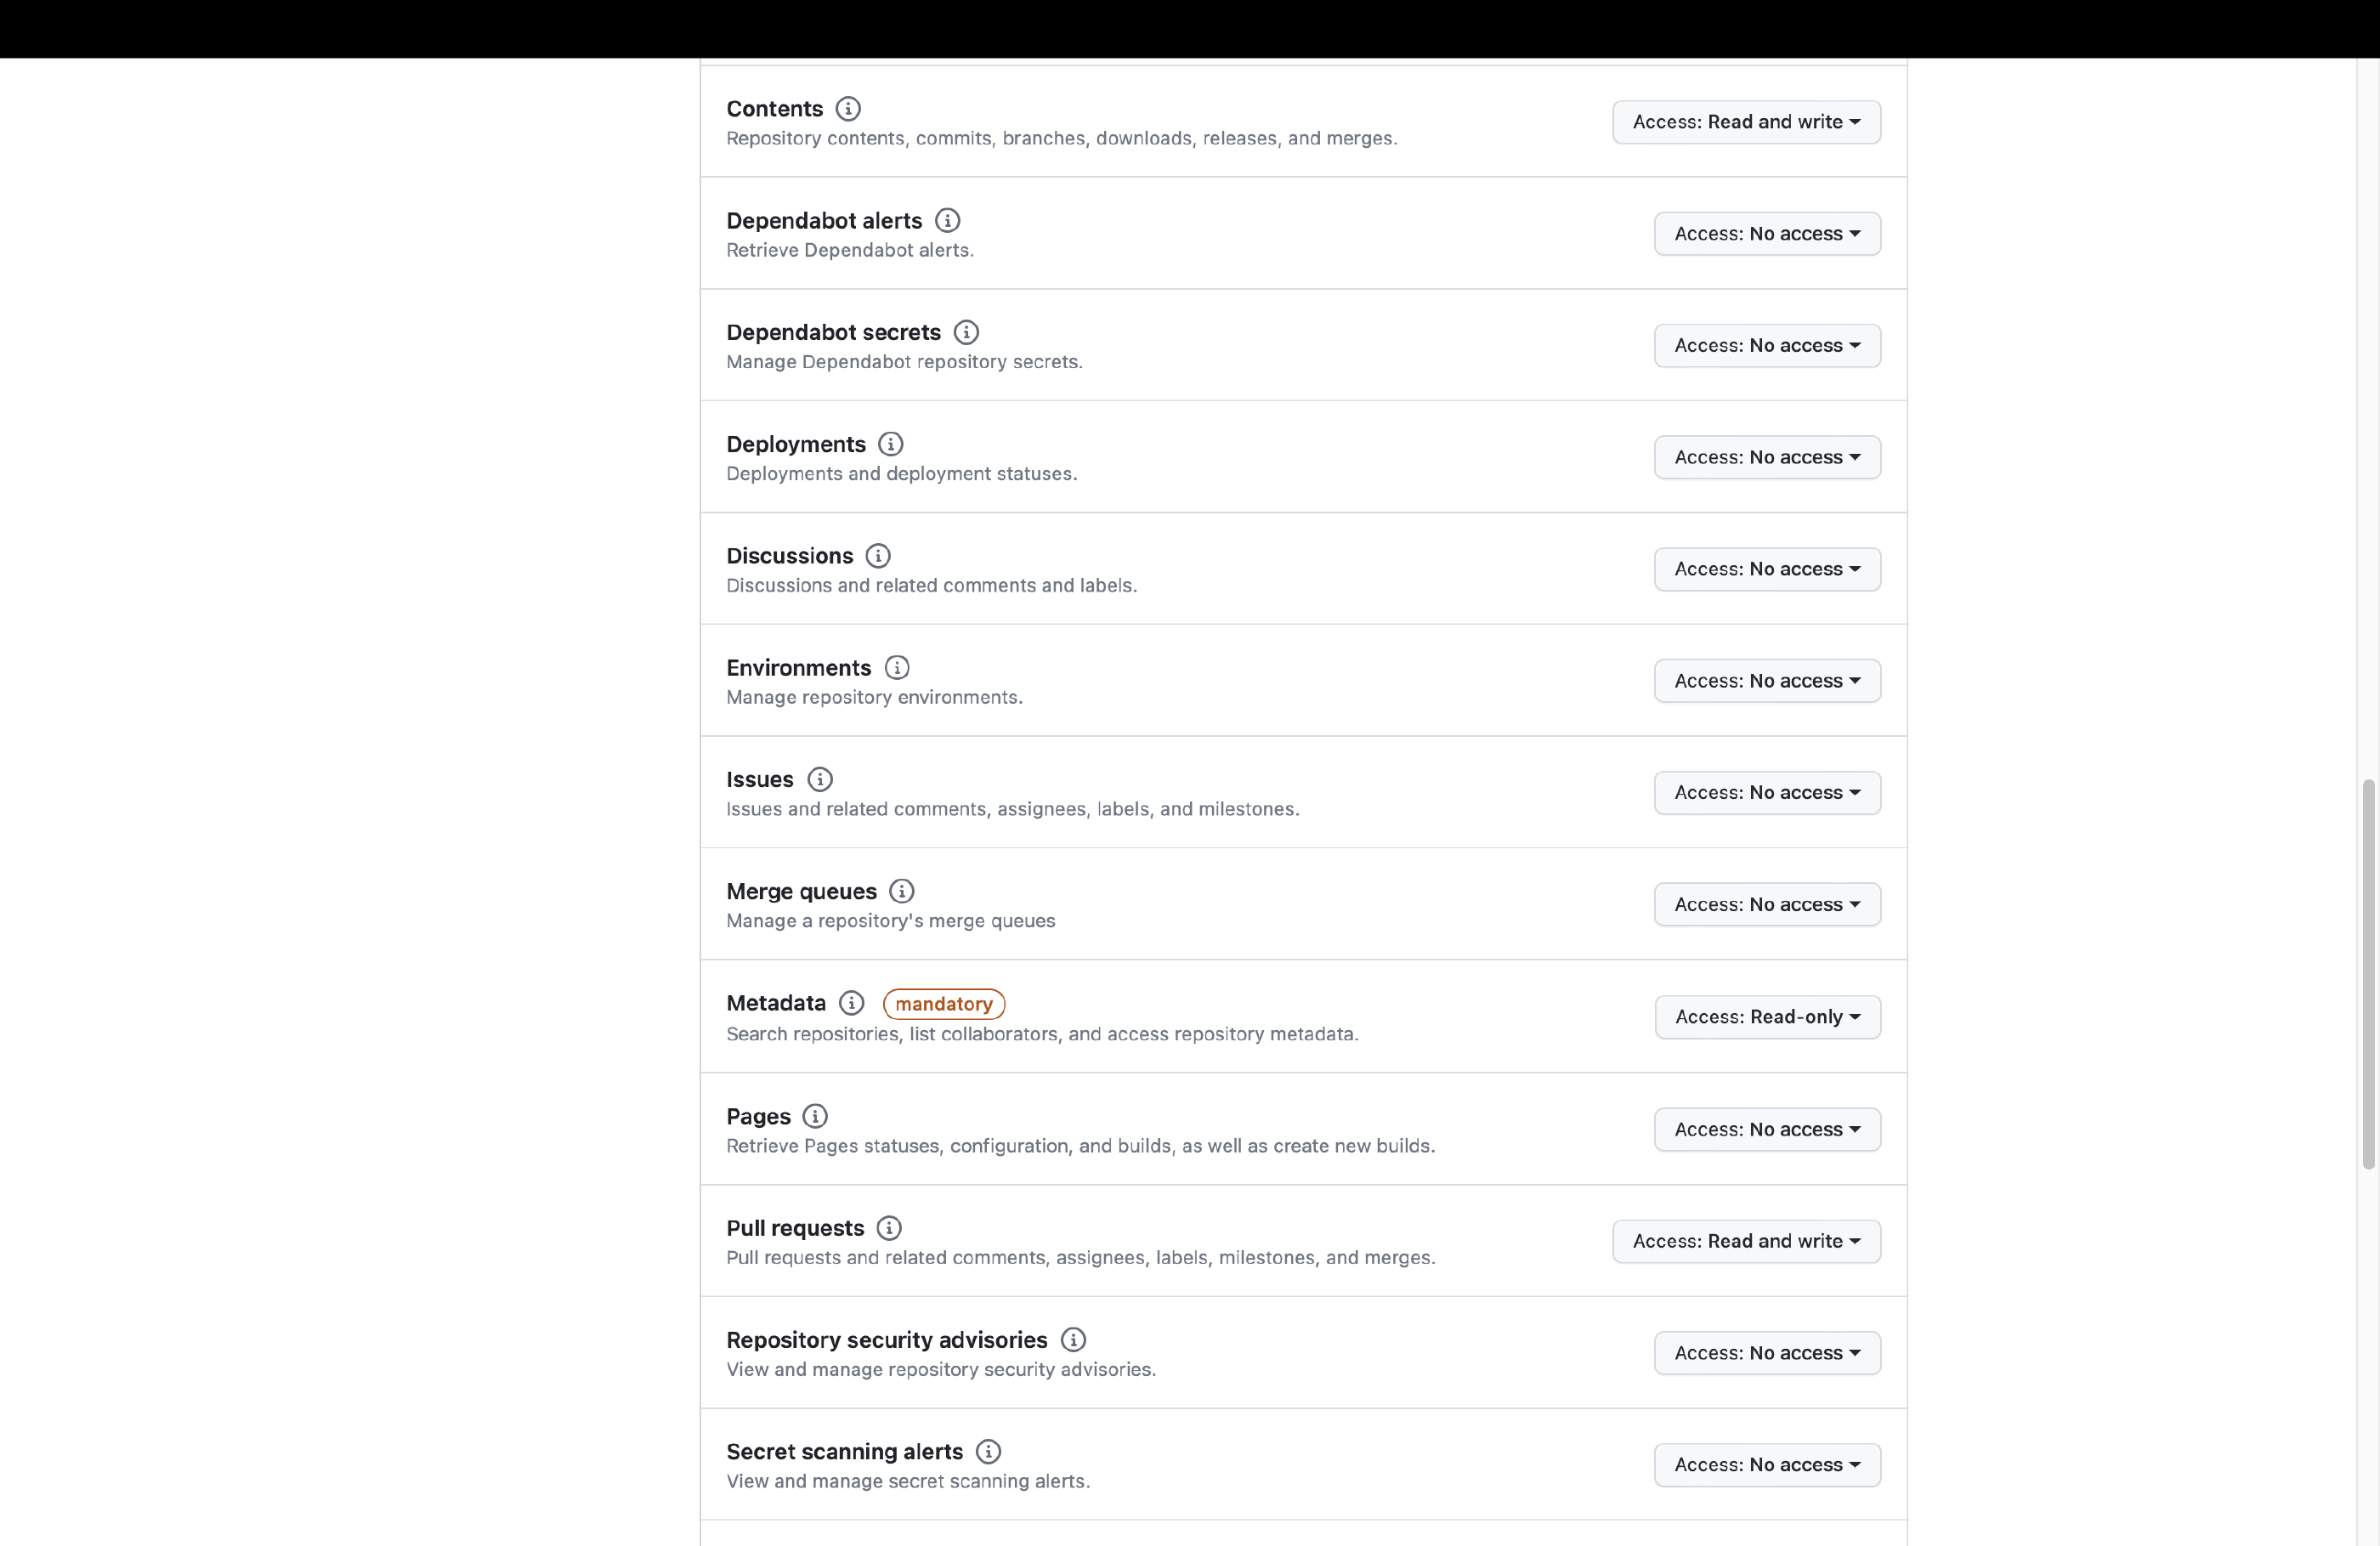
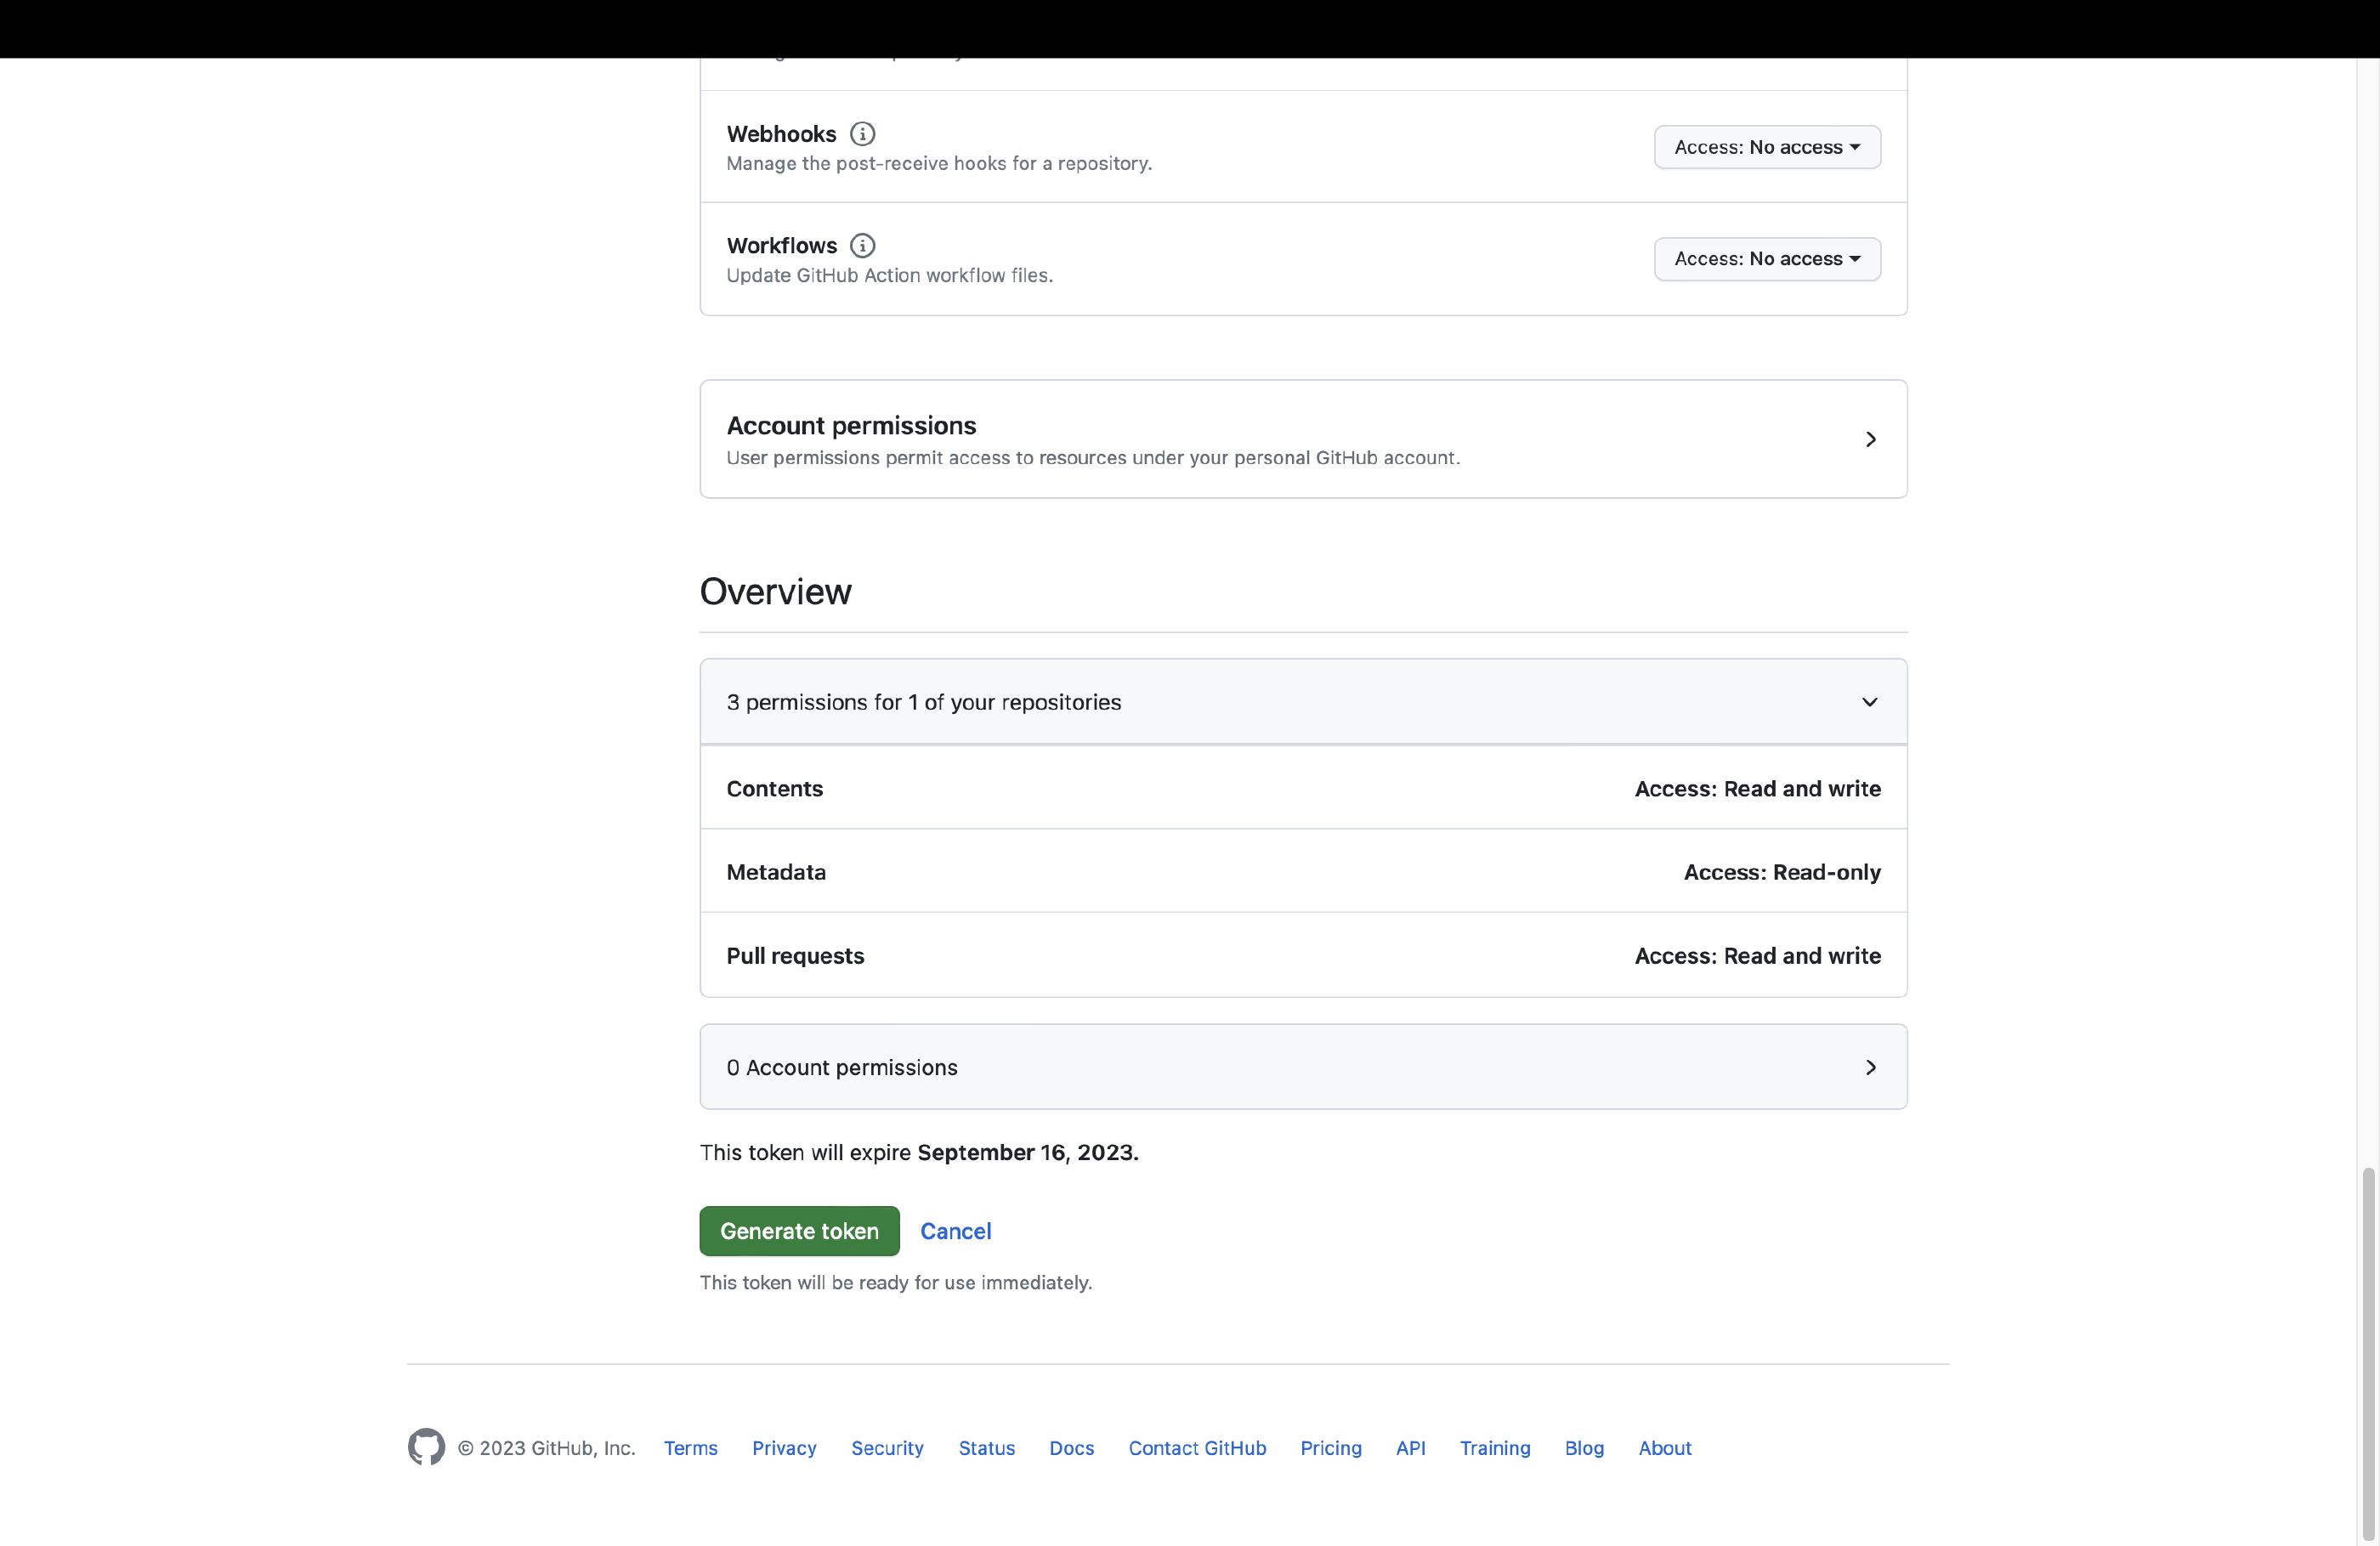
The Update Hugo Dependencies action requires elevated privileges. We will now create a new fine-grained Personal Access Token (PAT) called HUGO_MOD_PR to authorize this action to run on our behalf. Set up the token in the Developer settings of your Account settings on GitHub. The token requires access to your repository with the following permissions:
- Read and Write access to content (code) and pull requests
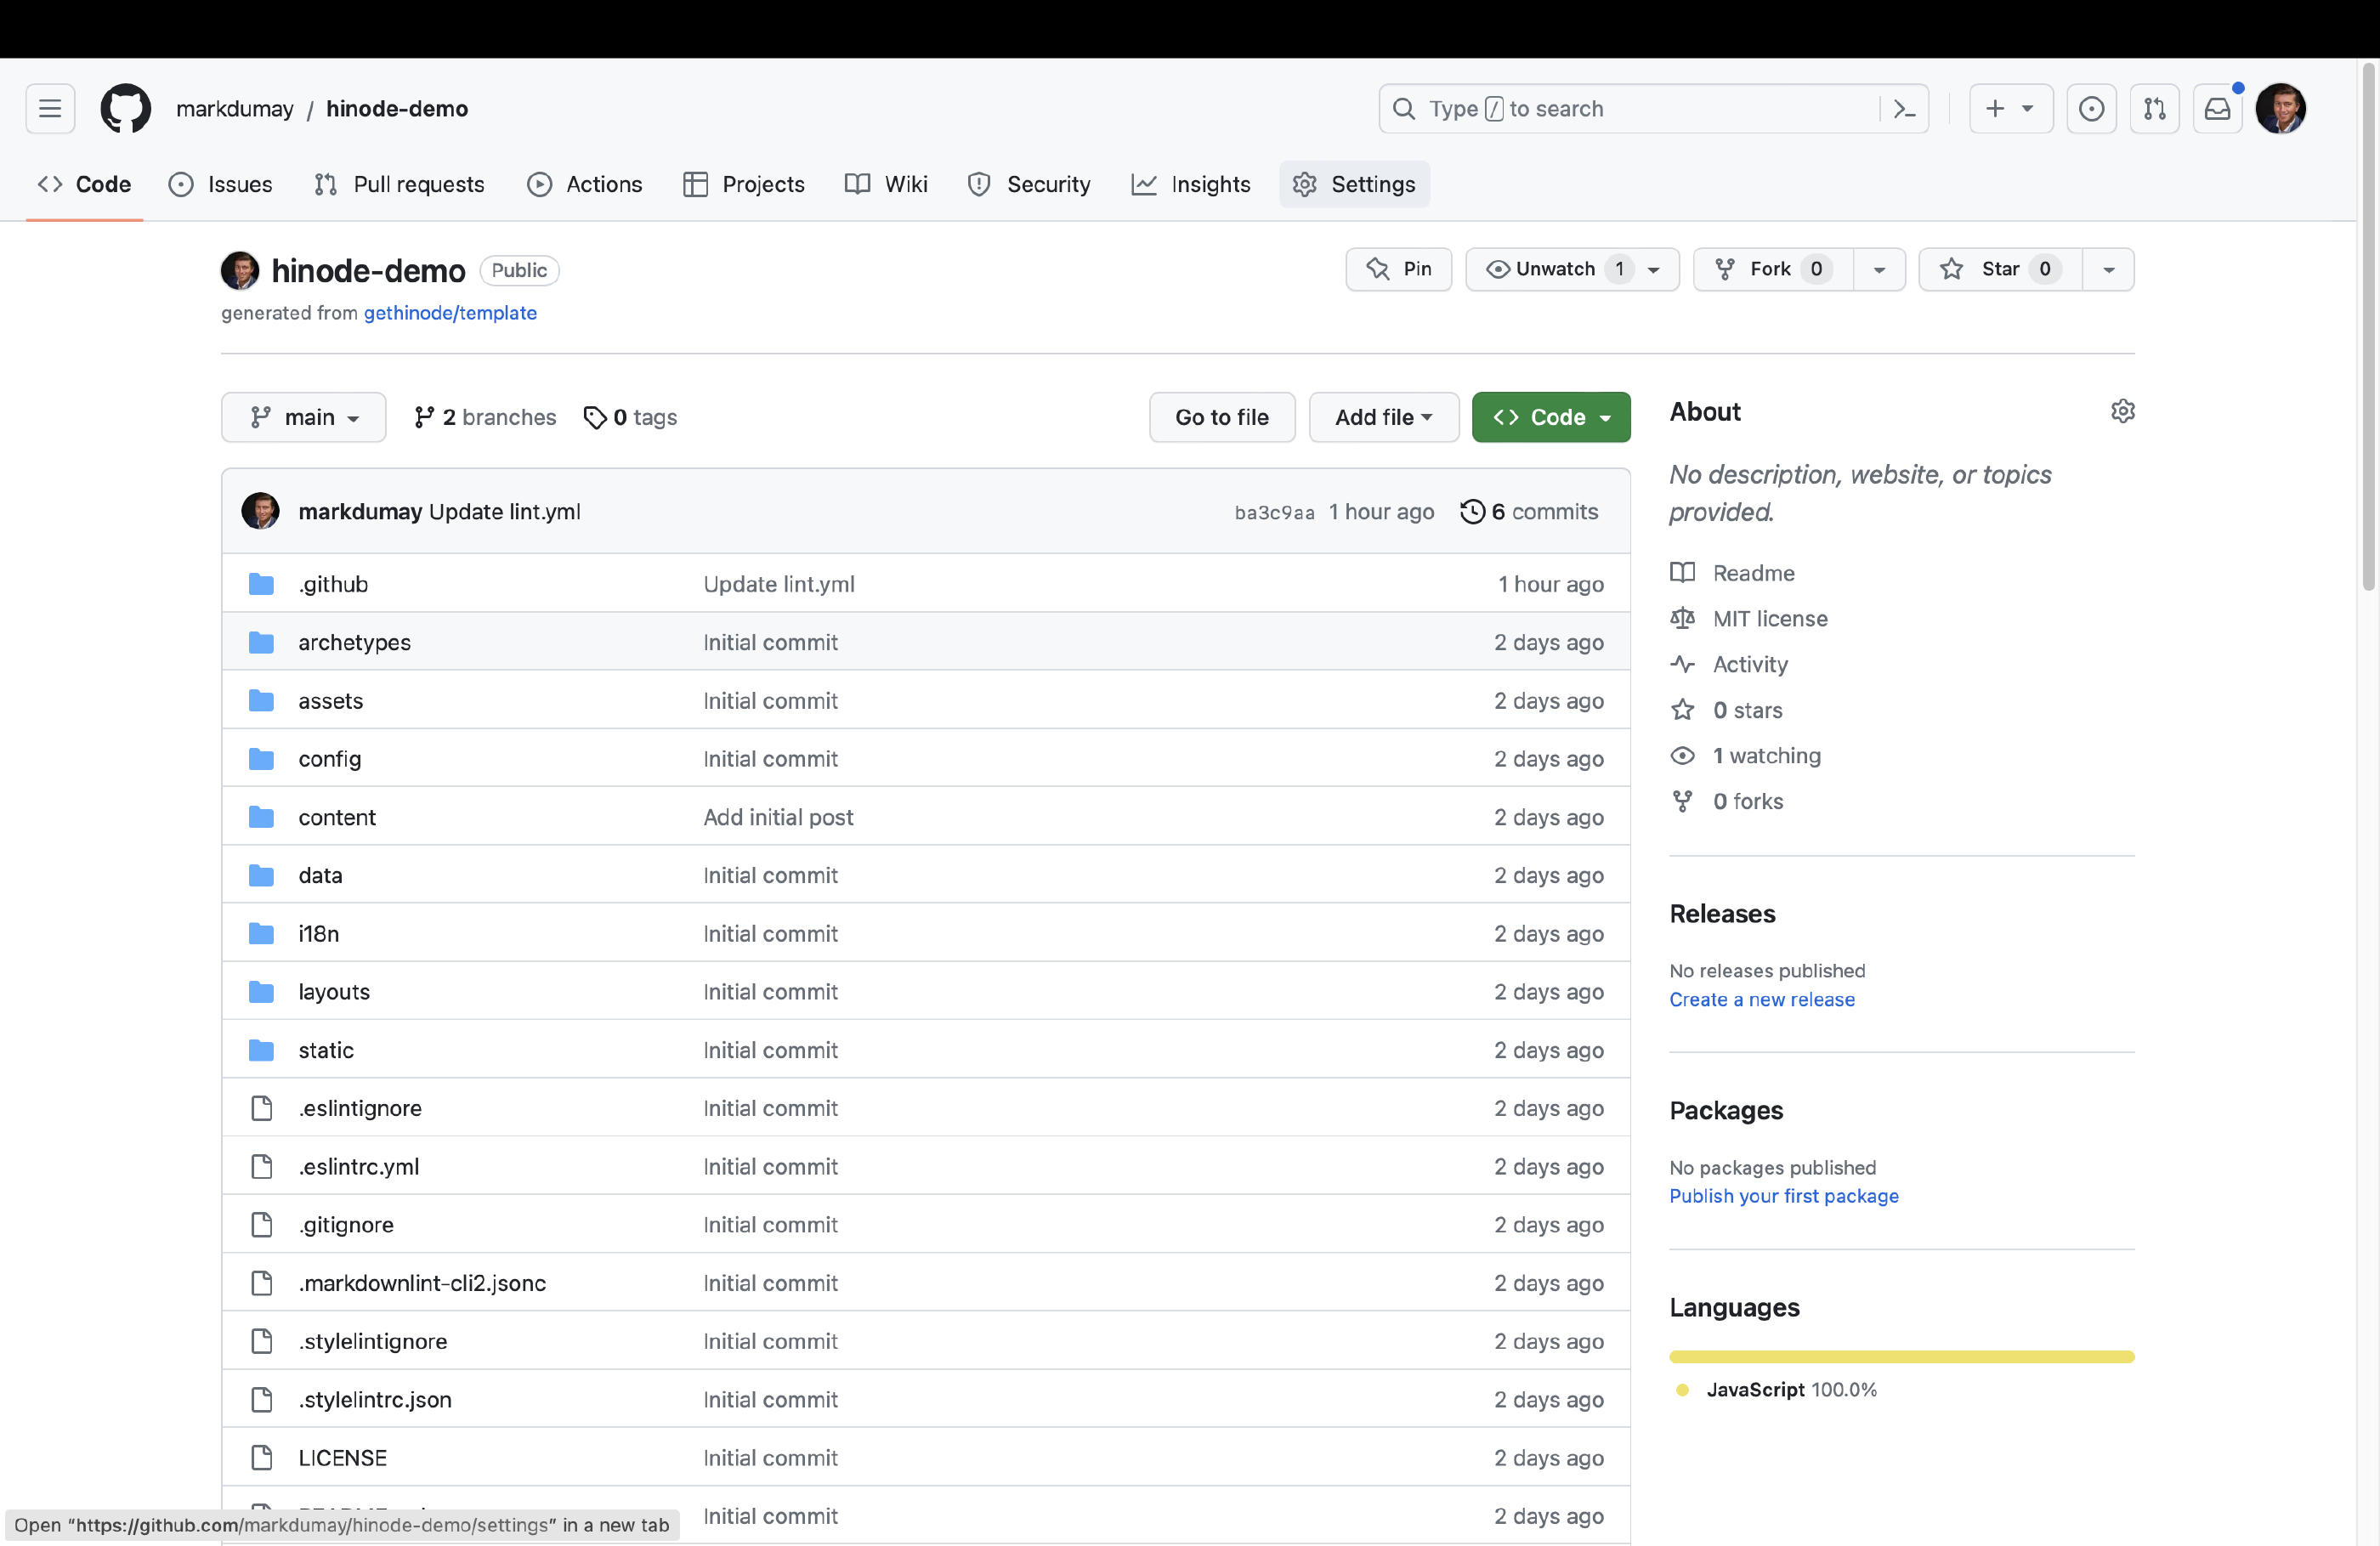
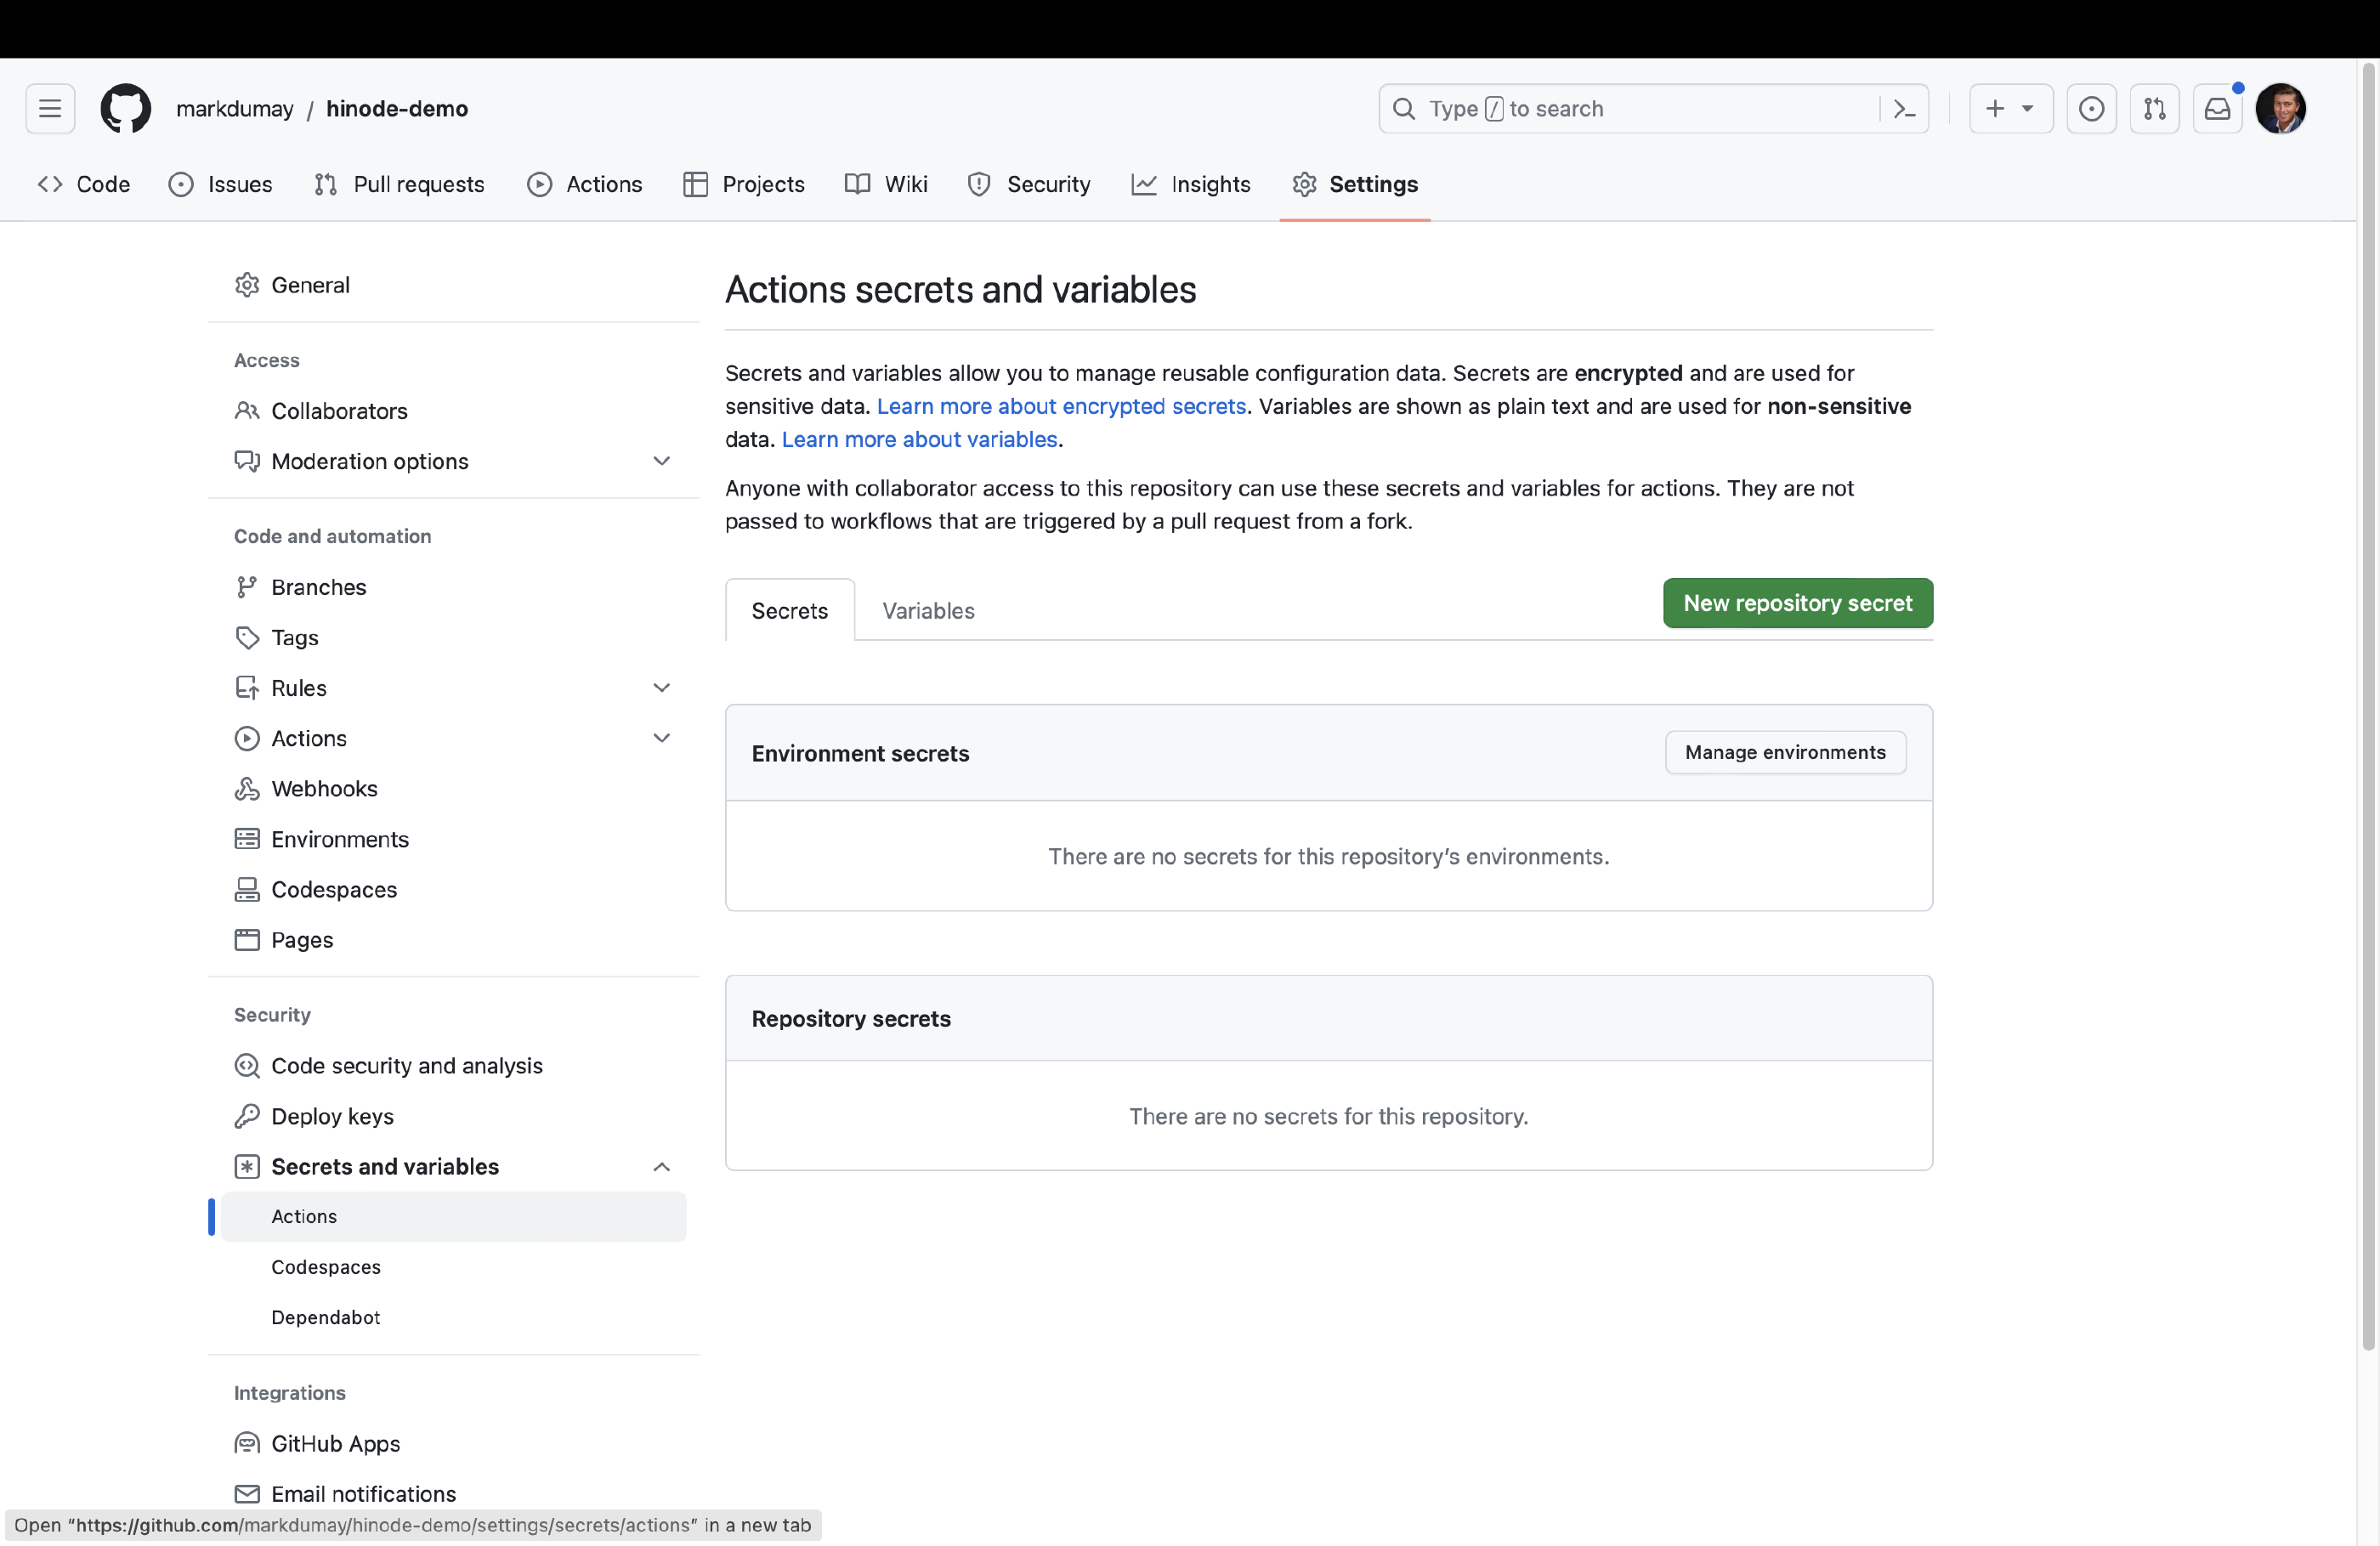
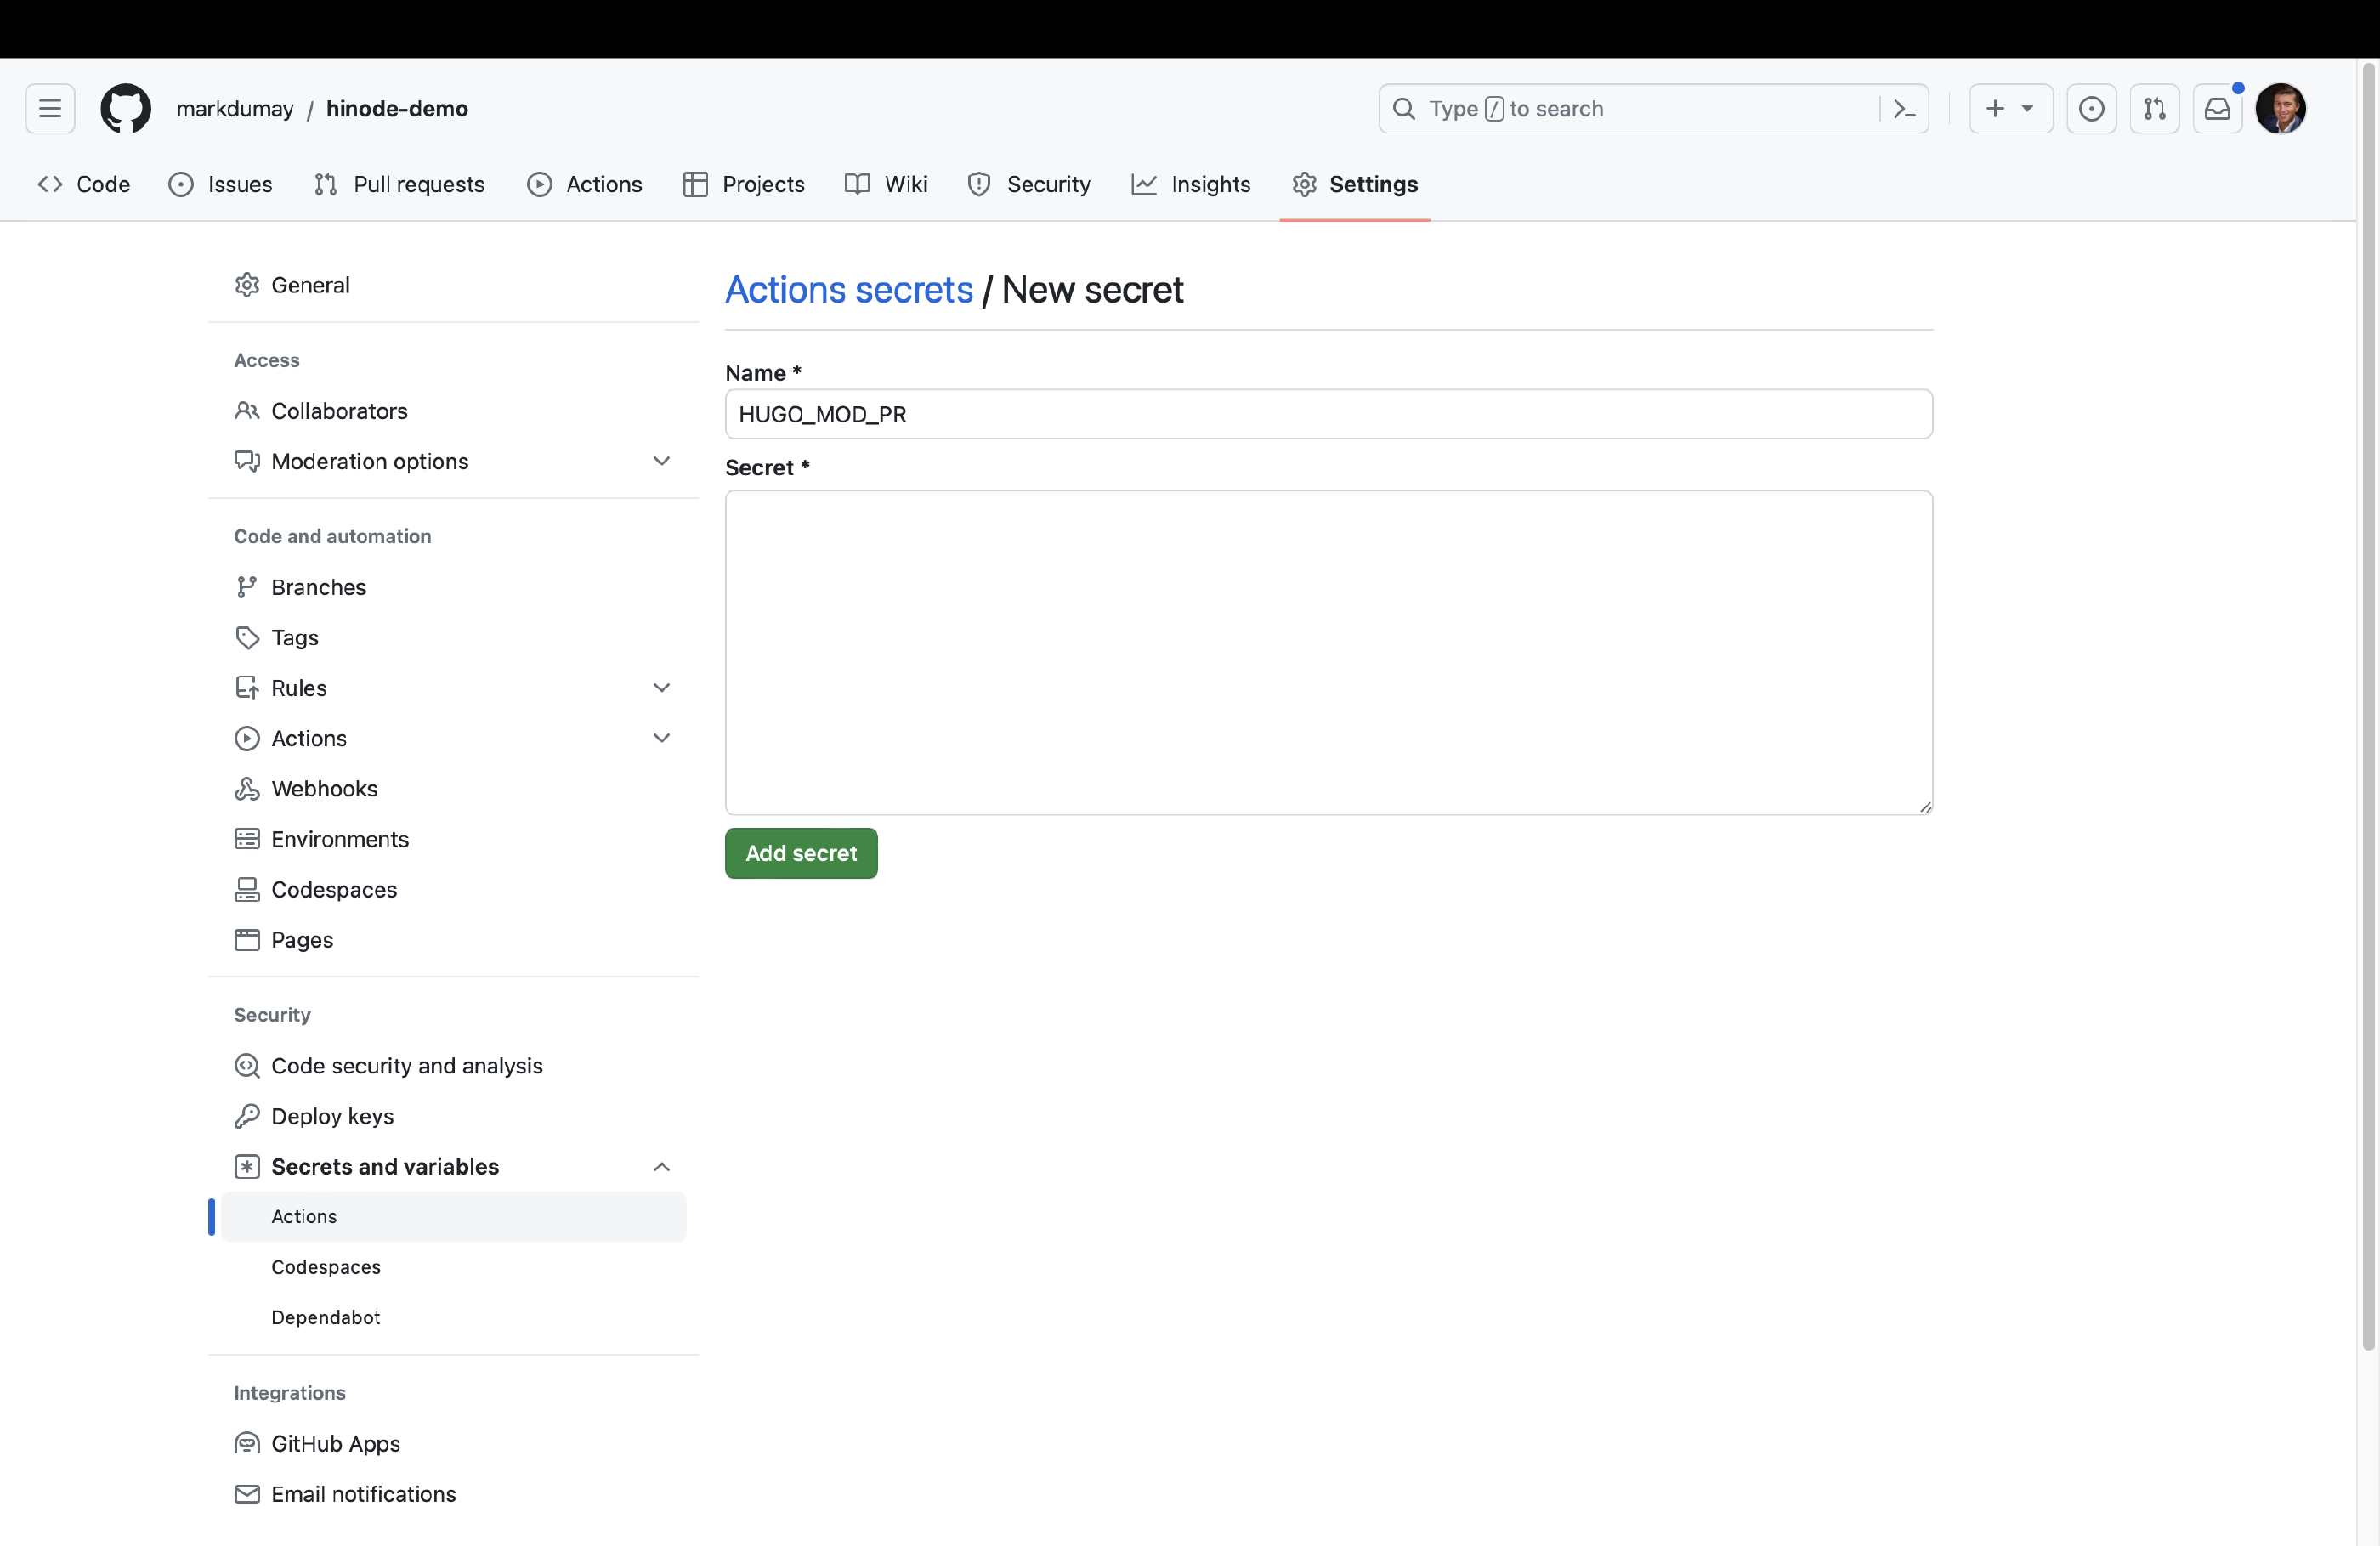
When done, head over to action secret in the security section of the repository configuration. Create a new Repository token with the name HUGO_MOD_PR in your repository configuration and paste the PAT as content. Click on Add secret to add it to your repository.
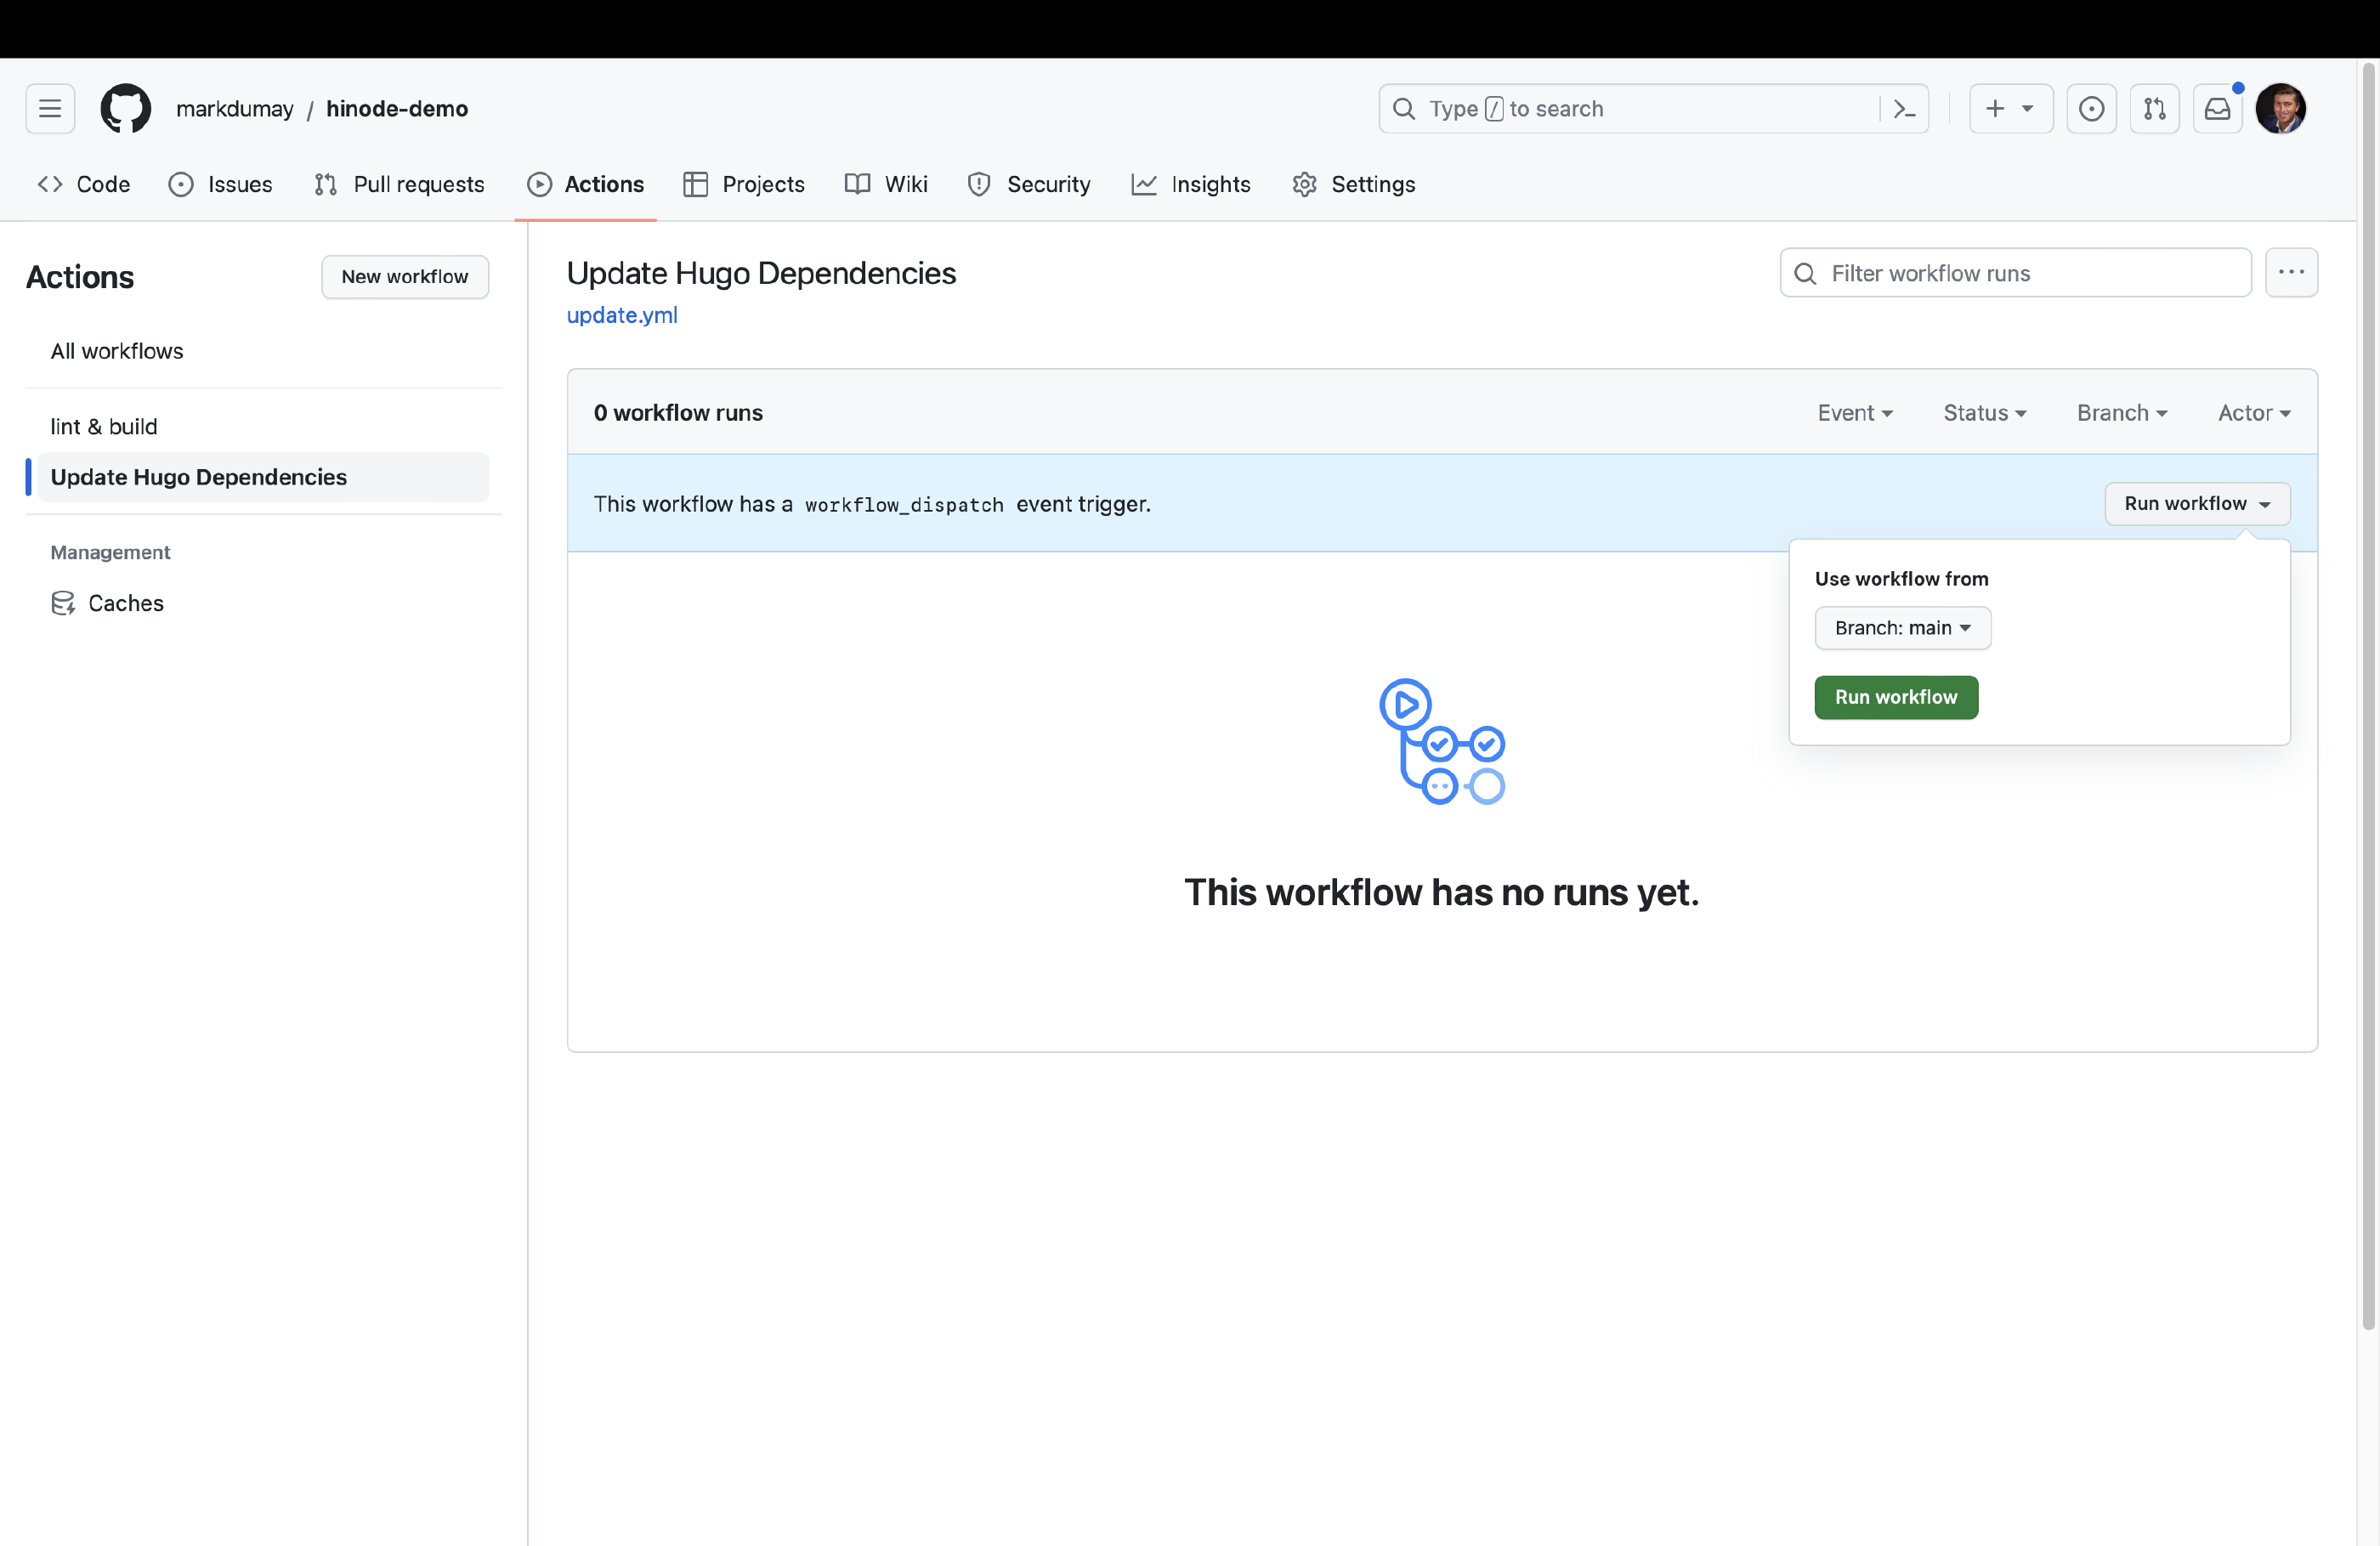
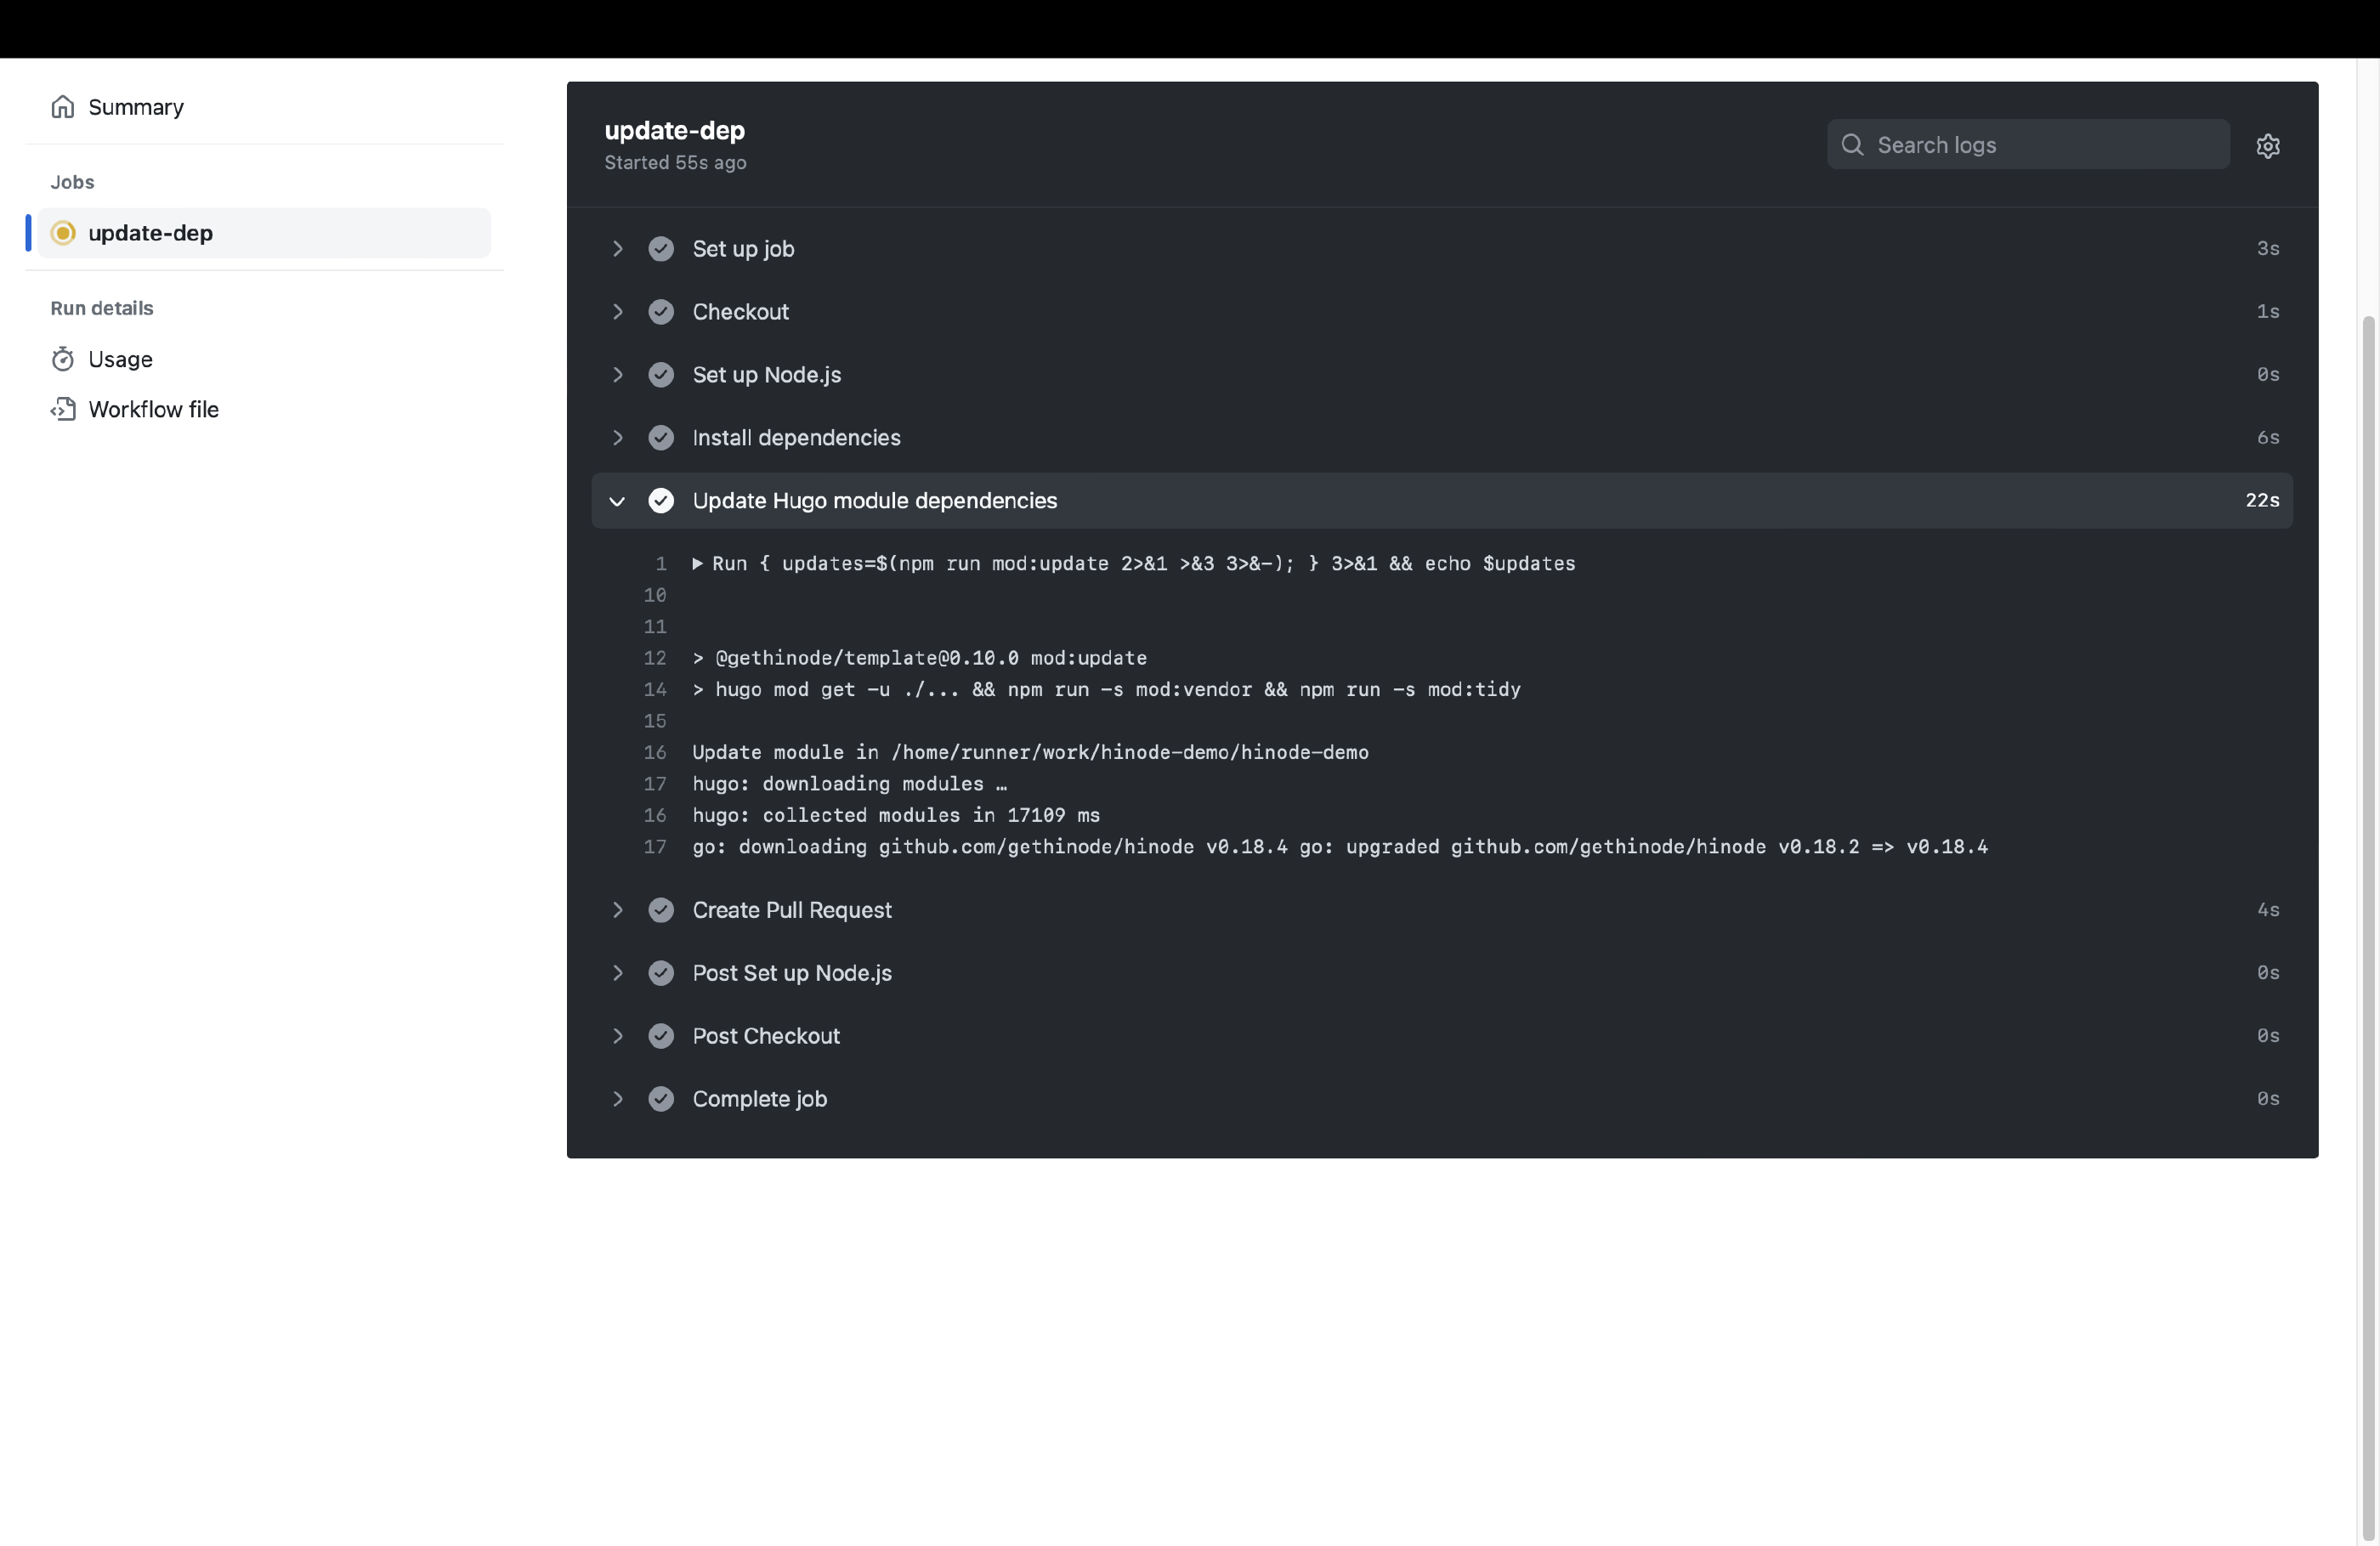
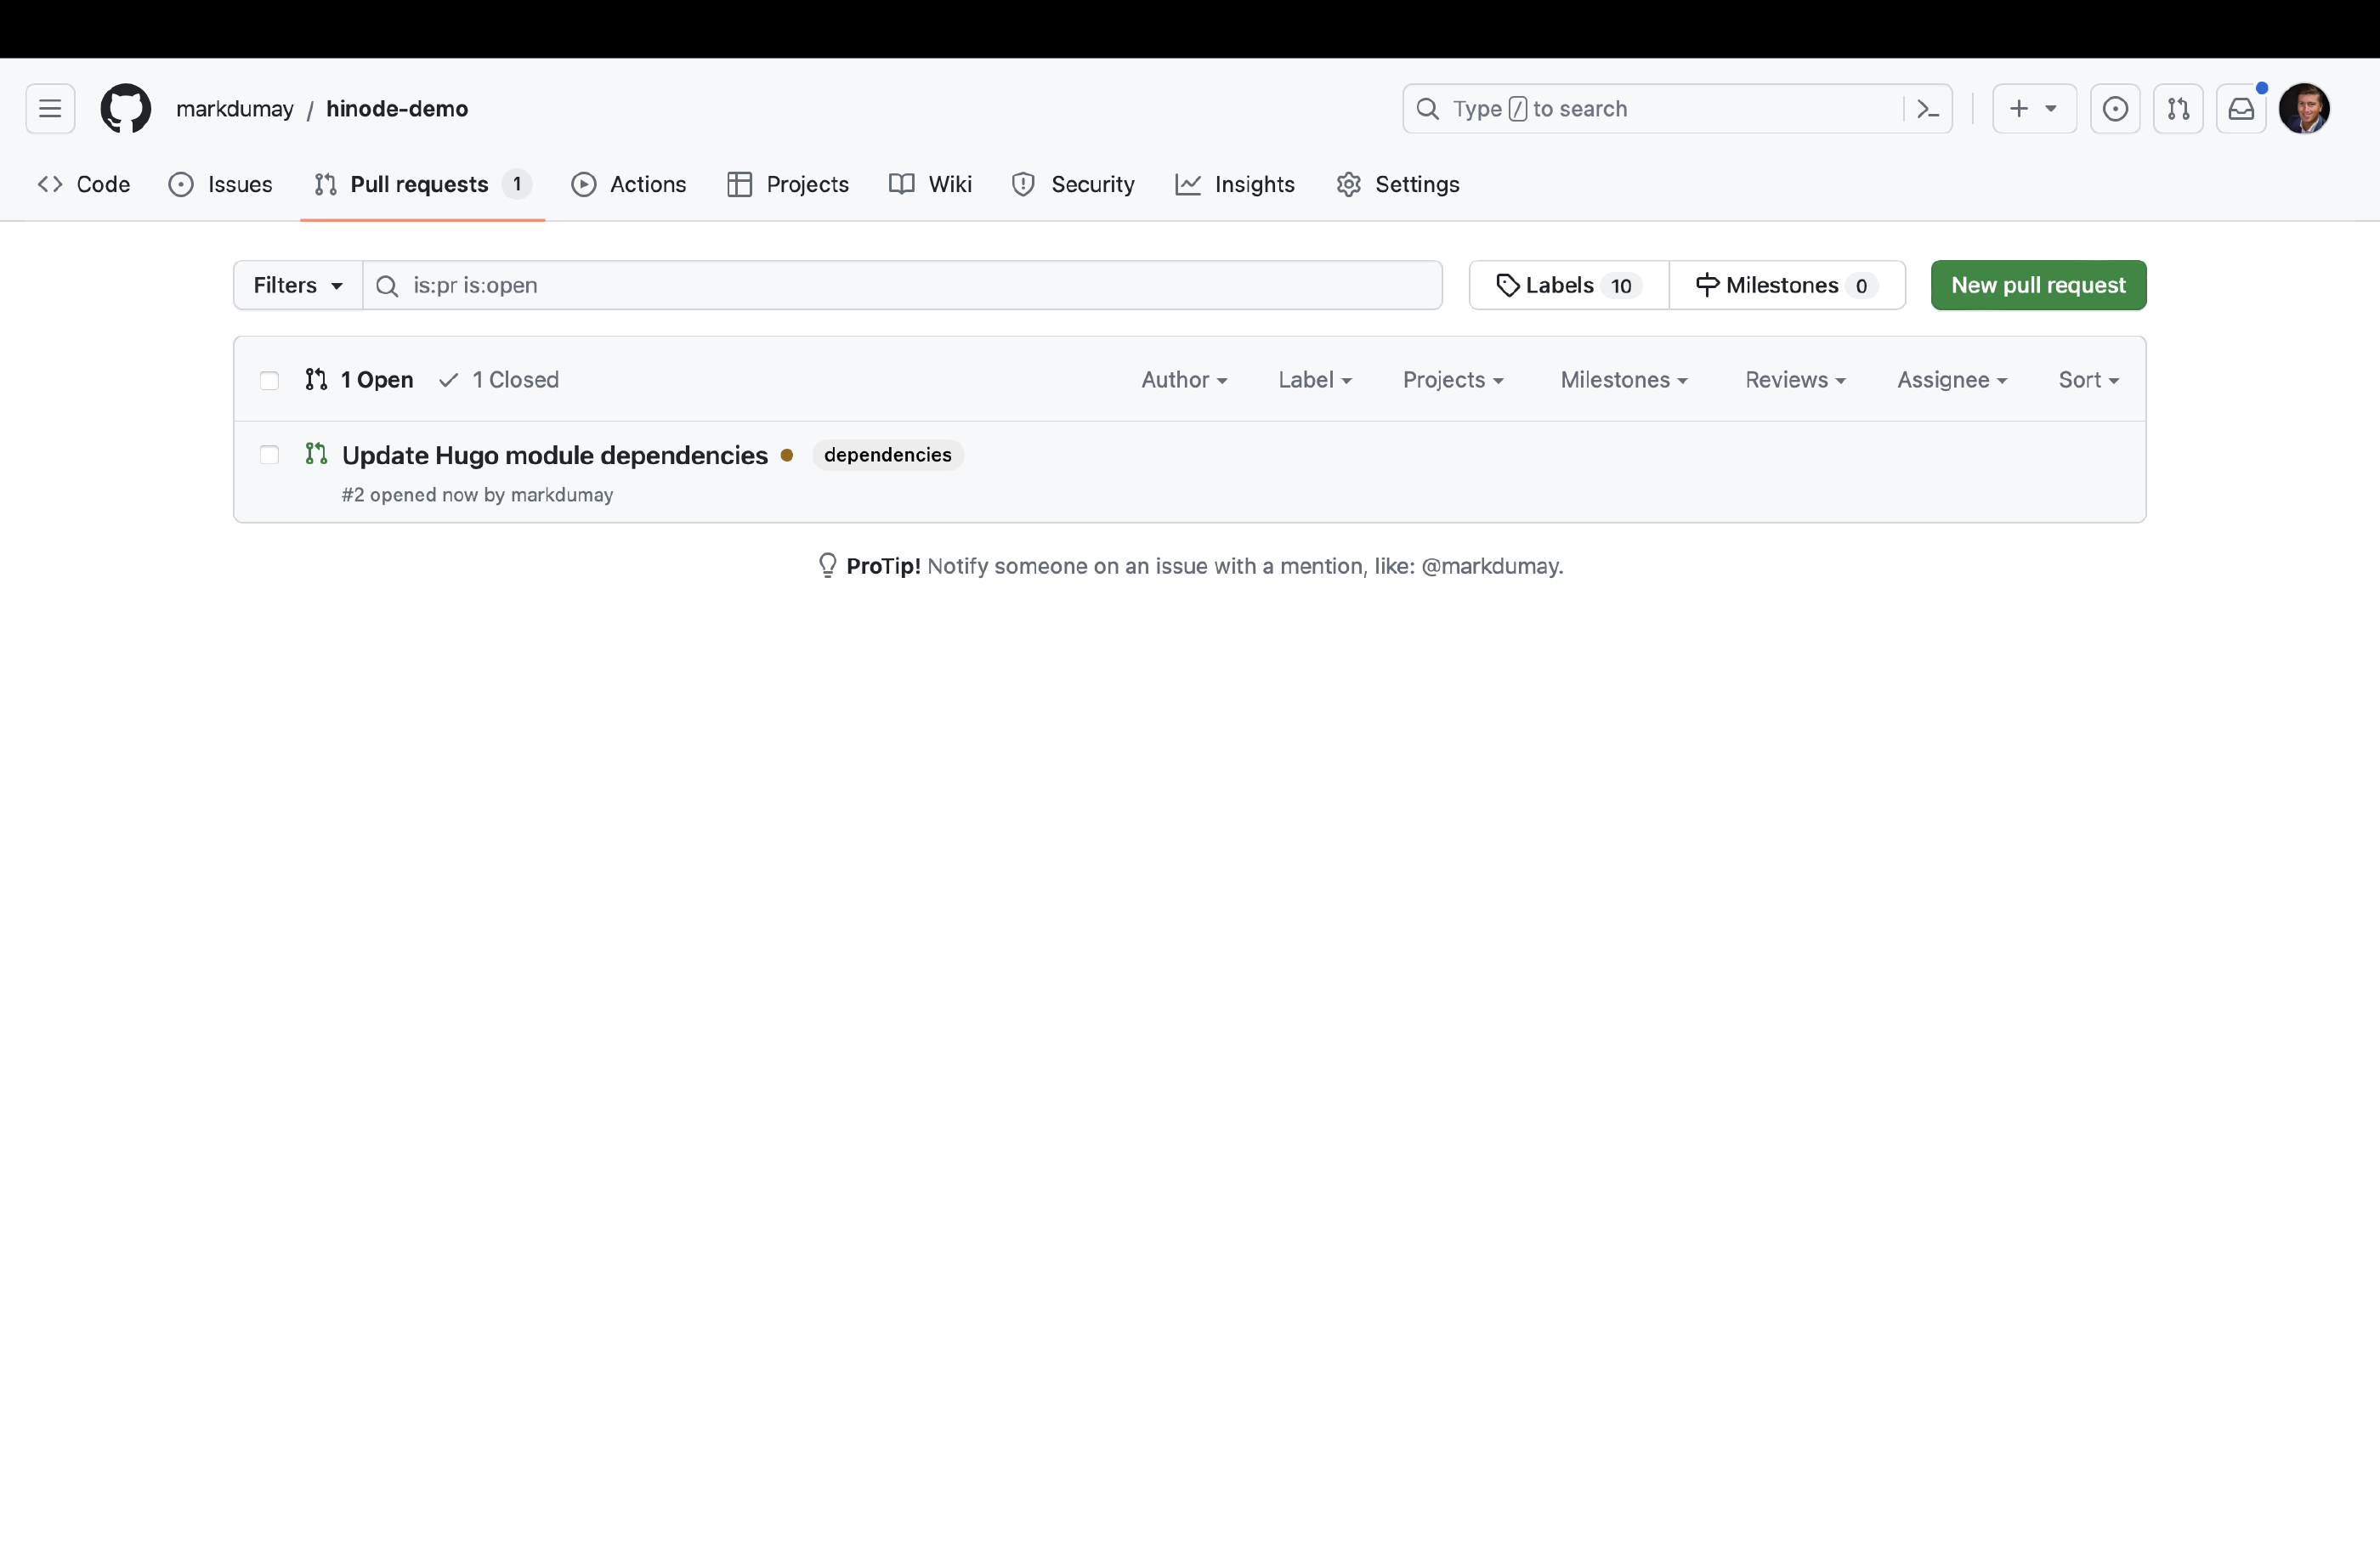
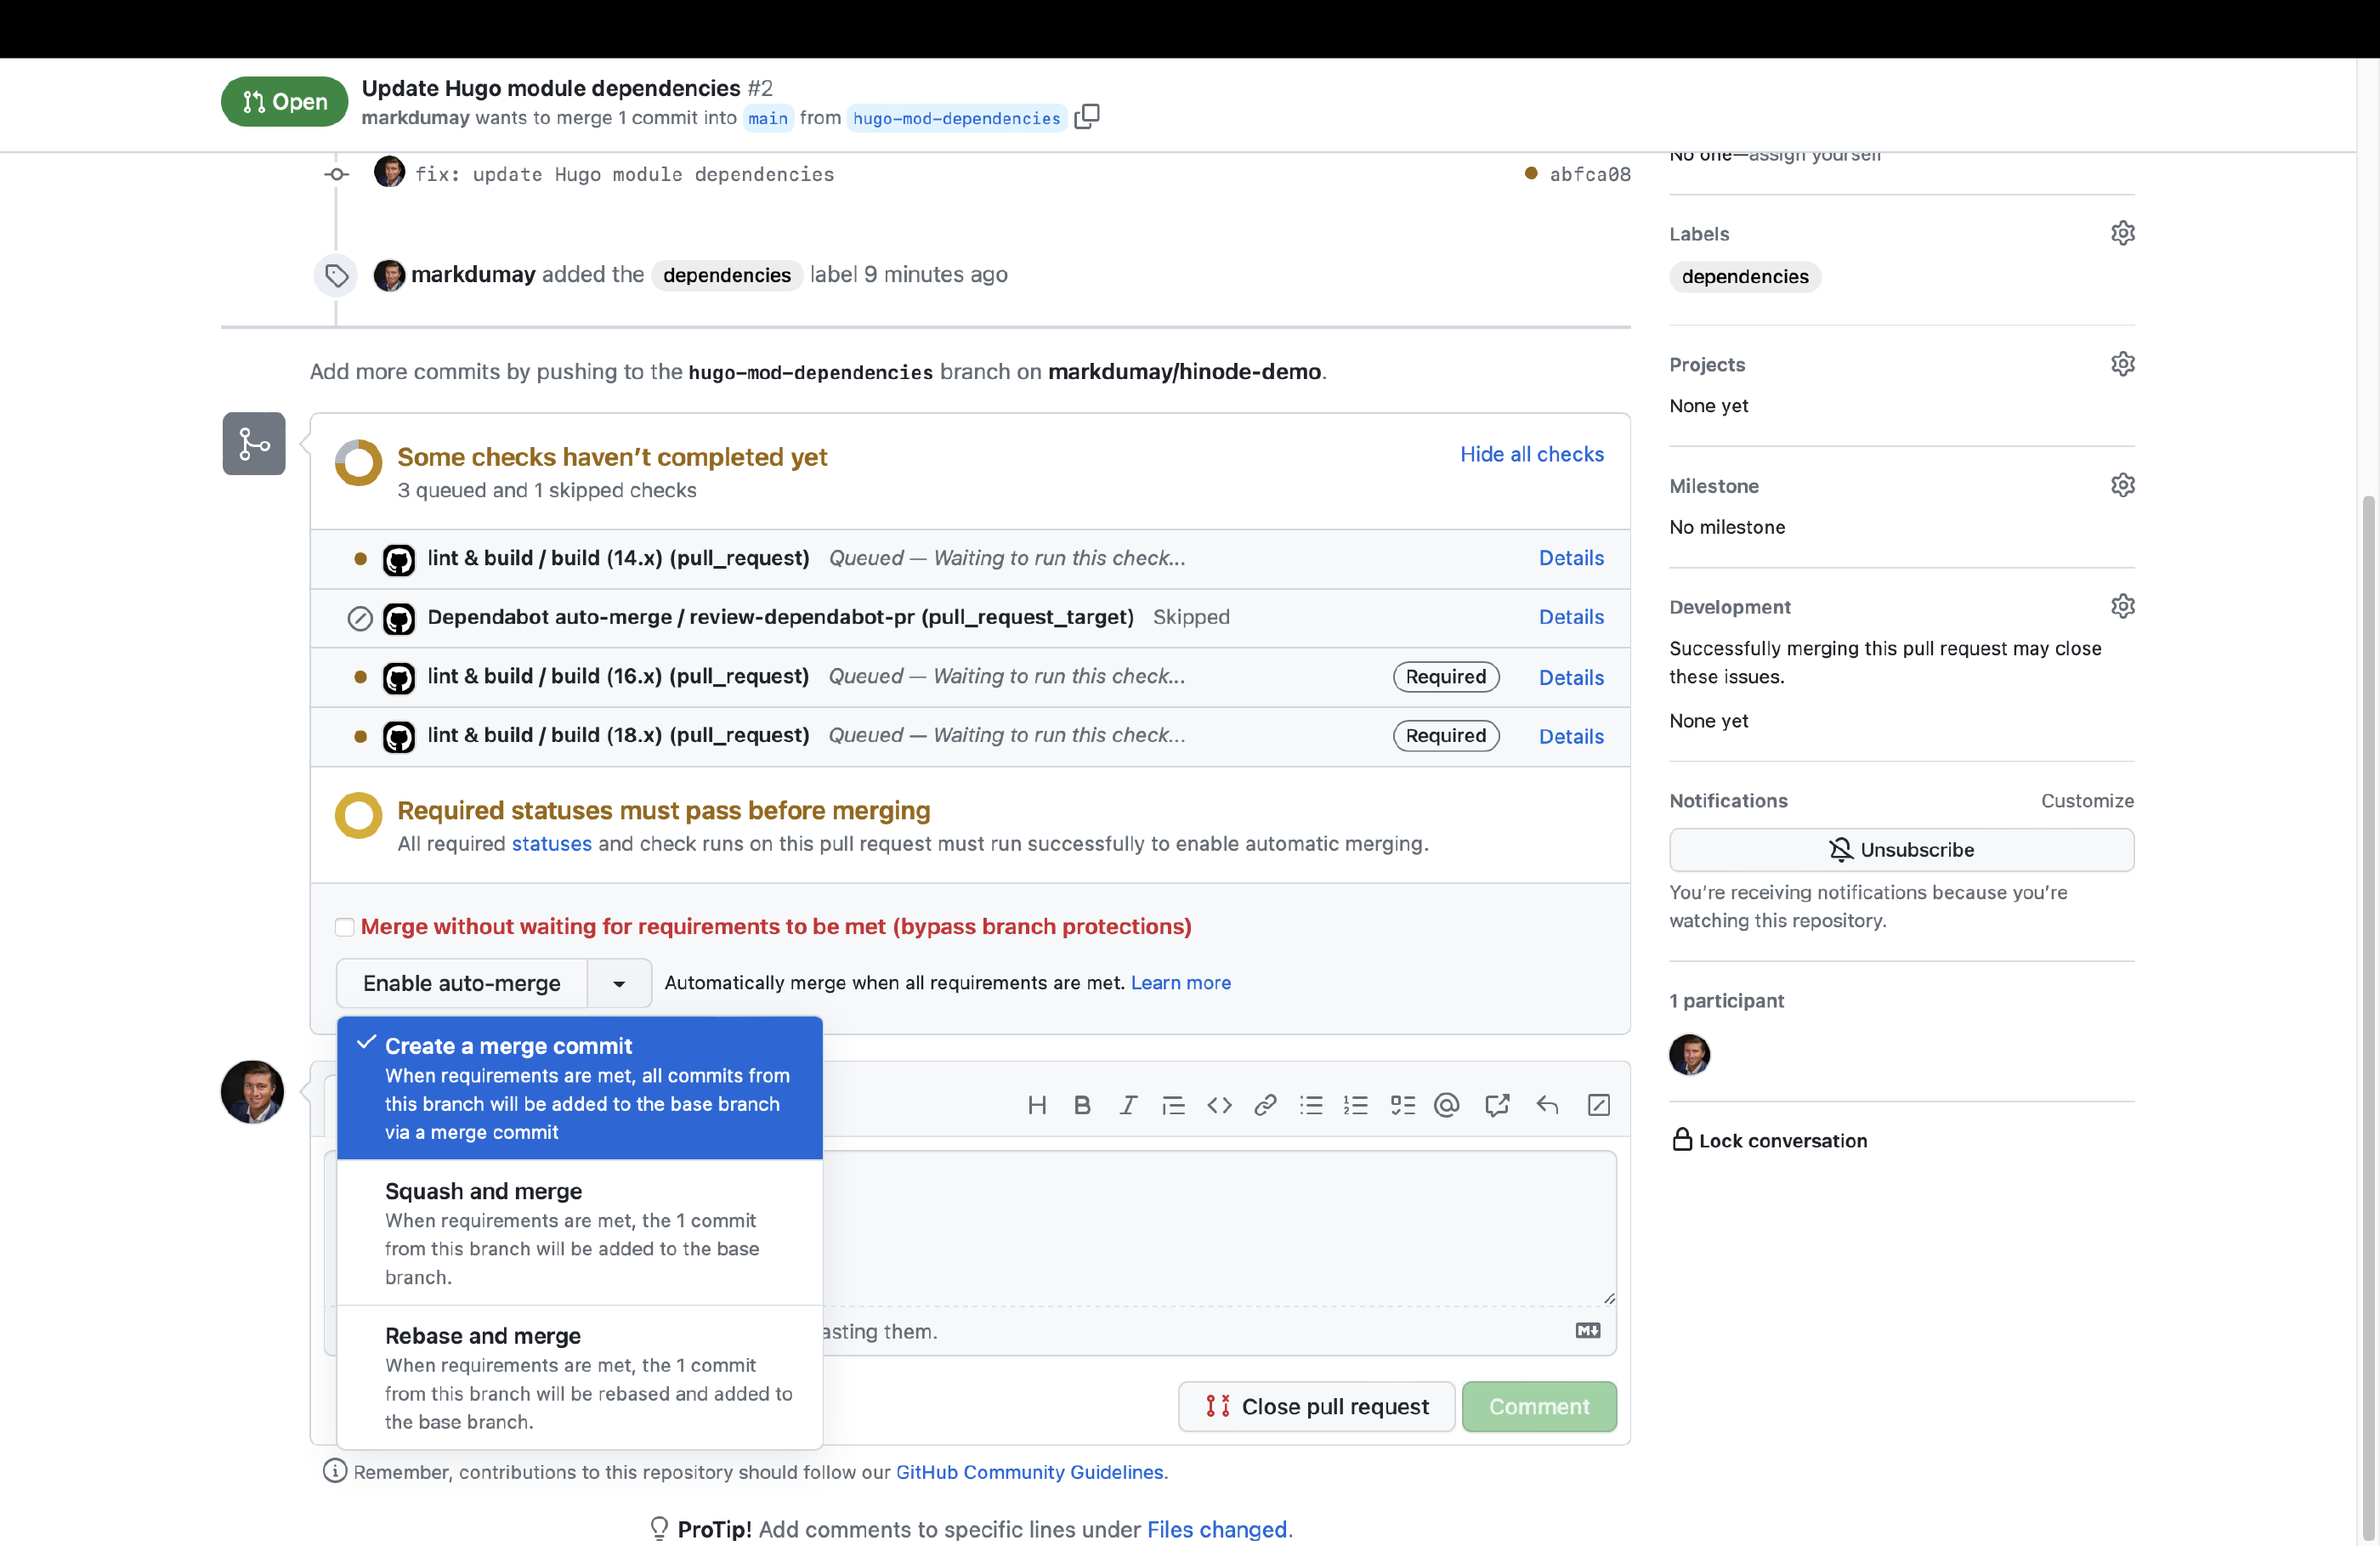
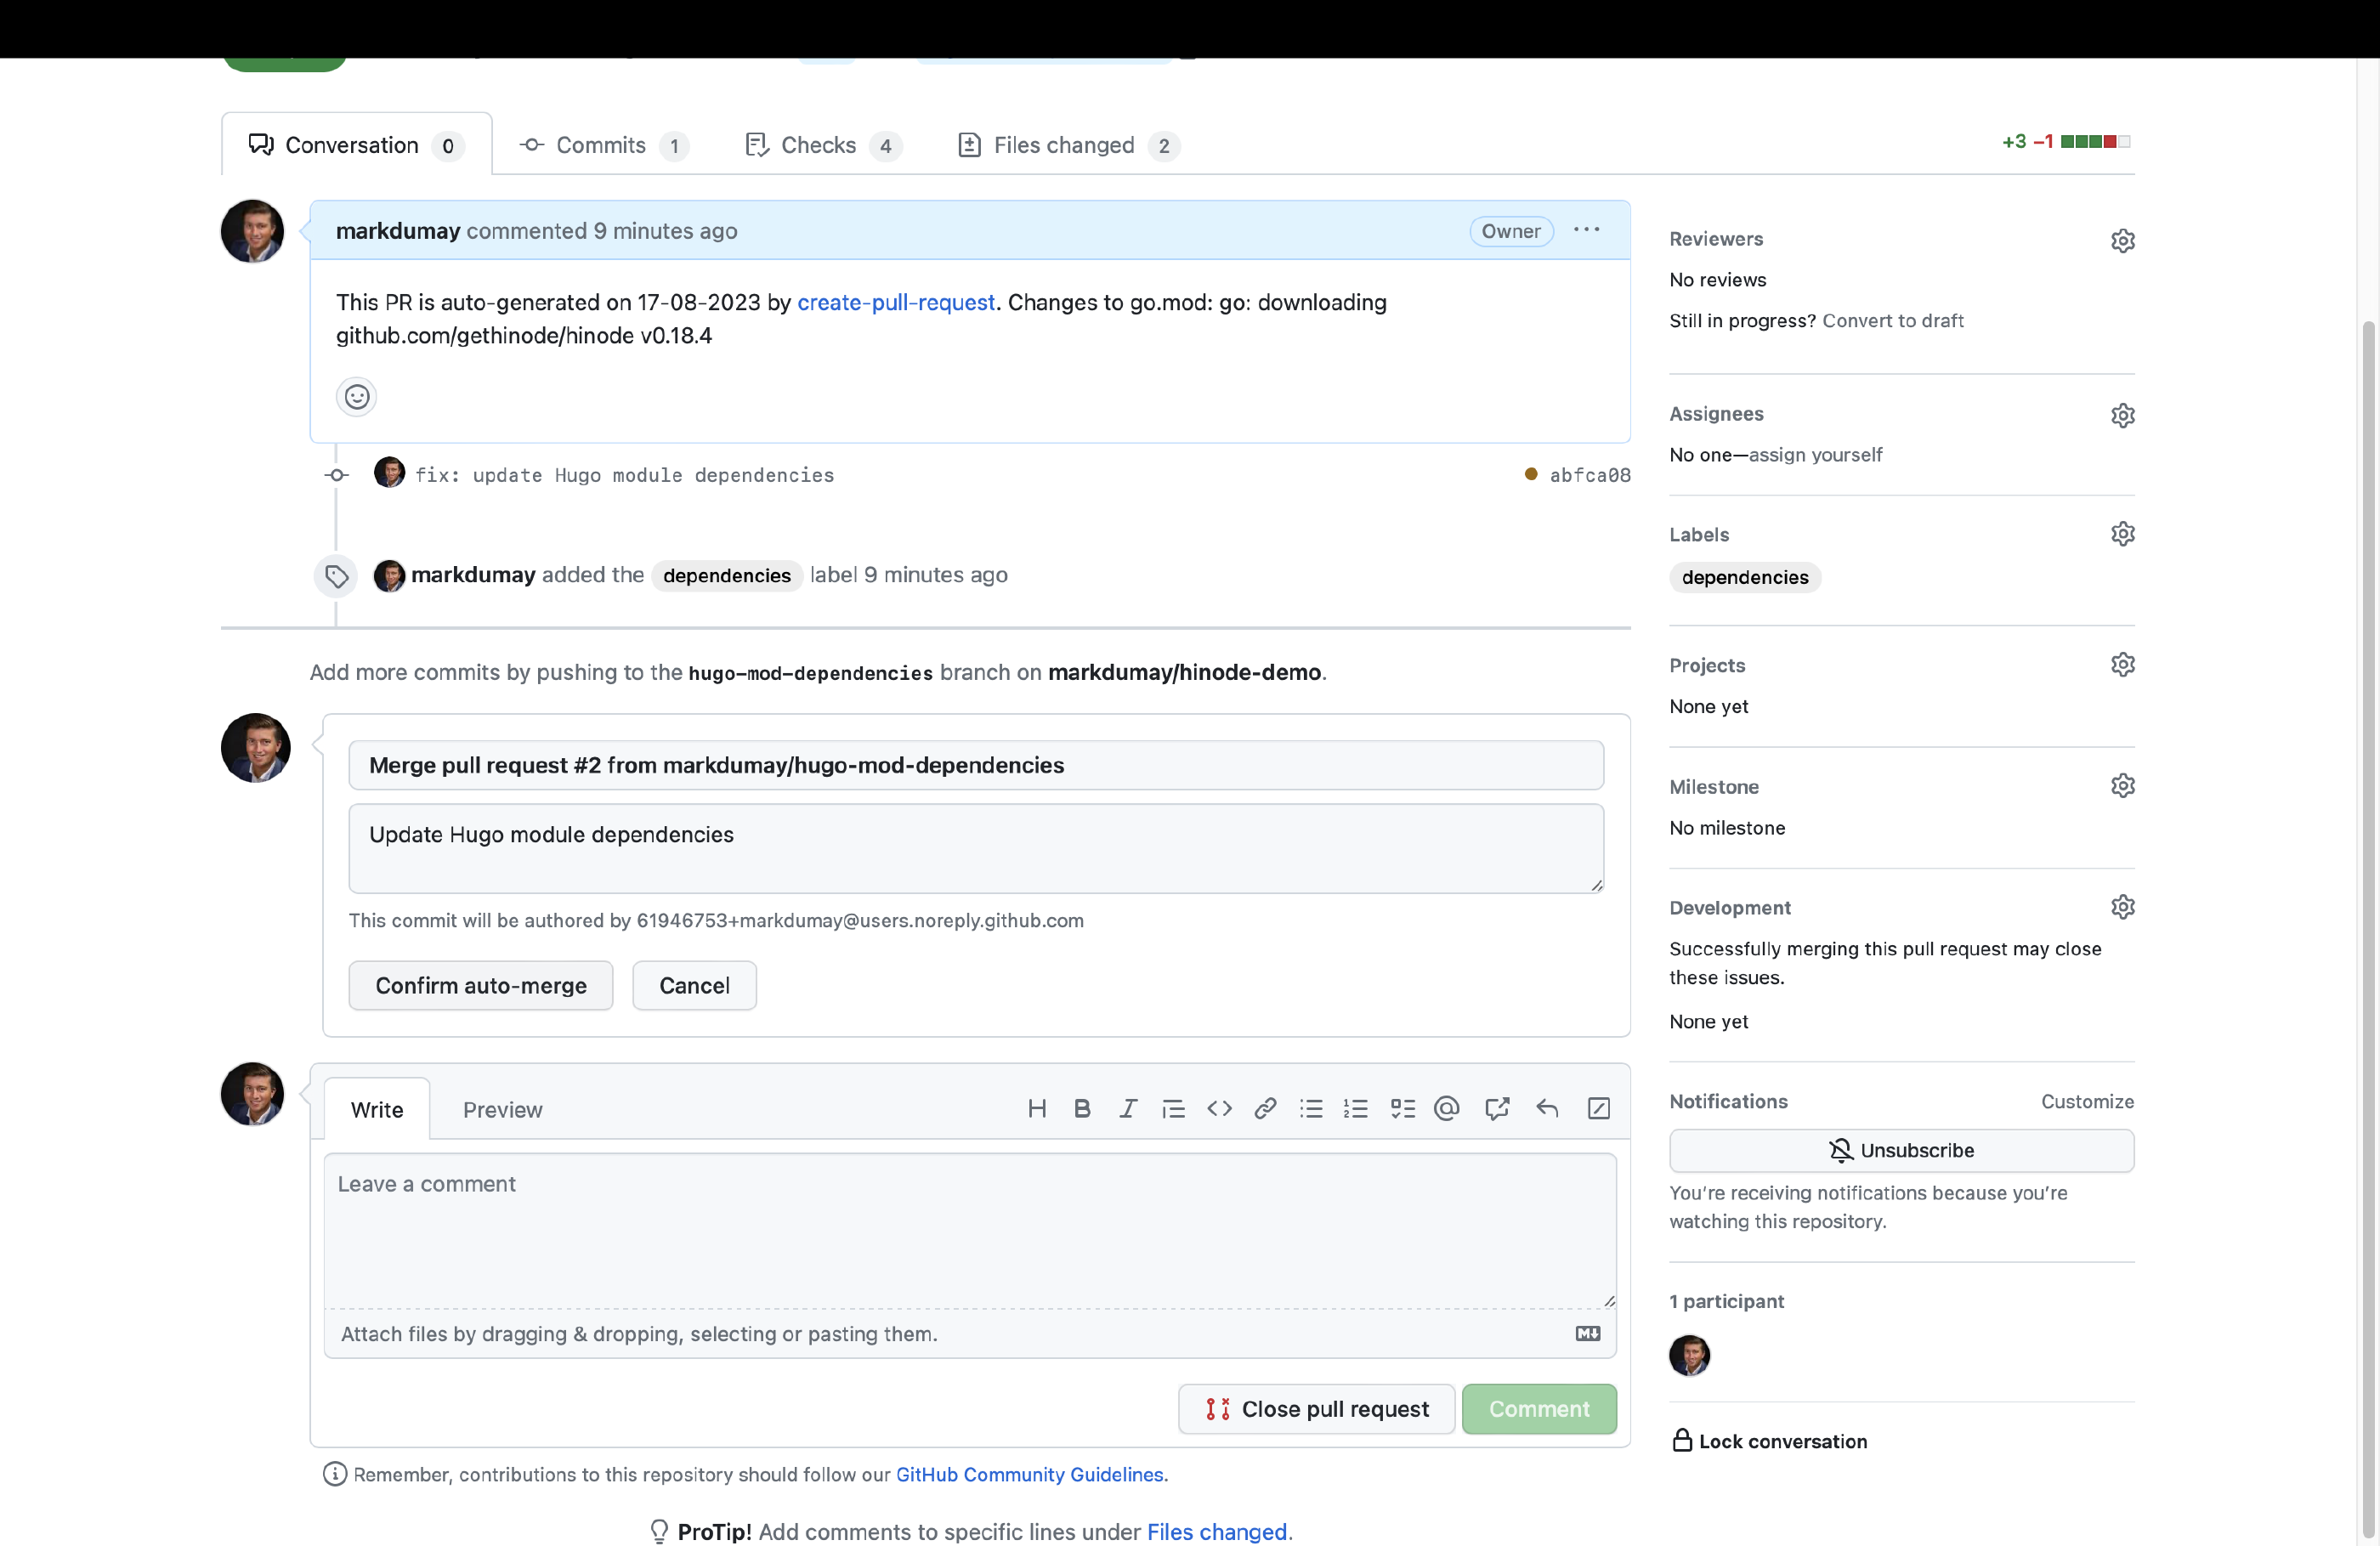
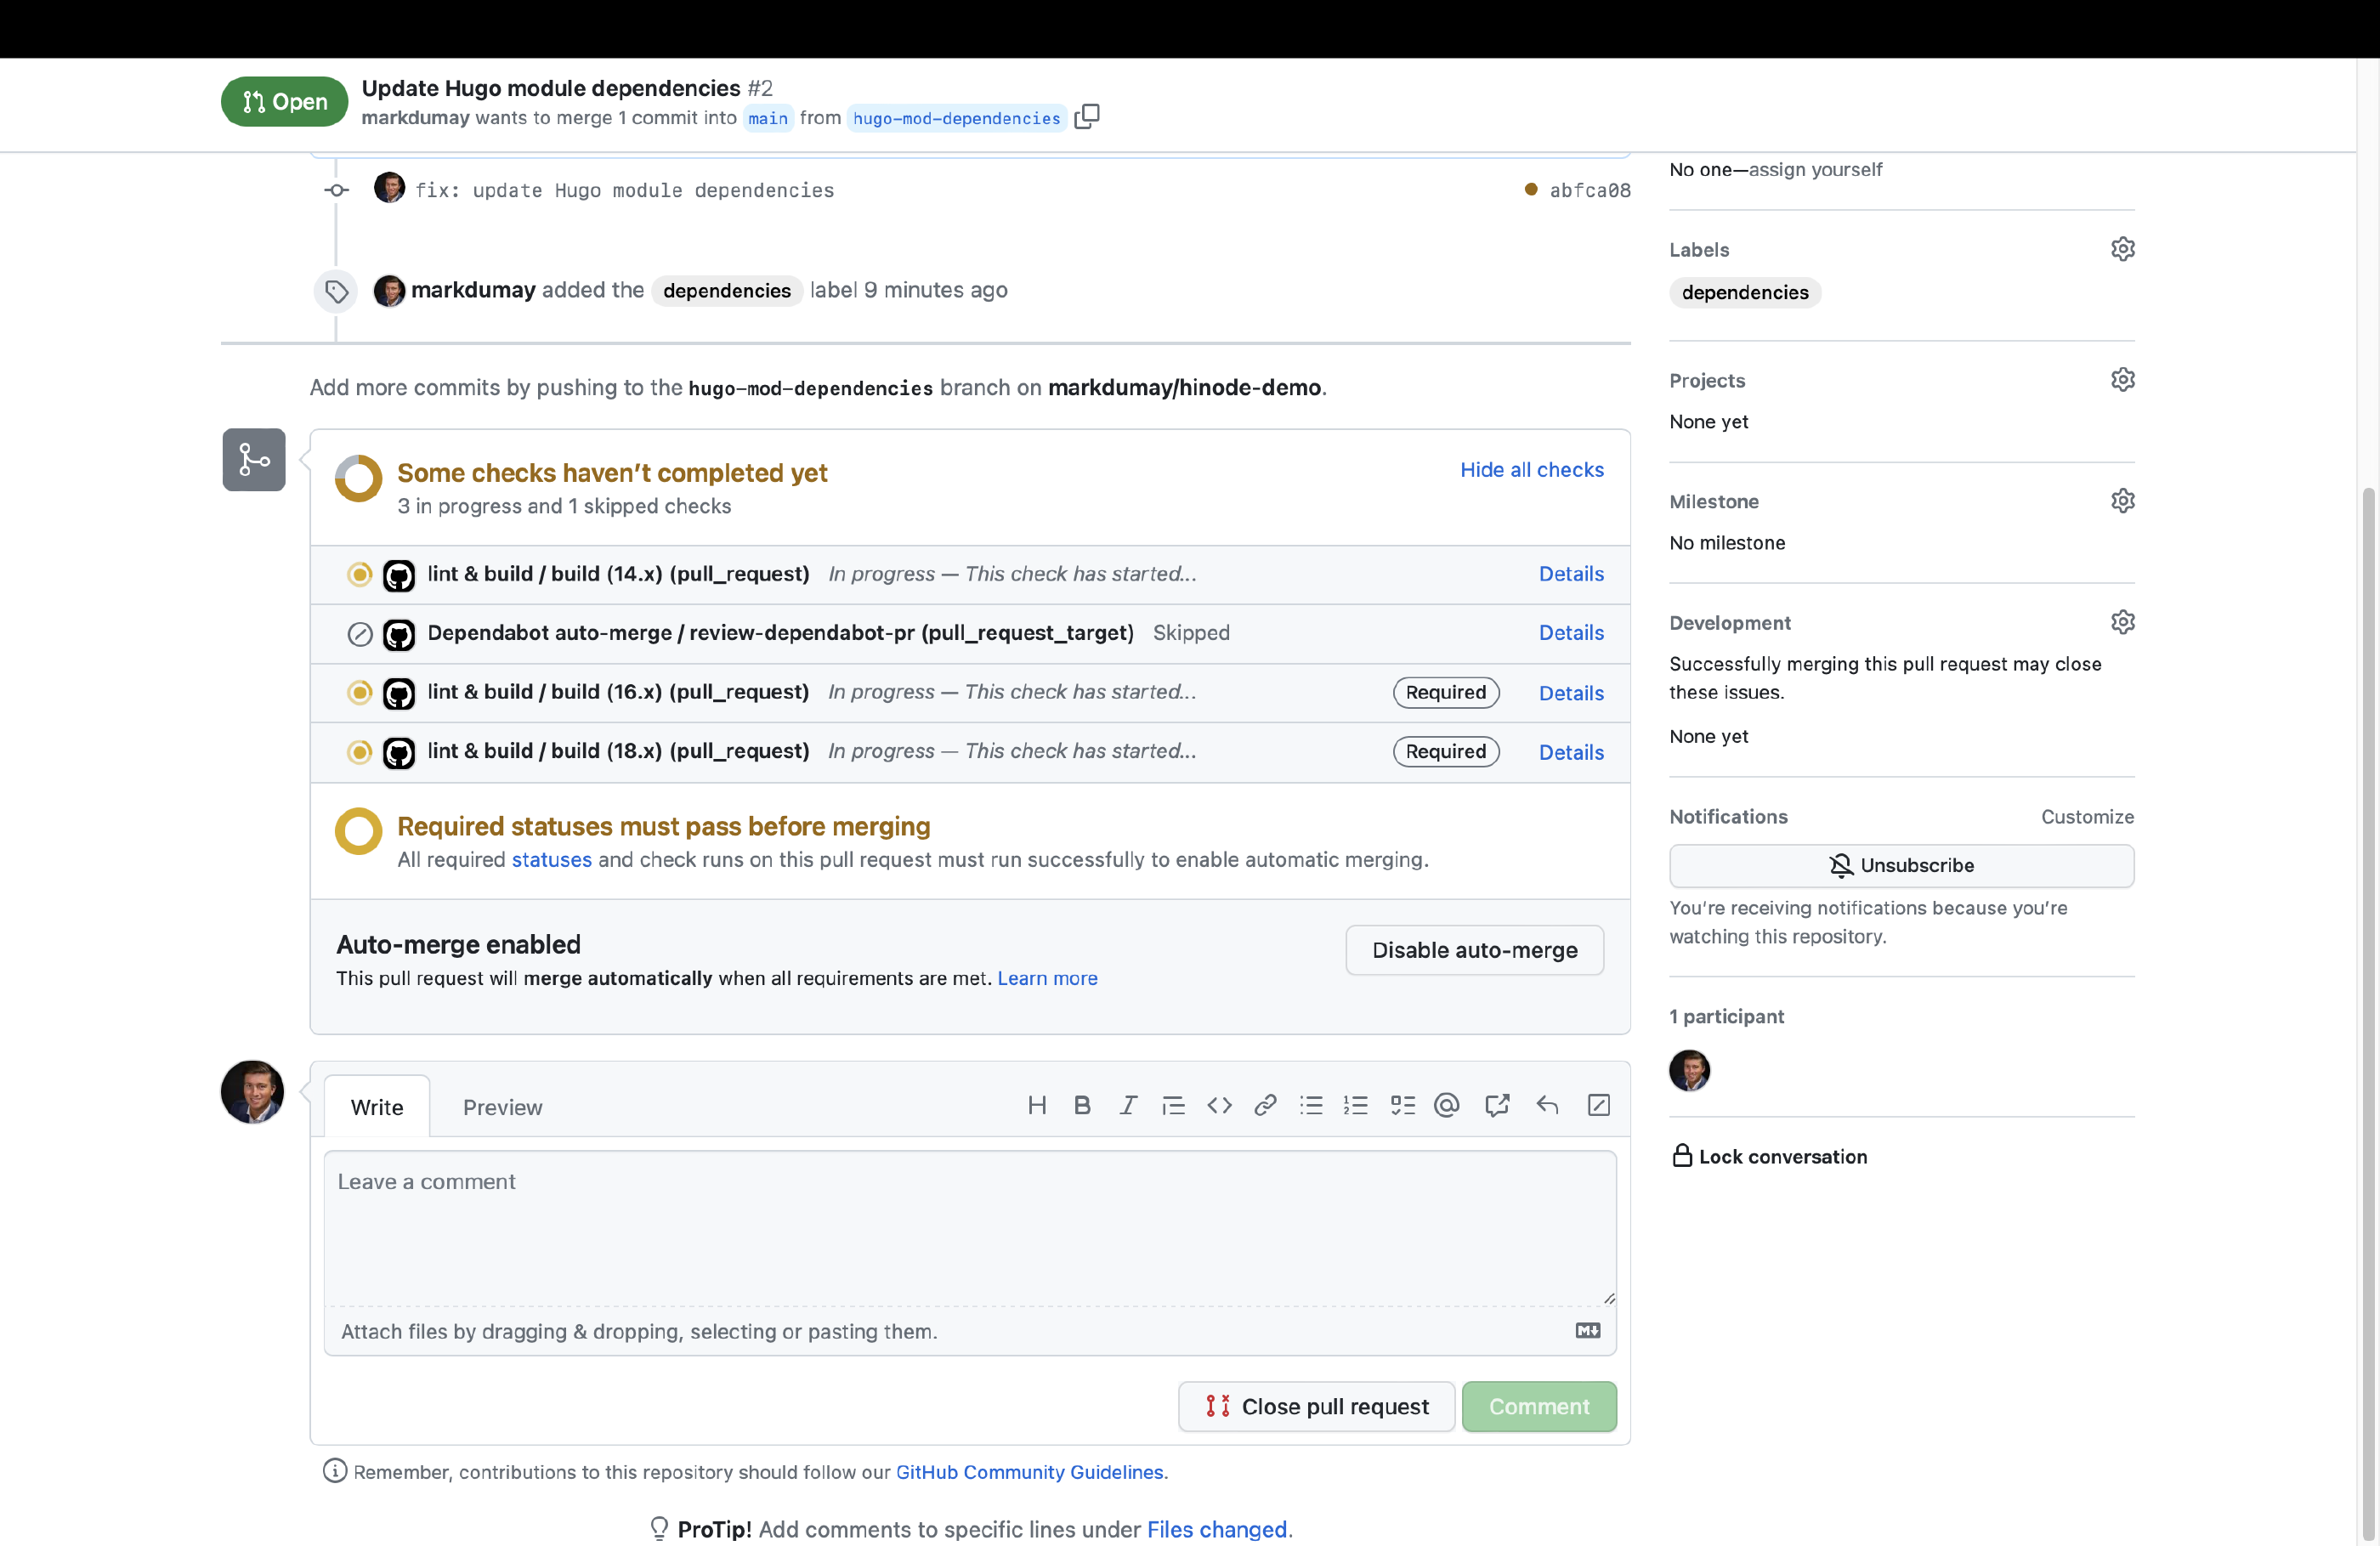
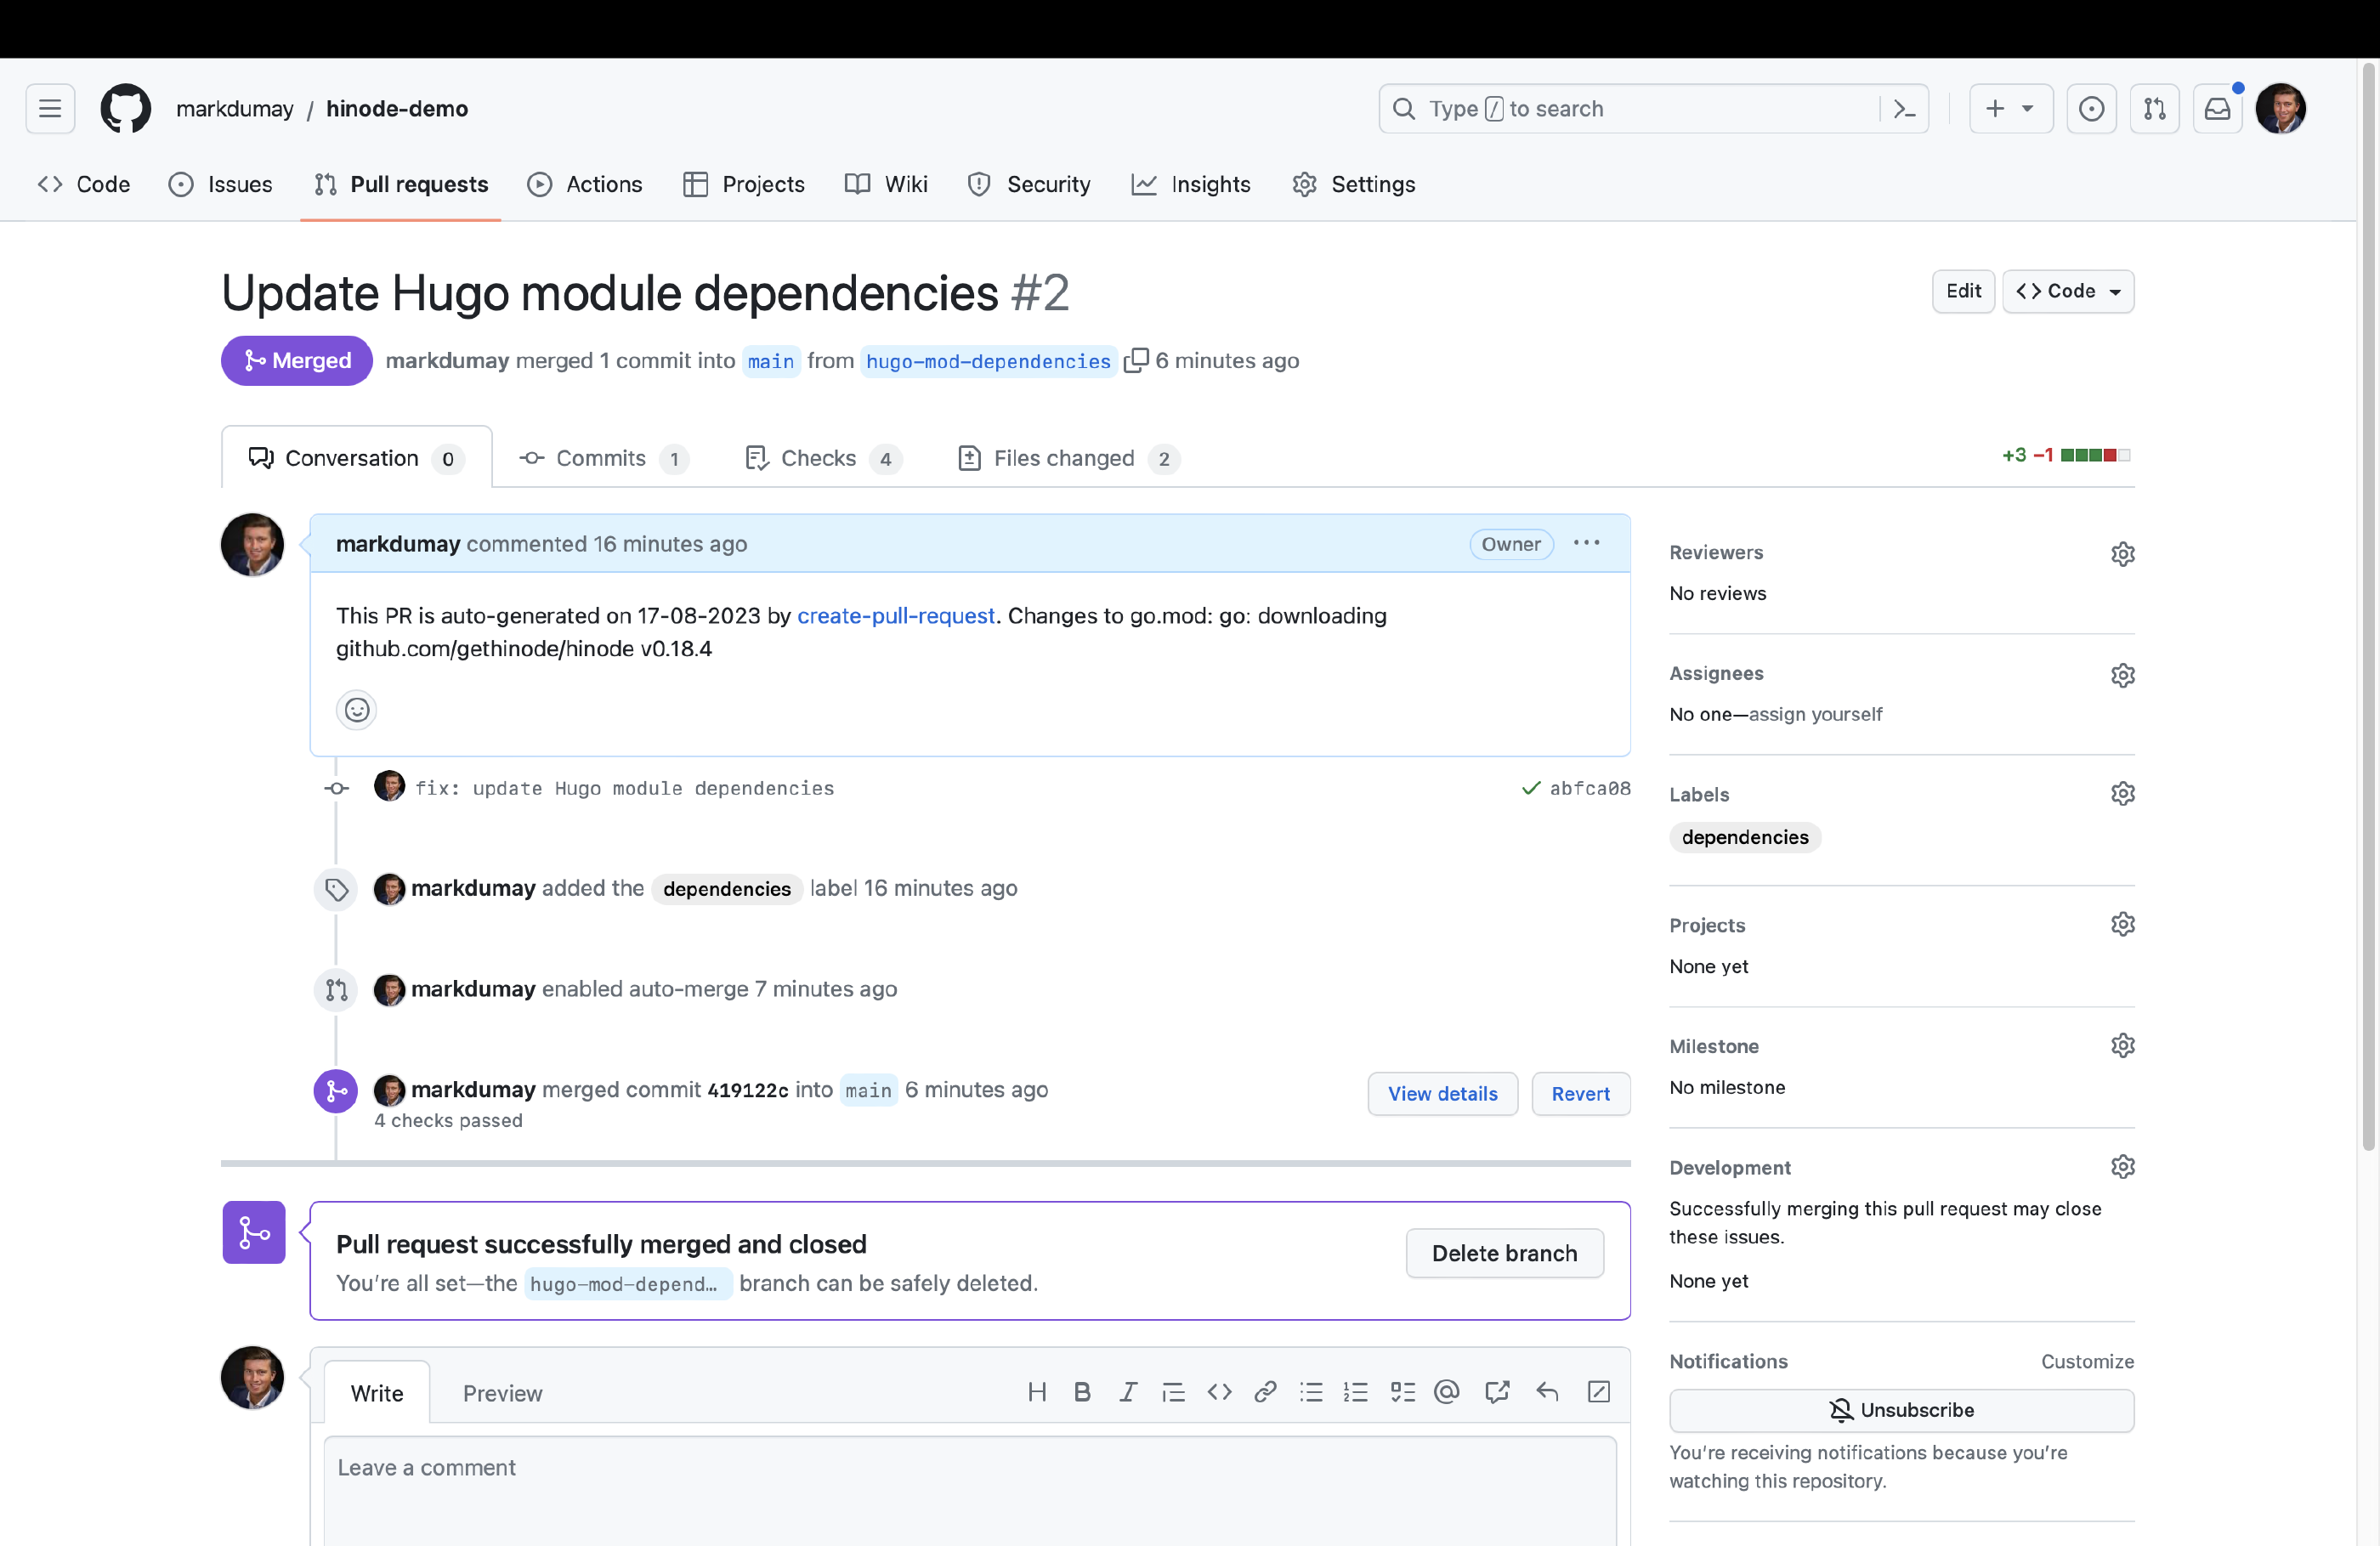
We can now run the Update Hugo Dependencies action. Head over to the actions overview and trigger the action manually. You can review the job output. When any modules updates have been found, the action will automatically create a PR on our behalf. Go to the Pull Requests overview and select the corresponding PR. You can now enable auto-merge for this type of PR. When all checks have been met, GitHub will automatically merge the PR with the main branch.
Conclusion
You have now successfully configured automated updates for your Hinode site. Review the Hosting and Deployment Options to see various options on how to (automatically) publish your site to a hosting provider.
