Customizing the Appearance of Your Site
Last modified on June 23, 2025 • 11 min read • 2,227 wordsGuide on how to use custom layouts to change the appearance of the homepage, single pages, and list pages.

Important
The page rendering is being revised. The documentation on this page is still to be updated. Visit this GitHub issue for more information.
Introduction
Hinode is a Hugo theme focused on blogs and documentation sites. Using the flexibility of Hugo’s templates, you can adapt the layout to your needs and liking. In this guide, we will first customize the homepage using the predefined configuration options. Next, we will replace the grid layout with a custom layout that displays a simple list of articles. Finally, we will customize the header of the single page layout by adding an author name.
Note
A full-working example of this guide is available on GitHub . Visit customization-demo.gethinode.com for a live demo.
Step 1 - Preparing the Basic Content
In the first step, we will create a basic documentation site using the Hinode template. The site will be in English only, with a main section called Blog.
Creating a New Site
We will now create a new site using the Hinode template. Follow the first step of the guide on how to
Set Up a New Site Using the Hinode Template. Give the repository a recognizable name, such as customization-demo.
Starting a Local Server
For the purpose of this guide we will support the English language only. Be sure to create a new branch first, so you can test any changes before publishing them. The remainder of this guide uses the develop branch for development and the main branch for production. Start a local server to test the site is working as expected. Navigate in your browser to the local address (http://localhost:1313/ by default) to visually inspect the site.
npm run start

Environment: "development"
Serving pages from memory
Web Server is available at http://localhost:1313/ (bind address 0.0.0.0)
Press Ctrl+C to stop
Adding Sample Content
Create a new folder blog within content to create a new section. We will now copy a few sample posts from Hinode’s example site. Navigate to the folder exampleSite/content/en/blog in the main
Hinode Repository
. Copy the following posts (drop the en subfolder in the target):
| Source (Hinode repository) | Target (demo) |
|---|---|
exampleSite/content/en/blog/_index.md |
content/blog/_index.md |
exampleSite/content/en/blog/first-post.md |
content/blog/first-post.md |
exampleSite/content/en/blog/second-post.md |
content/blog/second-post.md |
exampleSite/content/en/blog/third-post.md |
content/blog/third-post.md |
exampleSite/content/en/blog/fourth-post.md |
content/blog/fourth-post.md |
Inspecting the Default Site
Inspect the site in your local browser, restarting the site with npm run start as necessary. Your site should look similar to the following screenshot:
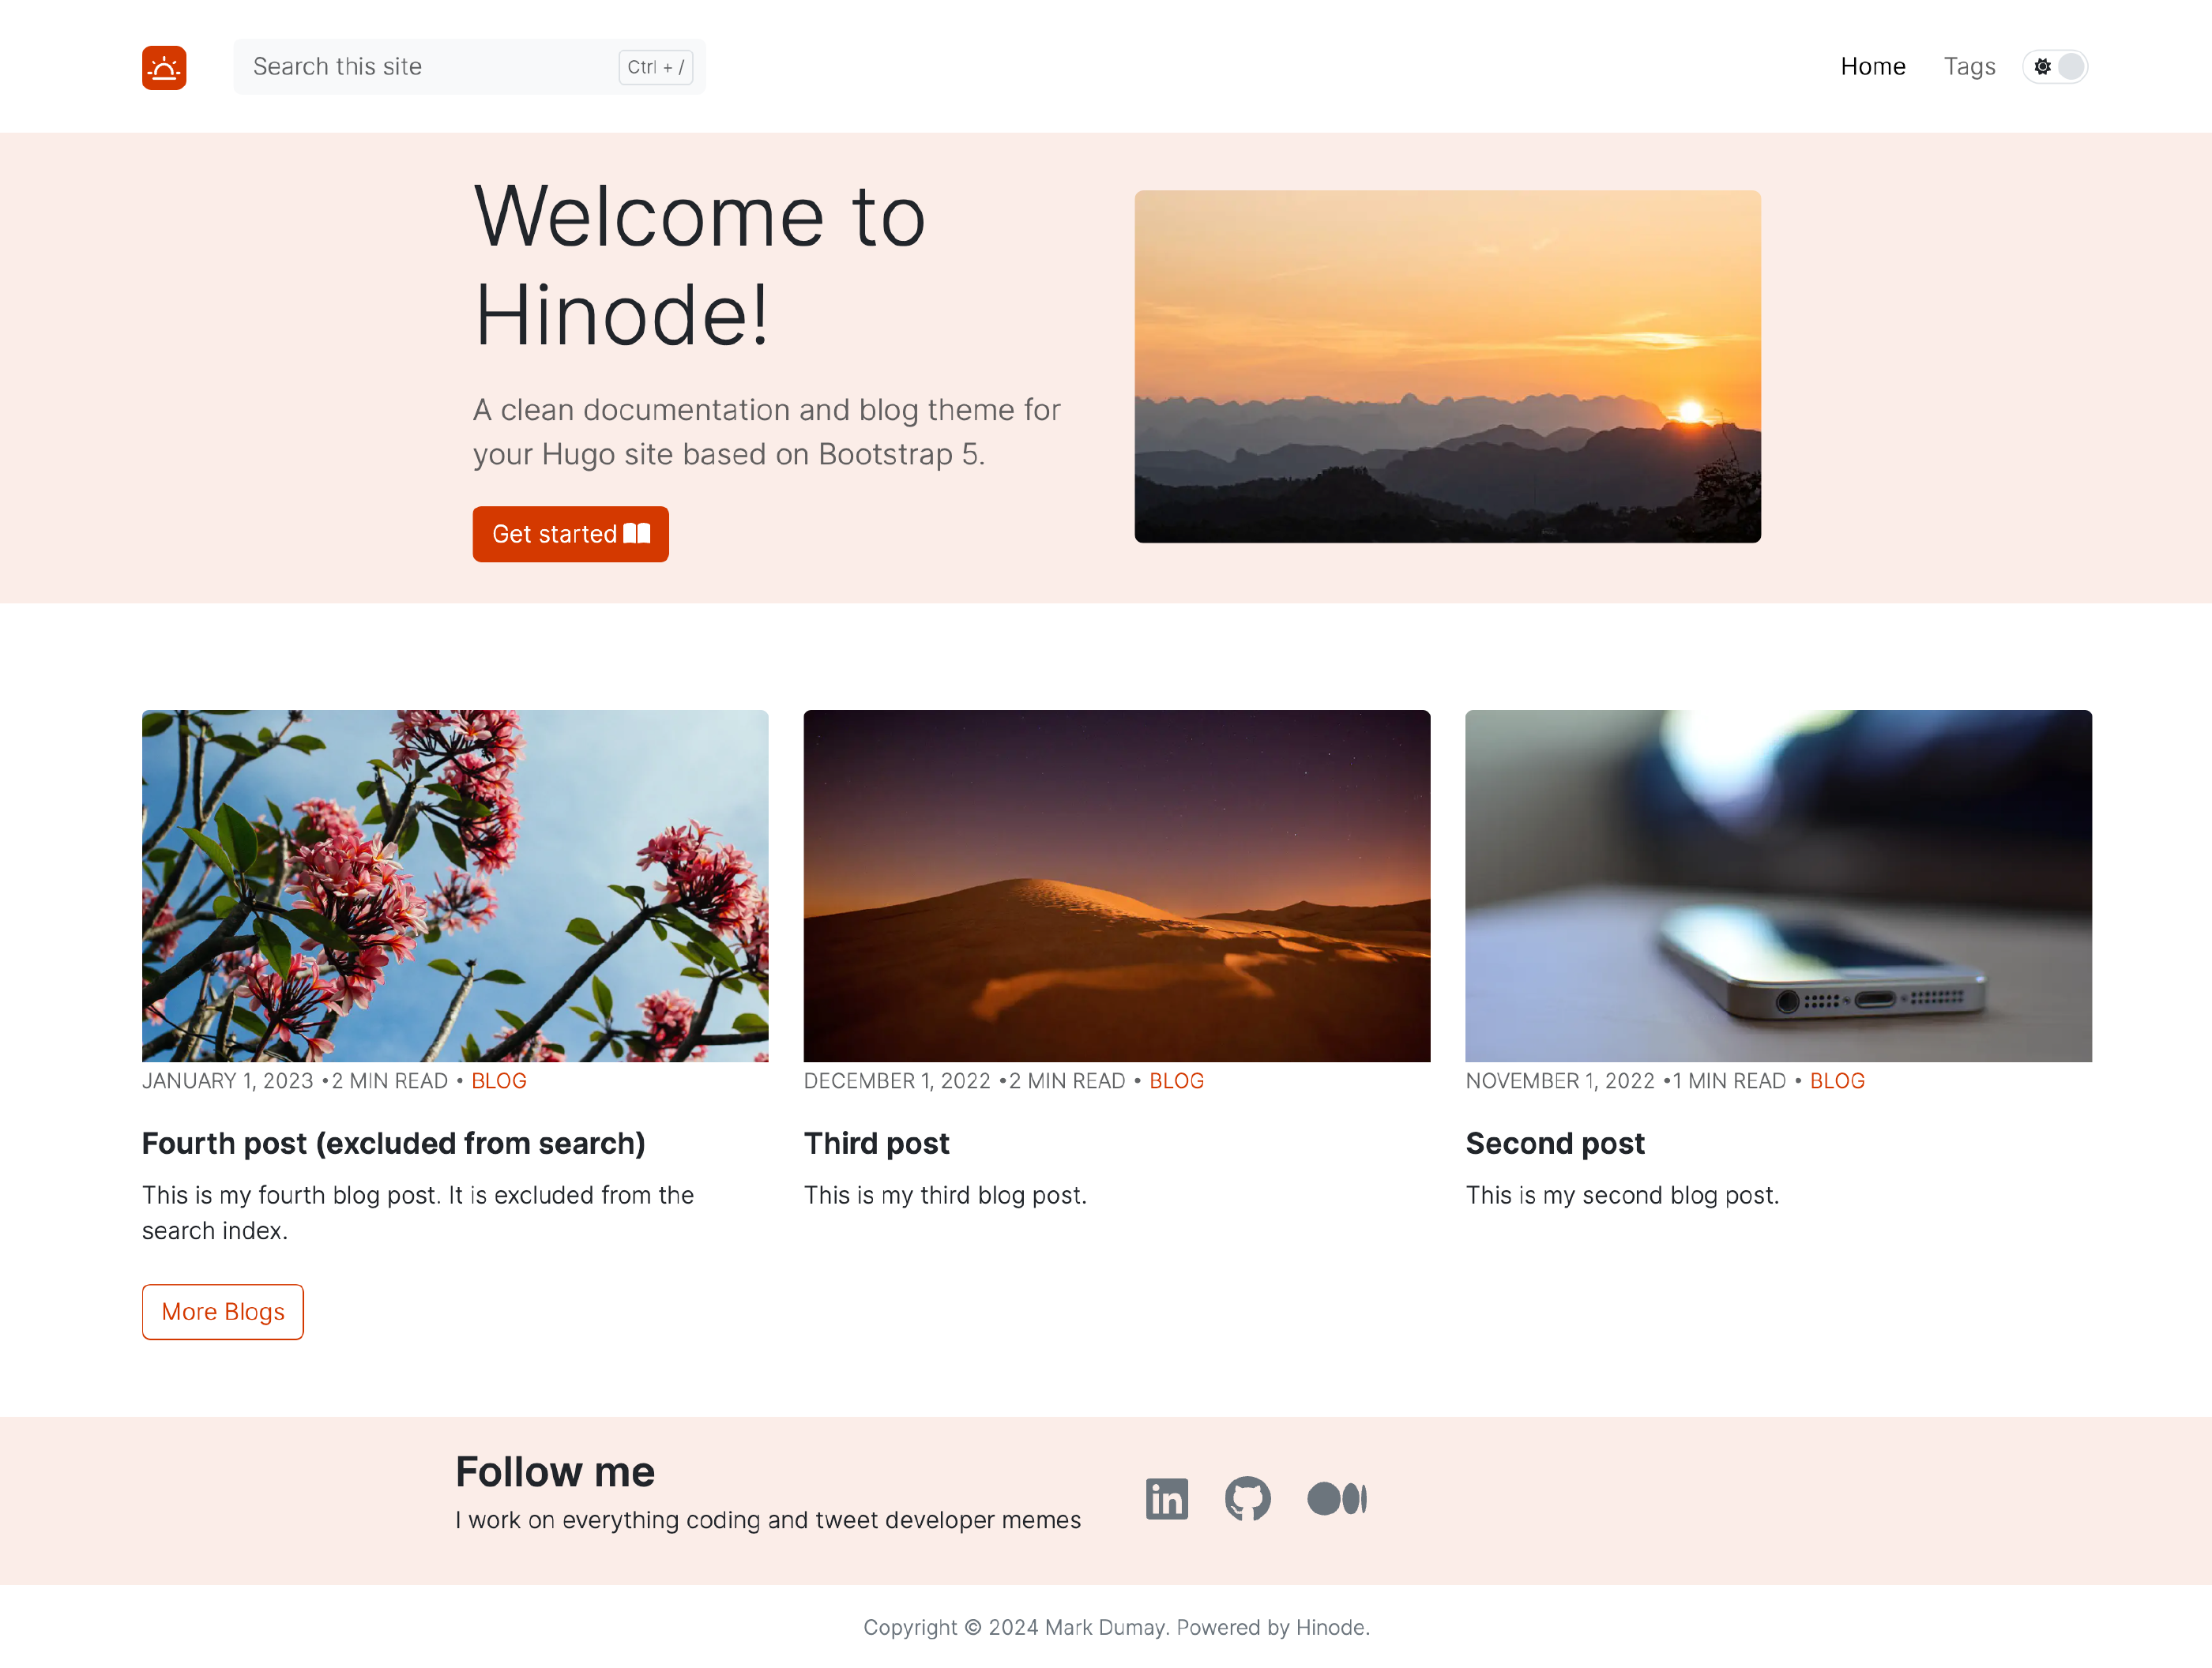
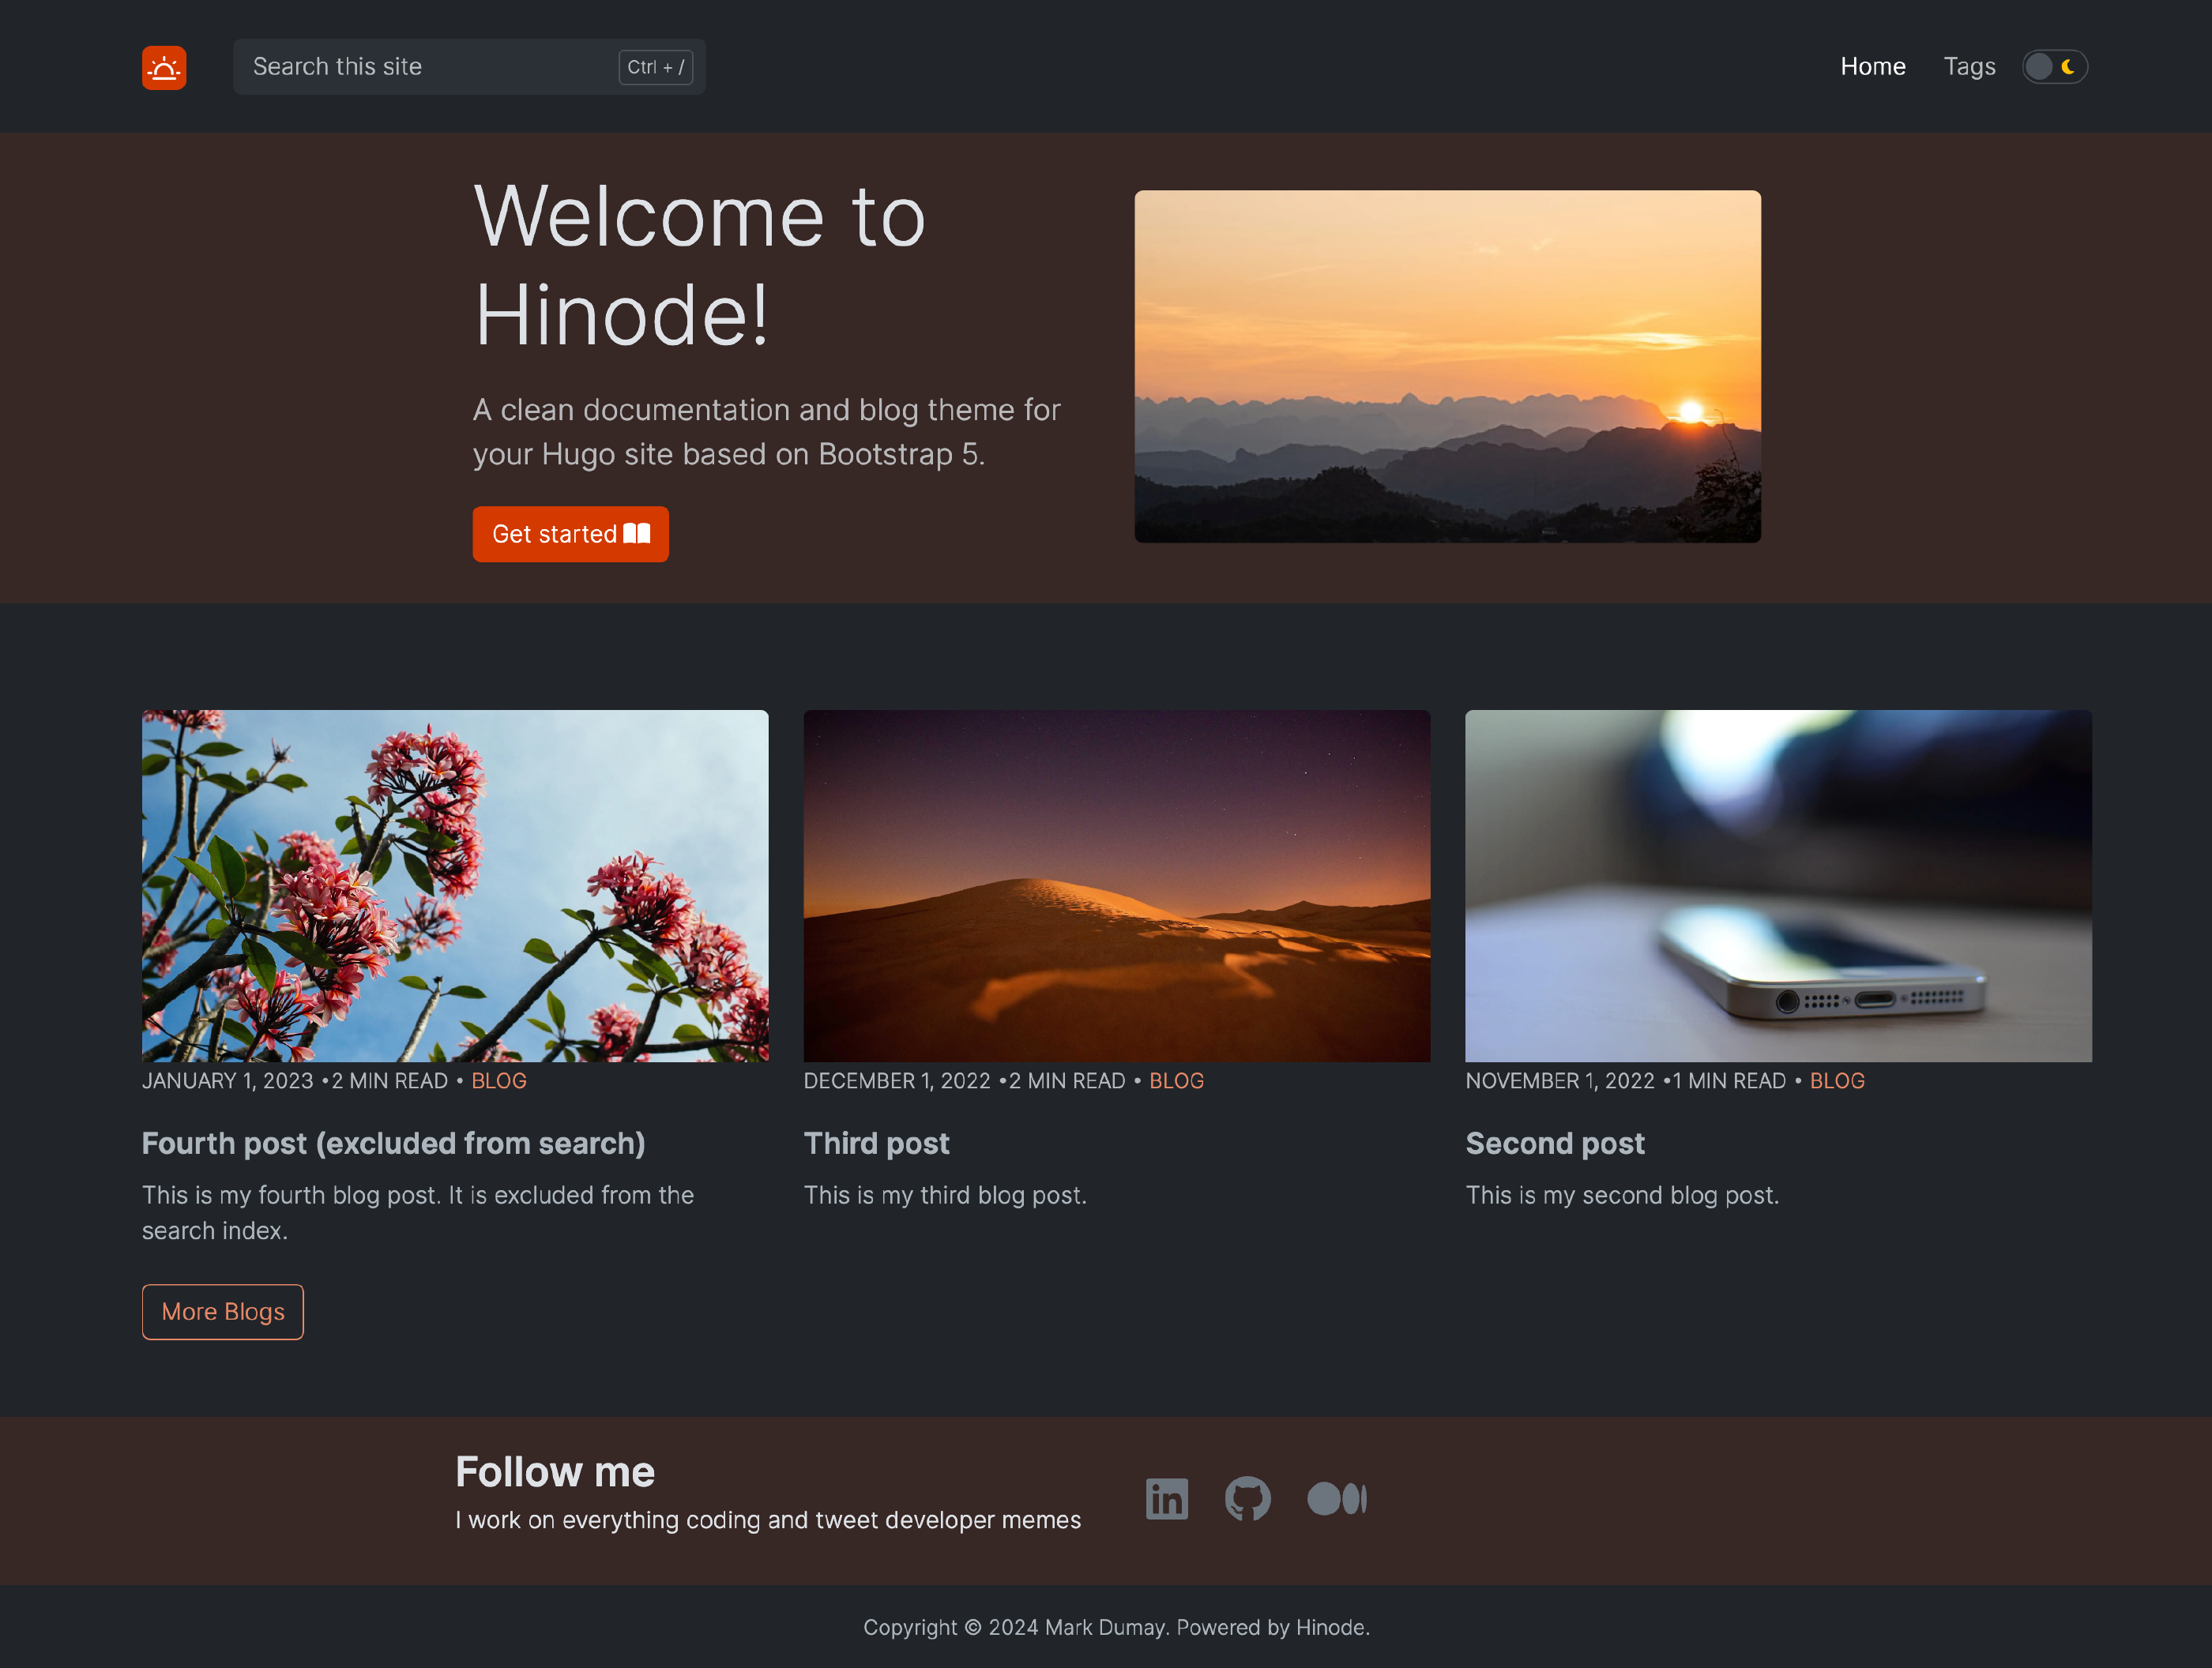
By default, Hinode displays all sections in the root content folder on the home page. It will select the most recent three posts and display them as cards. We will change change this layout in the next paragraph.
Step 2 - Changing the Homepage Layout
We will now adjust the style of the blog section on the homepage. First, we will explicitly configure the blog section. Hugo supports multiple
Configuration Formats
, such as JSON, toml, and yaml. You can store the configuration directly in the repository root or in a configuration directory. Further more, you can split the configuration by environment, configuration key, and language. The Hinode template defines a predefined configuration that is split by environment and configuration key.
Open the file config/_default/params.toml, which is the default configuration of the site parameters for all environments. Go to the [home] element and specify the following configuration:
28[home]
29    sections = ["blog"]
30    fullCover = false
31    centerHeadline = false
32    style = ""
We have now instructed Hinode to display the content within content/blog on the homepage only (besides the navigation, featured section, and footer). Navigate to [sections] elements and add the following settings:
 88[sections]
 89    [sections.blog]
 90        title = "Recent blog posts"
 91        sort = "date"
 92        reverse = false
 93        nested = true
 94        cols = 4
 95        color = ""
 96        padding = "0"
 97        header = "full"
 98        footer = "none"
 99        orientation = "stacked"
100        style = "border-0 card-zoom"
101        homepage = 4
102        separator = true
We have now set the section title, included the first four posts sorted by publication date, and configured four columns. On smaller screens, Hinode will automatically adjust the amount of columns. The homepage should now look similar to the following screenshot:
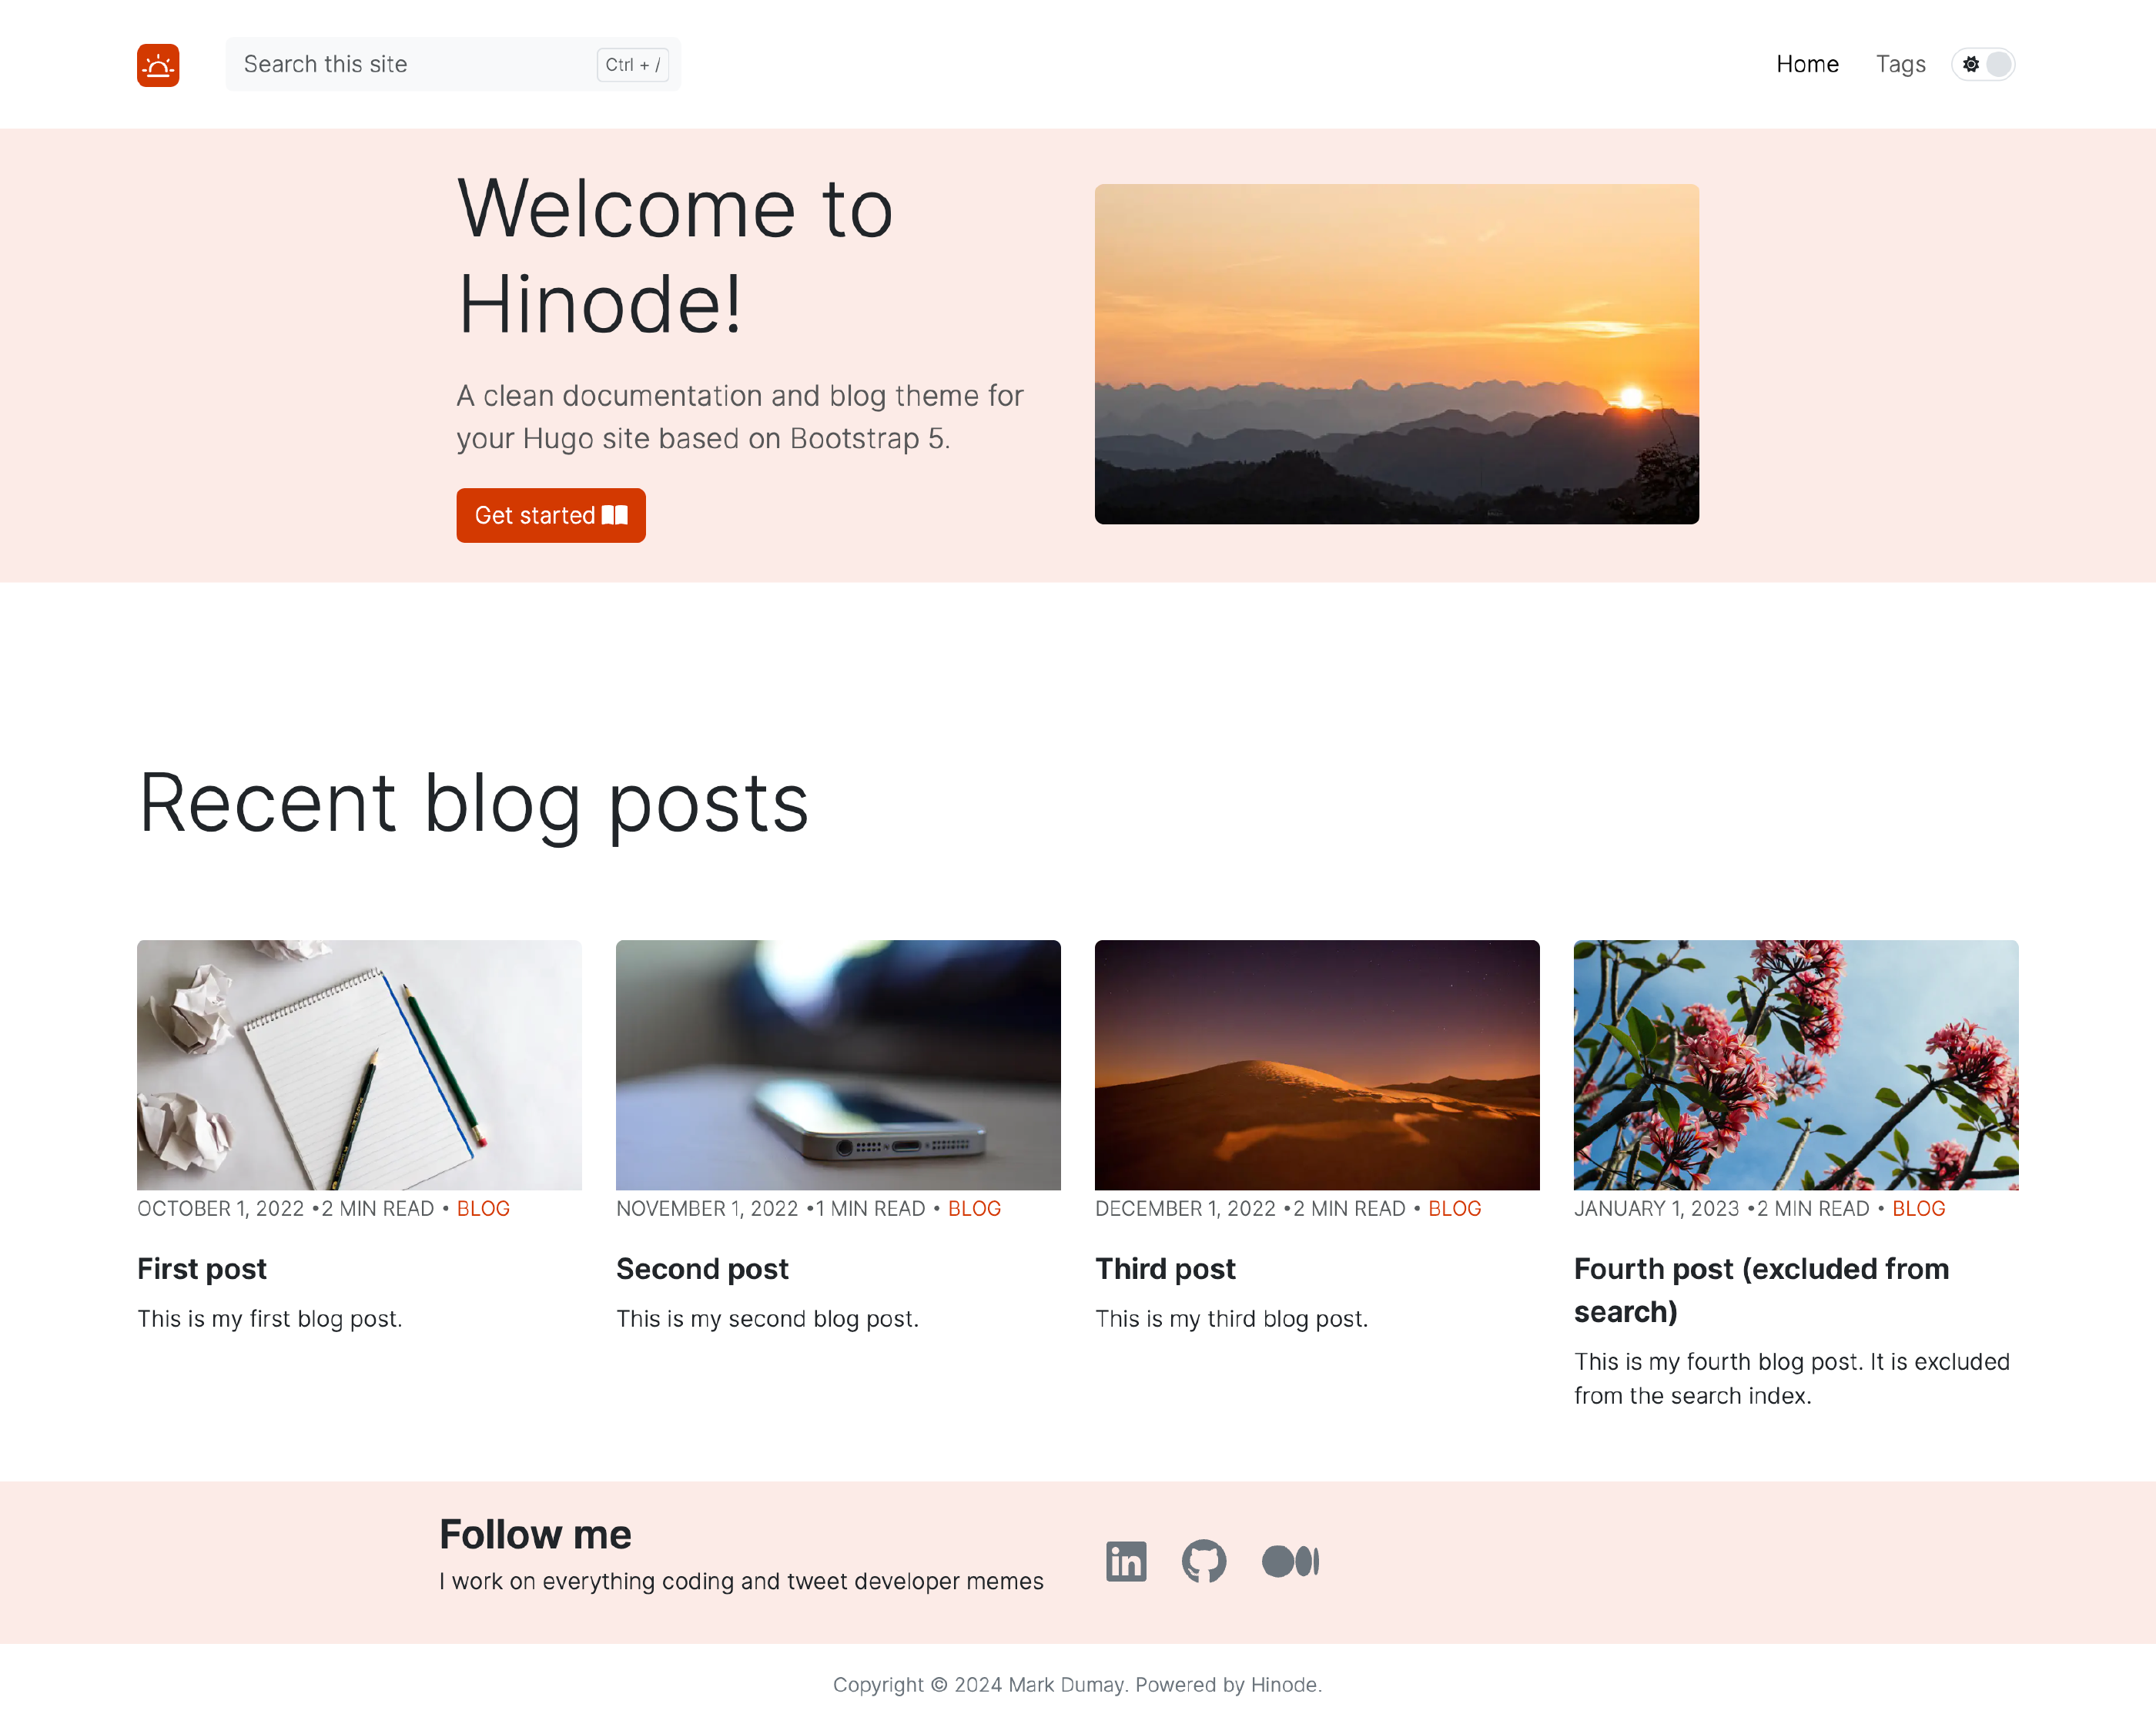
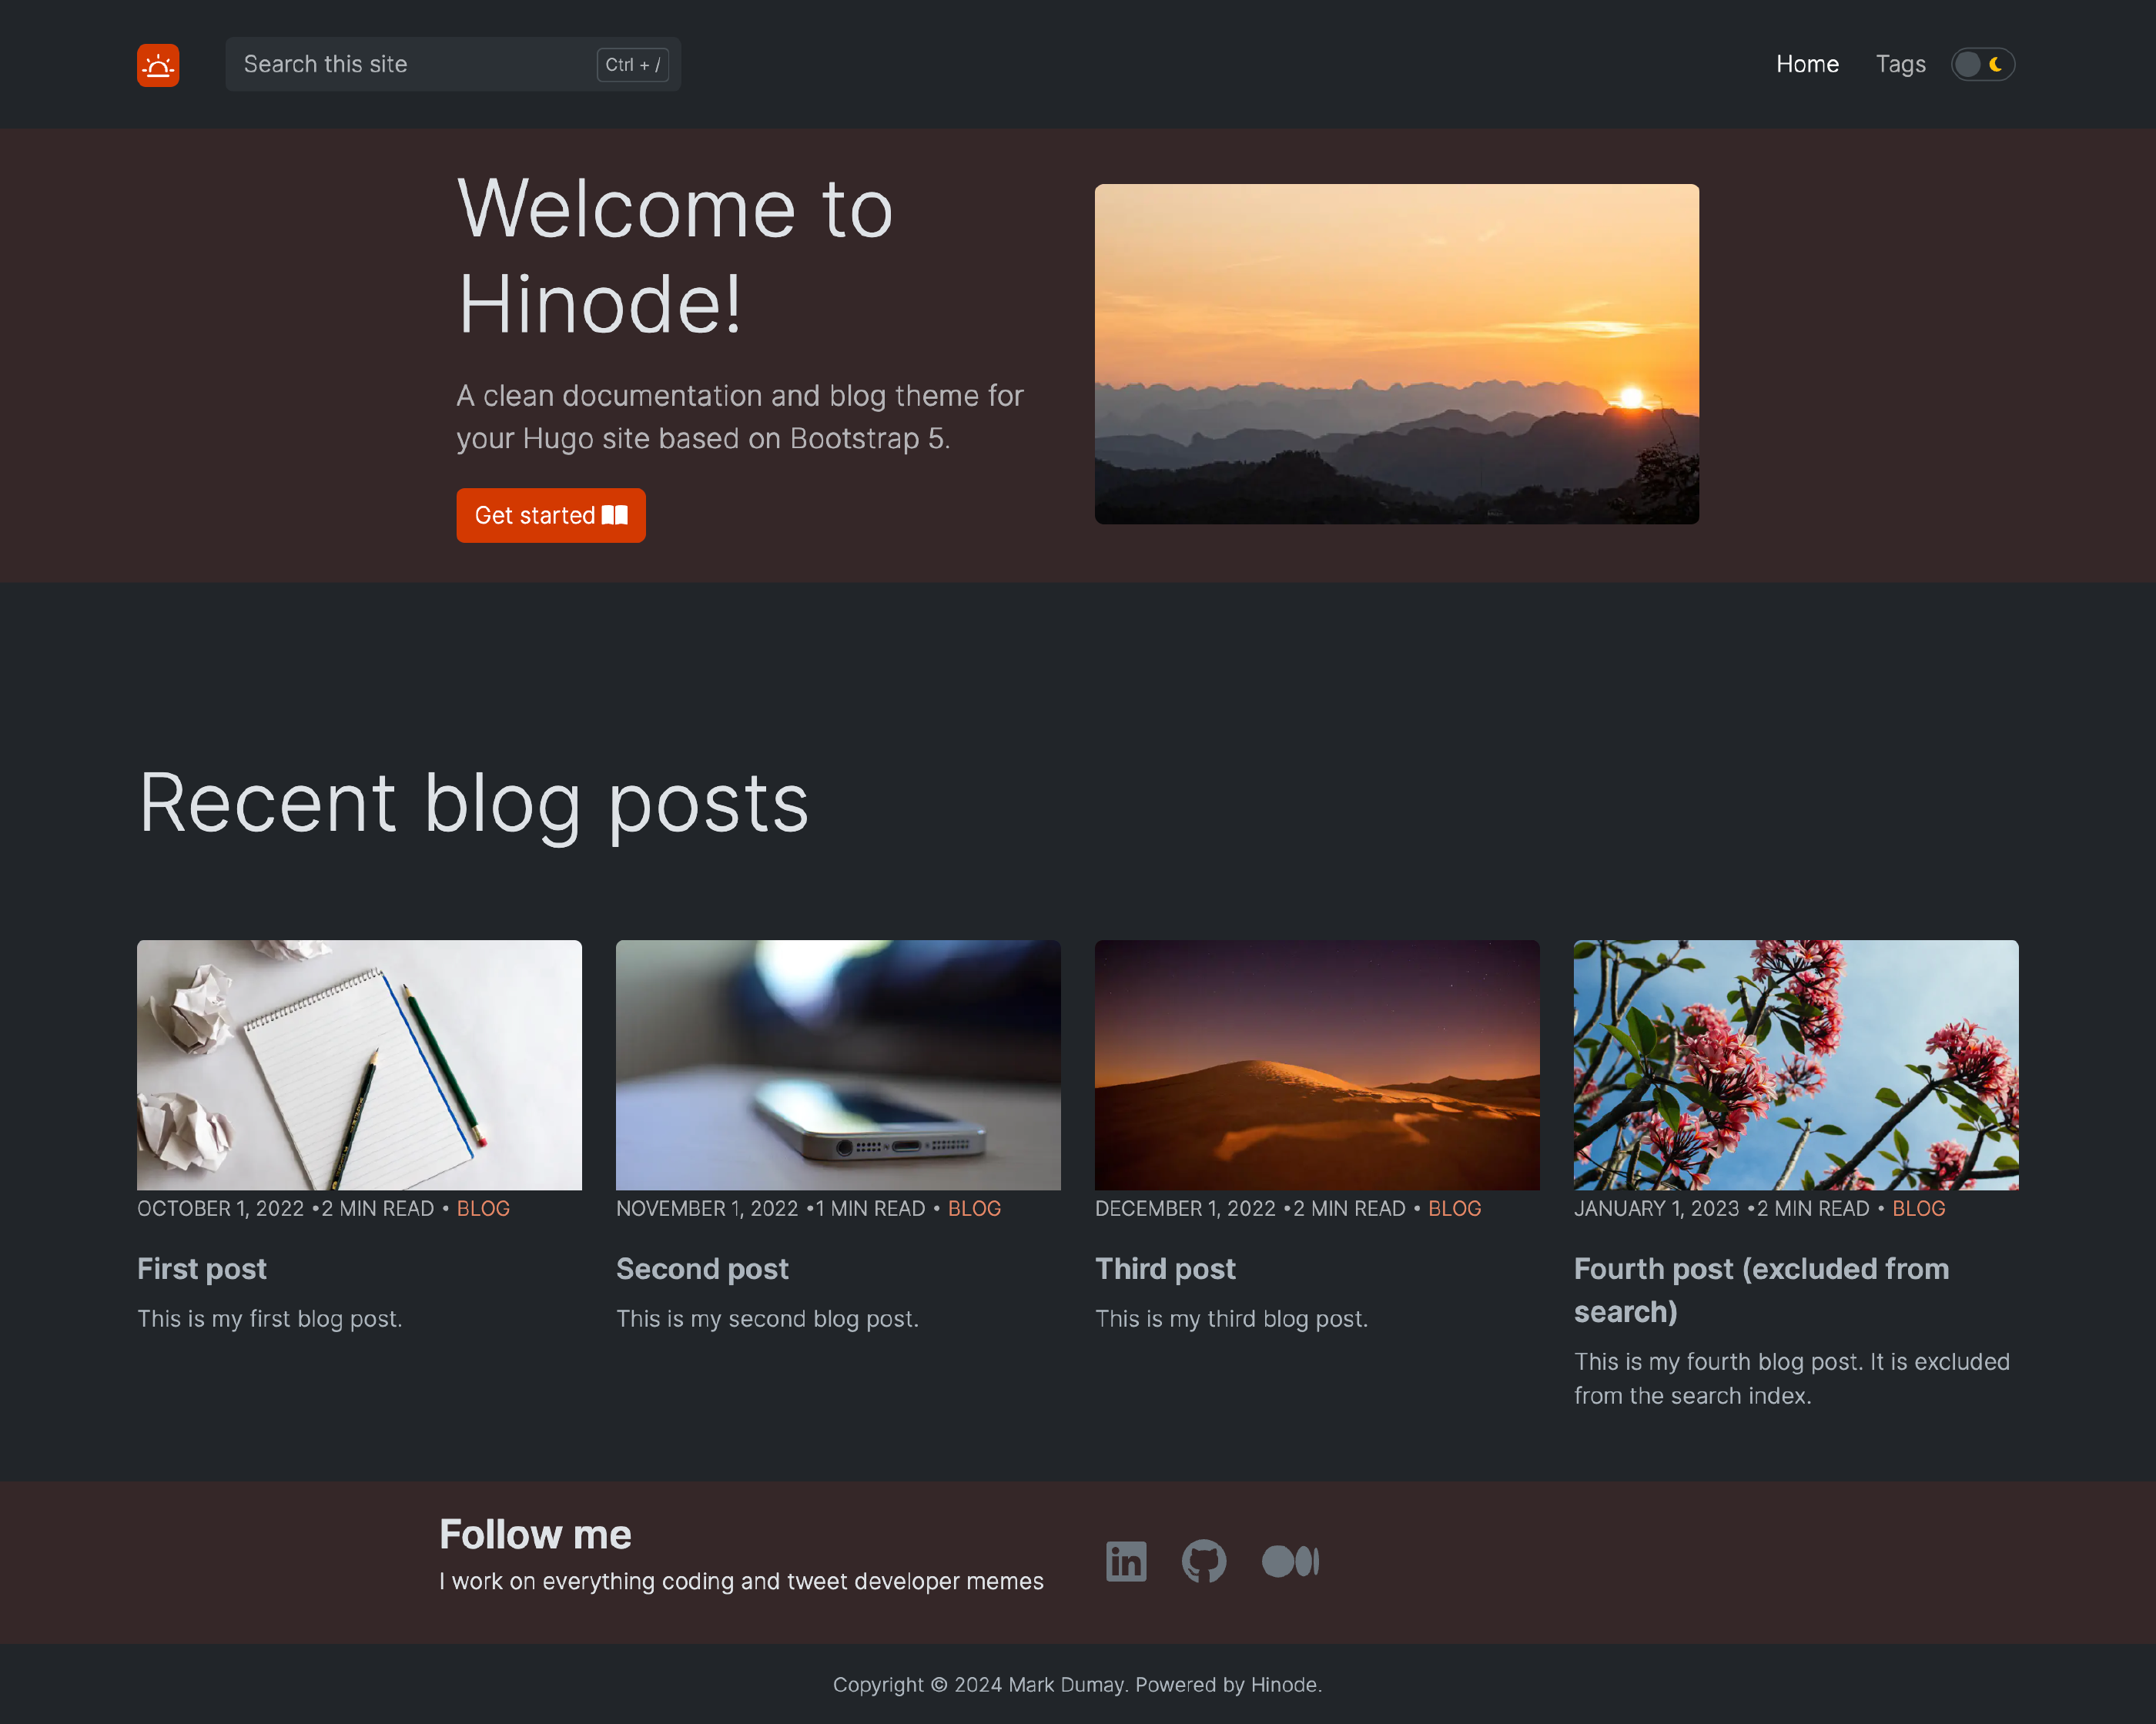
You can further expand the amount of sections on the homepage by adding entries to sections = ["blog"]. Define their configuration in the [sections] element.
Step 3 - Adding a Custom List Component
Hinode supports
Three Types of Page Sections by default, being a card layout, list layout, and nav layout. We will now add a custom page section called custom-list. This custom section will display the publication date and title of the associated articles in a simple table.
Adding a New List Component Type
First we will create a new partial template called custom-list that renders the custom table. Partial templates allow us to define smaller, context-aware components that we can invoke from list and page templates. We can also pass arguments such as the current page and the section title.
Hinode uses several
Conventions for Partial Development. You are encouraged to follow these conventions as well. The most important validation is to formally define and validate any partial arguments. Our list component will support three arguments, being page, list, and class. We can borrow their definitions from the file /data/structures/list.yml in the Hinode repository. Copy the following definitions to the file /data/structures/custom-list.yml.
comment: >-
  Displays the publication date and title of the associated articles in a simple
  table.
arguments:
  page:
    type:
      - '*hugolib.pageState'
      - '*hugolib.pageForShortcode'
    optional: false
    comment: Required context of the current page.
    group: partial
  list:
    type:
      - 'page.Pages'
      - 'resource.Resources'
    optional: false
    comment: Required array of pages.
    group: partial
  class:
    type: string
    optional: true
    comment: Class attribute of the list element, e.g. “w-50”.
Tip
You can identify the type of an (internal) Hugo variable by printing its value type with
%T. For example, the commandwarnf "Page type: %T" .Pagewould print the value*hugolib.pageStatefor the current.Pagecontext (when invoked from a regular page template).
Create a new file in layouts/_partials/assets/custom-list.html. We will now use Hinode’s utility partial utilities/IsInvalidArgs.html to validate any arguments passed to our partial. Using this convention, we can validate all variables are of the expected type and value. The utility also confirms all mandatory arguments are available. Copy the following code to your new partial file:
1{{ $error := false }}
2
3{{/* Validate arguments */}}
4{{ if partial "utilities/IsInvalidArgs.html" (dict "structure" "custom-list" "args" . "group" "partial") }}
5  {{- errorf "partial [assets/list.html] - Invalid arguments" -}}
6  {{ $error = true }}
7{{ end }}
Generating the HTML Element
With the arguments defined and validated we can now construct the HTML element that generates our table. The following code creates a responsive grid of two columns. The first column display the publication date of the article and the second column displays the article’s title and author. By using the range function we can iterate over the available articles.
Copy the following code to your partial template in layouts/_partials/assets/custom-list.html. The code is quite minimalistic. You could further enhance it by adding
Internationalization Support
and pagination. Both features are beyond the scope of this guide.
 9{{/* Initialize arguments */}}
10{{- $list := .list -}}
11{{- $class := .class -}}
12
13{{/* Main code */}}
14{{ if not $error }}
15  {{- range $index, $item := $list -}}
16    <div class="container-fluid p-0">
17      <div class="row">
18        <div class="col-3 col-md-2">
19          {{ partial "utilities/date.html" (dict "date" $item.Date "format" "short") -}}
20        </div>
21        <div class="col-9 col-md-10">
22          <a href="{{ $item.RelPermalink }}">{{ $item.Title }}</a> by {{ $item.Params.author }}
23        </div>
24      </div>
25    </div>
26  {{ end -}}
27{{ end }}
Modifying the Section List Component
As a final step we will update the controller that invokes the available list partials. The layouts/_partials/assets/section-list.html initializes the configuration as defined in
Step 2 of This Guide. Copy the file from the base Hinode repository to your local repository. Line 120 of the partial defines the recognized layout types. We will add the custom-list to this definition:
120{{- $supportedLayouts := slice "card" "custom-list" "list" "nav" -}}
121{{- if not (in $supportedLayouts $layout) -}}
122  {{- errorf "partial [assets/section-list.html] - Invalid value for param 'layout': %s" $layout -}}
123{{- end -}}
Line 136-141 define the base arguments available to our custom template. You will recognize them from the argument definitions we added to the file /data/structures/custom-list.yml earlier.
136{{- $params := (dict
137    "page" $page
138    "list" $list
139    "class" $style
140    )
141-}}
Insert the following code on line 177 to invoke our custom partial with the three defined arguments:
177{{- else if eq $layout "custom-list" -}}
178    {{- $partial = "assets/custom-list.html" -}}
Validating the Custom List Component
Now is a good time to validate the custom list component. Set the layout type to our newly created custom-list component in params.toml:
[sections]
    [sections.blog]
        layout = "custom-list"
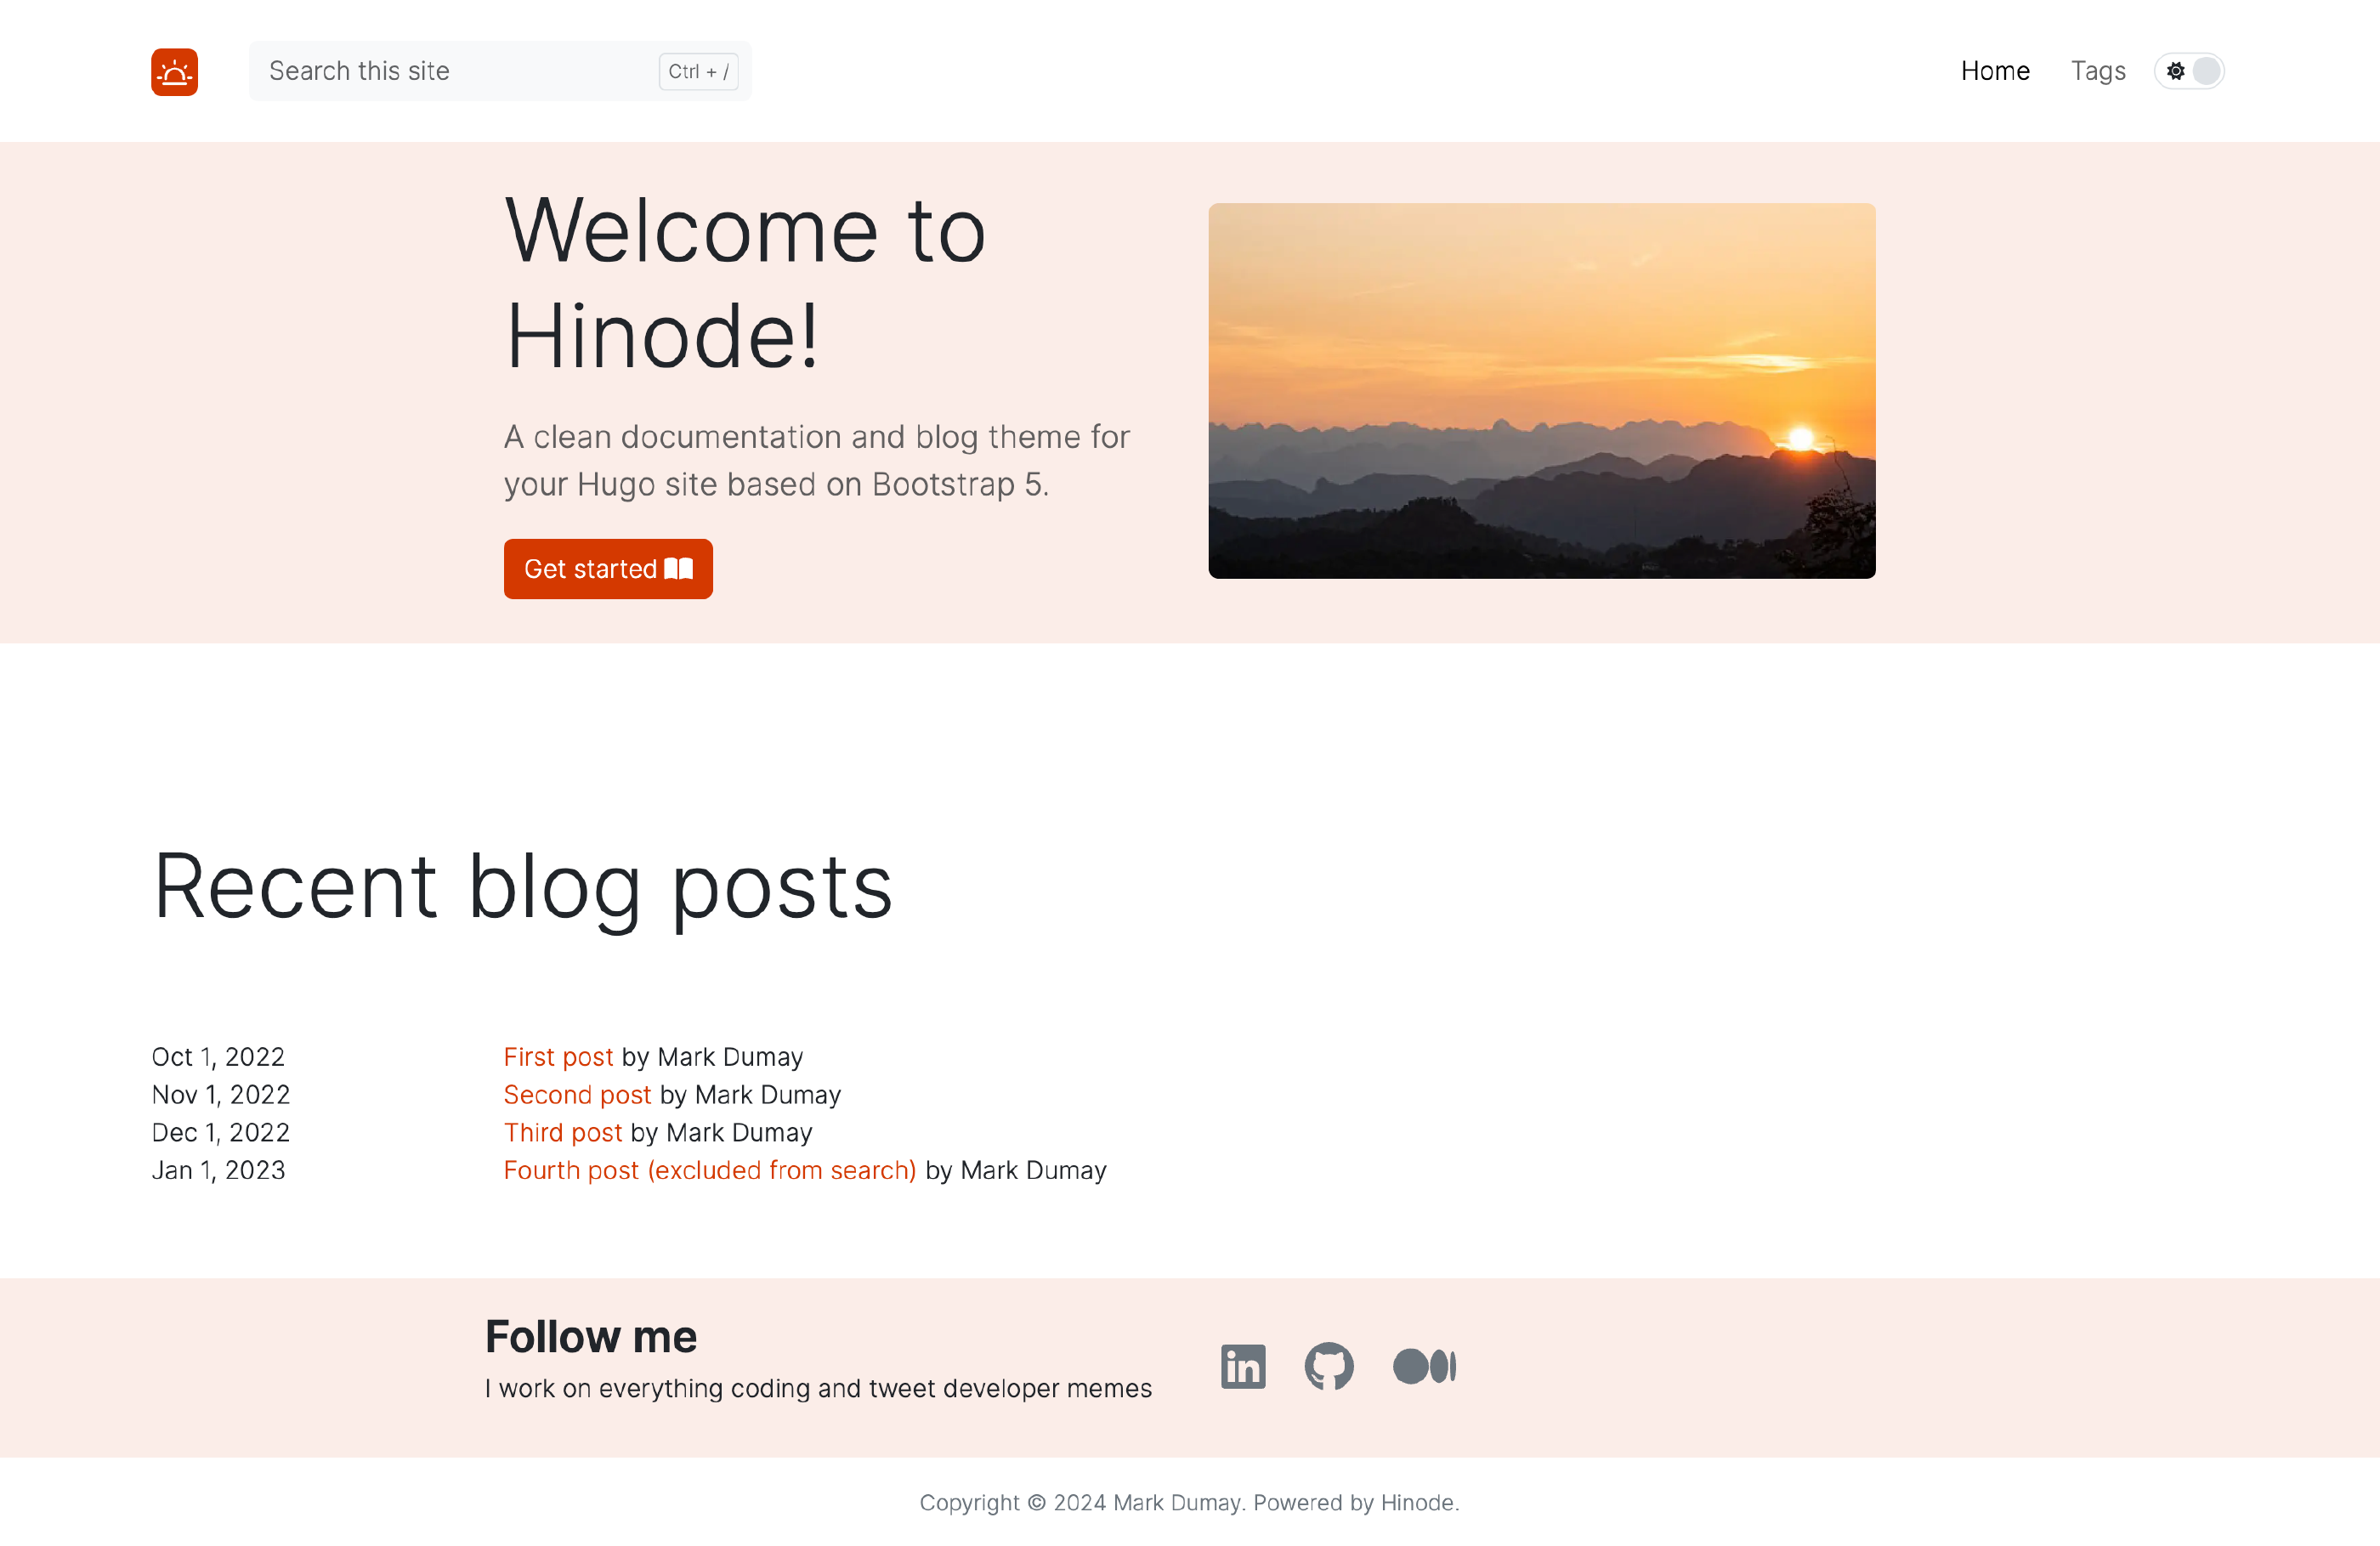
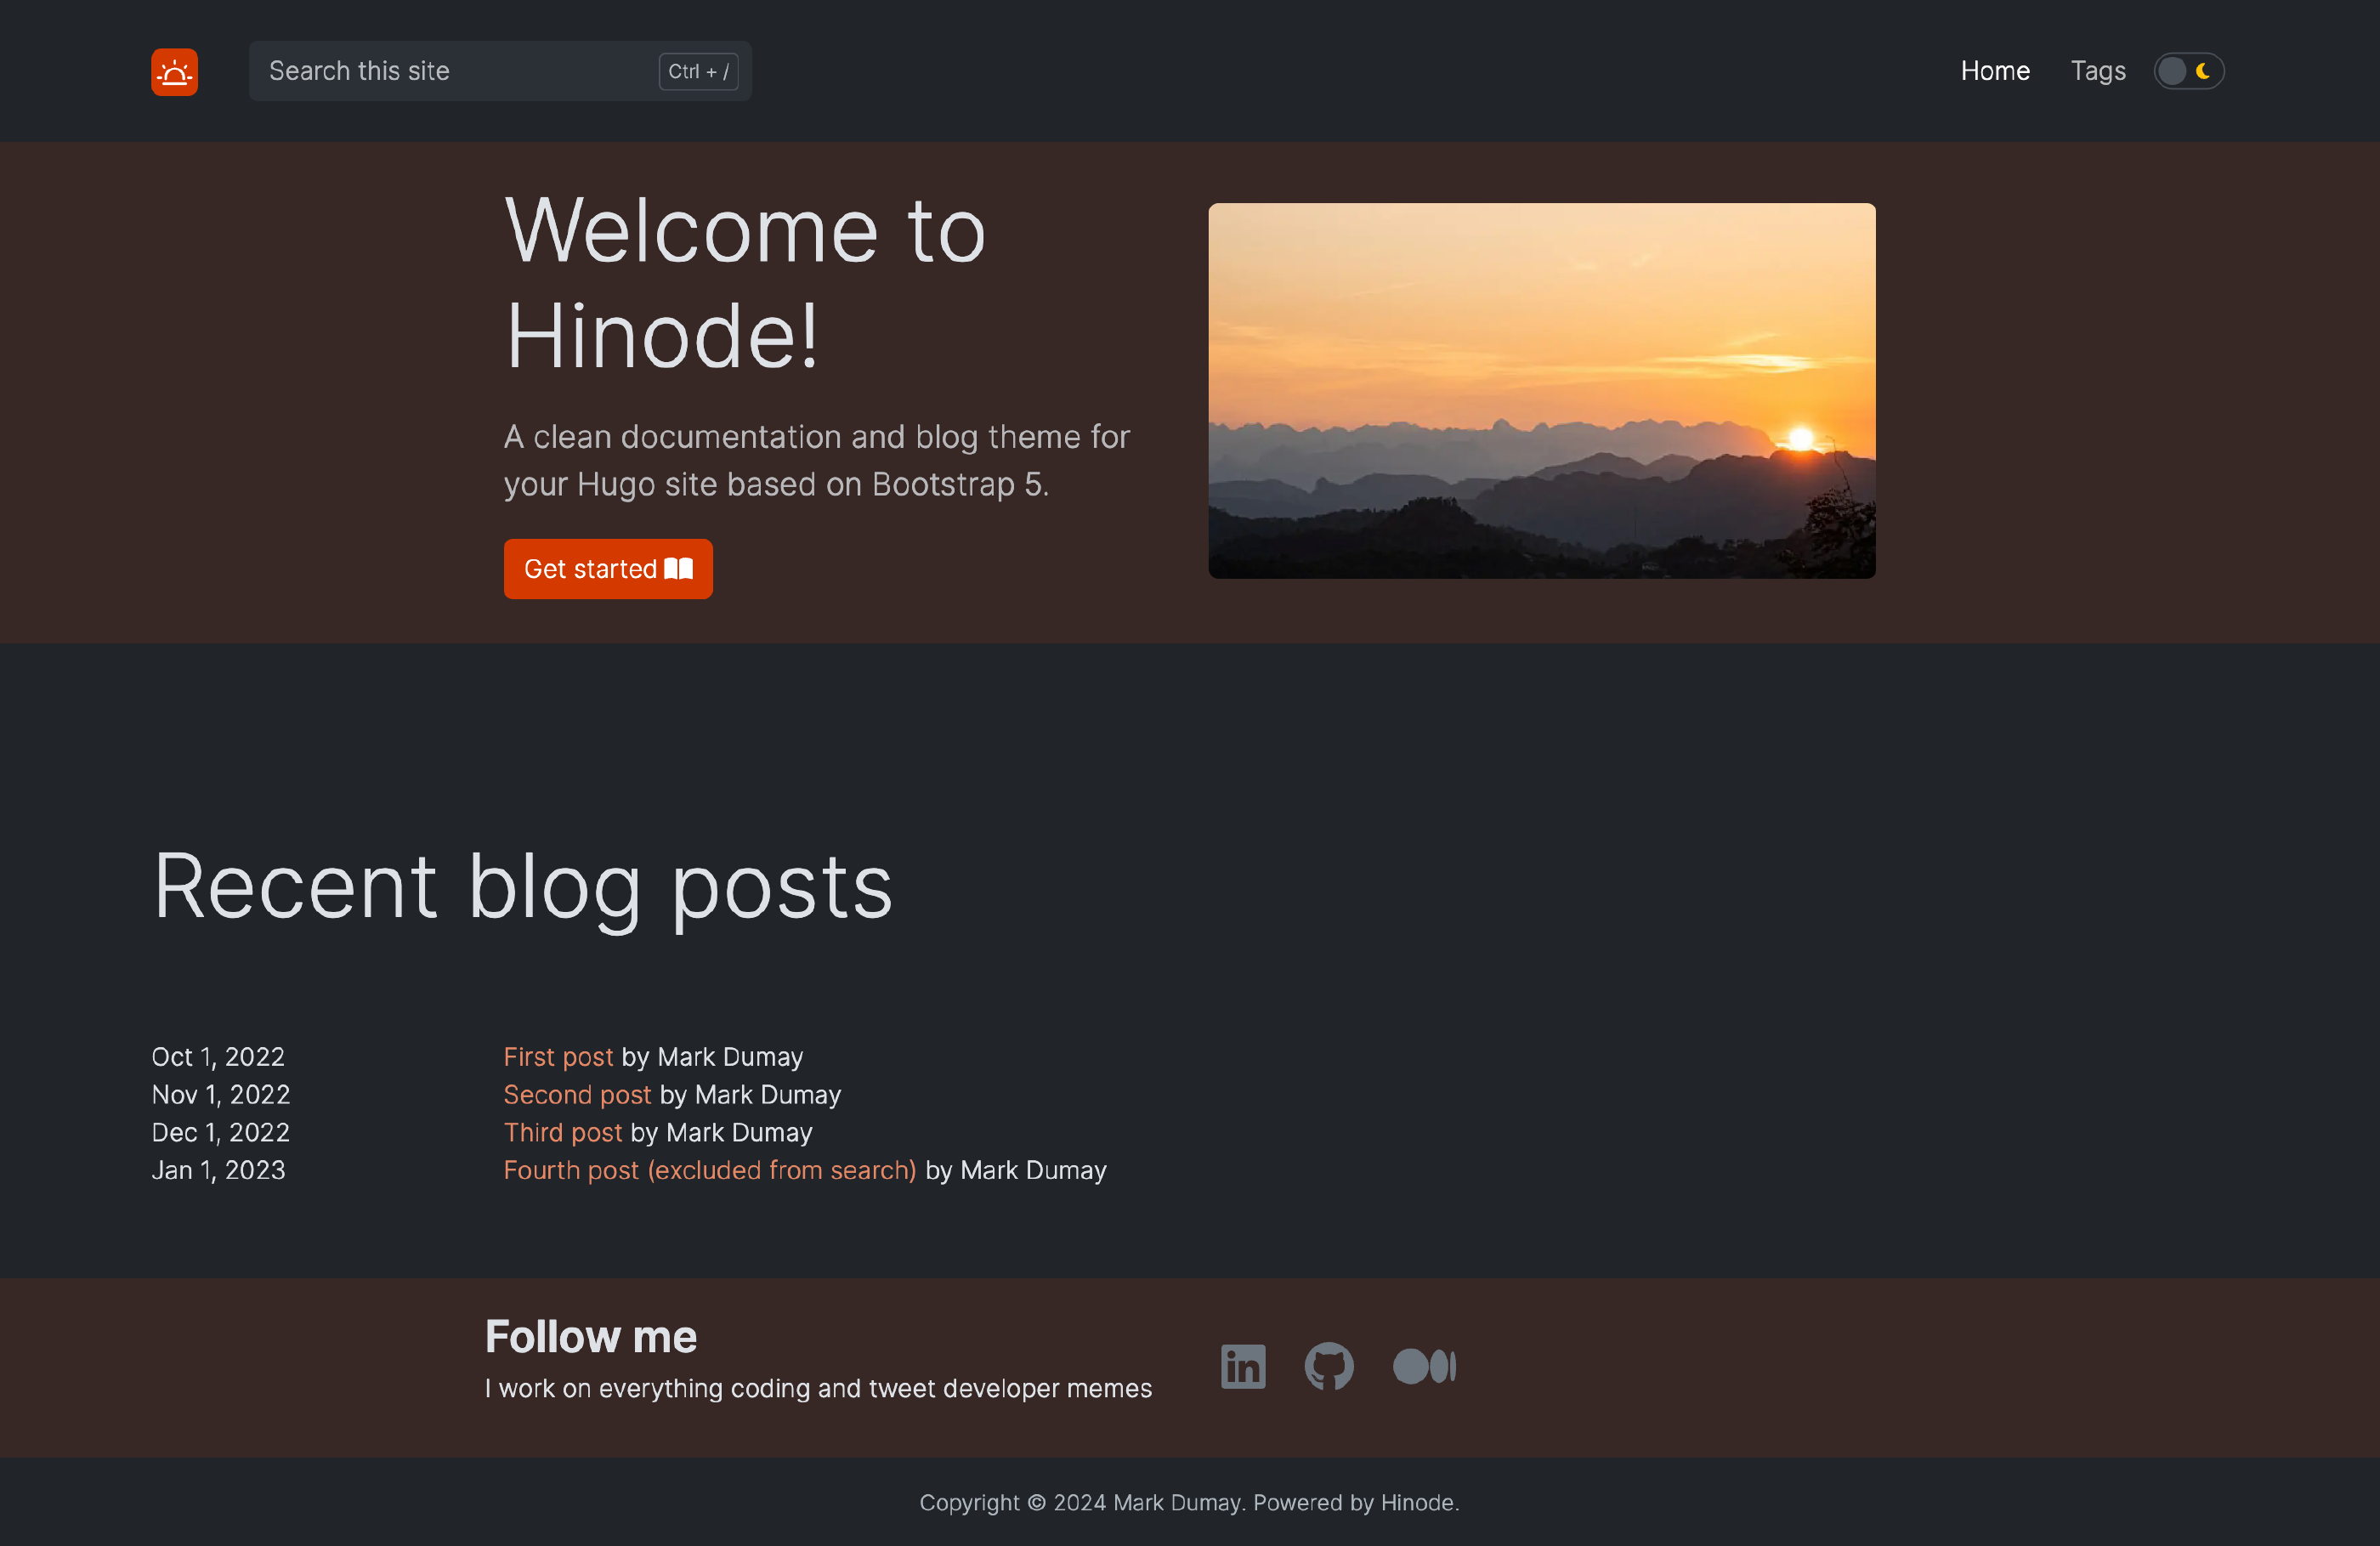
Save your work and review the site in your local browser. Your site should look similar to the following screenshot:
Step 4 - Overriding the Single Page Rendering
In the last step of this guide we will customize the single page template that renders a blog post. After a brief review of the available templates, we will define a custom single page template for our blog posts.
Understanding the Template Lookup Order
Hugo supports a comprehensive set of templates to generate the final site. For our purpose, we will focus on the core templates required to render an index page or a single page.
The Base Template
The base template in layouts/_default/baseof.html defines the outer shell of all generated HTML pages. A basic template would consist of the document type, a header, and a page body. The block main is a placeholder that is used by additional templates. The below template is an example provided by the Hugo team.
<!DOCTYPE html>
<html>
  <head>
    <meta charset="utf-8">
    <title>{{ .Site.Title }}{{ end }}
  </head>
  <body>
    {{/* Code that all your templates share, like a header */}}
    {{ block "main" . }}
      {{/* The part of the page that begins to differ between templates */}}
    {{ end }}
  </body>
</html>
The Section Template
Hugo invokes the section template for directories that contain a list of pages. By definition, the section should include an _index.md file. Our blog section is a good example. It includes four sample pages and an index file. Typically, section templates iterate over the collection of available pages and provide an overview with pagination support. We have defined a custom iterator in step 3 of the guide. By convention, Hinode uses the name list.html for all section templates.
The Single Page Template
Hugo invokes a single page template for pages such as the four individual blog posts. By convention, Hinode uses the filename single.html for all single page templates. The base template for a single page defines the various responsive page placeholders, such as a sidebar, main content placeholder, and a table of contents placeholder. The main content is split into a header, body, and footer. Refer to the
Single Page Layout for more details.
Review the following template for the main content placeholder of a single page. The template is defined in layouts/_default/single/main.html and contains the following content:
{{- $breakpoint := $.Scratch.Get "breakpoint" -}}
{{ if .Site.Params.navigation.breadcrumb }}
  {{ partial "assets/breadcrumb.html" (dict "page" .) }}
{{ end -}}

{{ .Render "single/header" }}

{{- if and .Site.Params.navigation.toc .Params.includeToc | default true -}}
    <div class="d-{{ $breakpoint.current }}-none pb-5">
      {{ partial "assets/toc-dropdown.html" (dict "page" .) }}
    </div>
{{- end -}}
{{ .Render "single/body" }}

{{ .Render "single/footer" }}
Adjusting the Single Page Header
The single page template defined in the previous paragraph invokes single/header, single/body, and single/footer to render the main elements of a single page. The amount of templates and inheritance might appear complex and overwhelming at first sight. However, as we will find out next, this actually allows us to keep the templates
DRY
. In other words, it helps us to prevent rework whilst staying flexible.
As mentioned earlier, all page templates are maintained in layouts/_default folder. Hugo has a flexible lookup order, meaning that we can replace selective elements only. When we add a type to the frontmatter of a page, Hugo will test if there is a template available for that specific type. It will use the template(s) in the layouts/_default folder as fallback. This mechanism allows us to customize the appearance of selected pages based on their type.
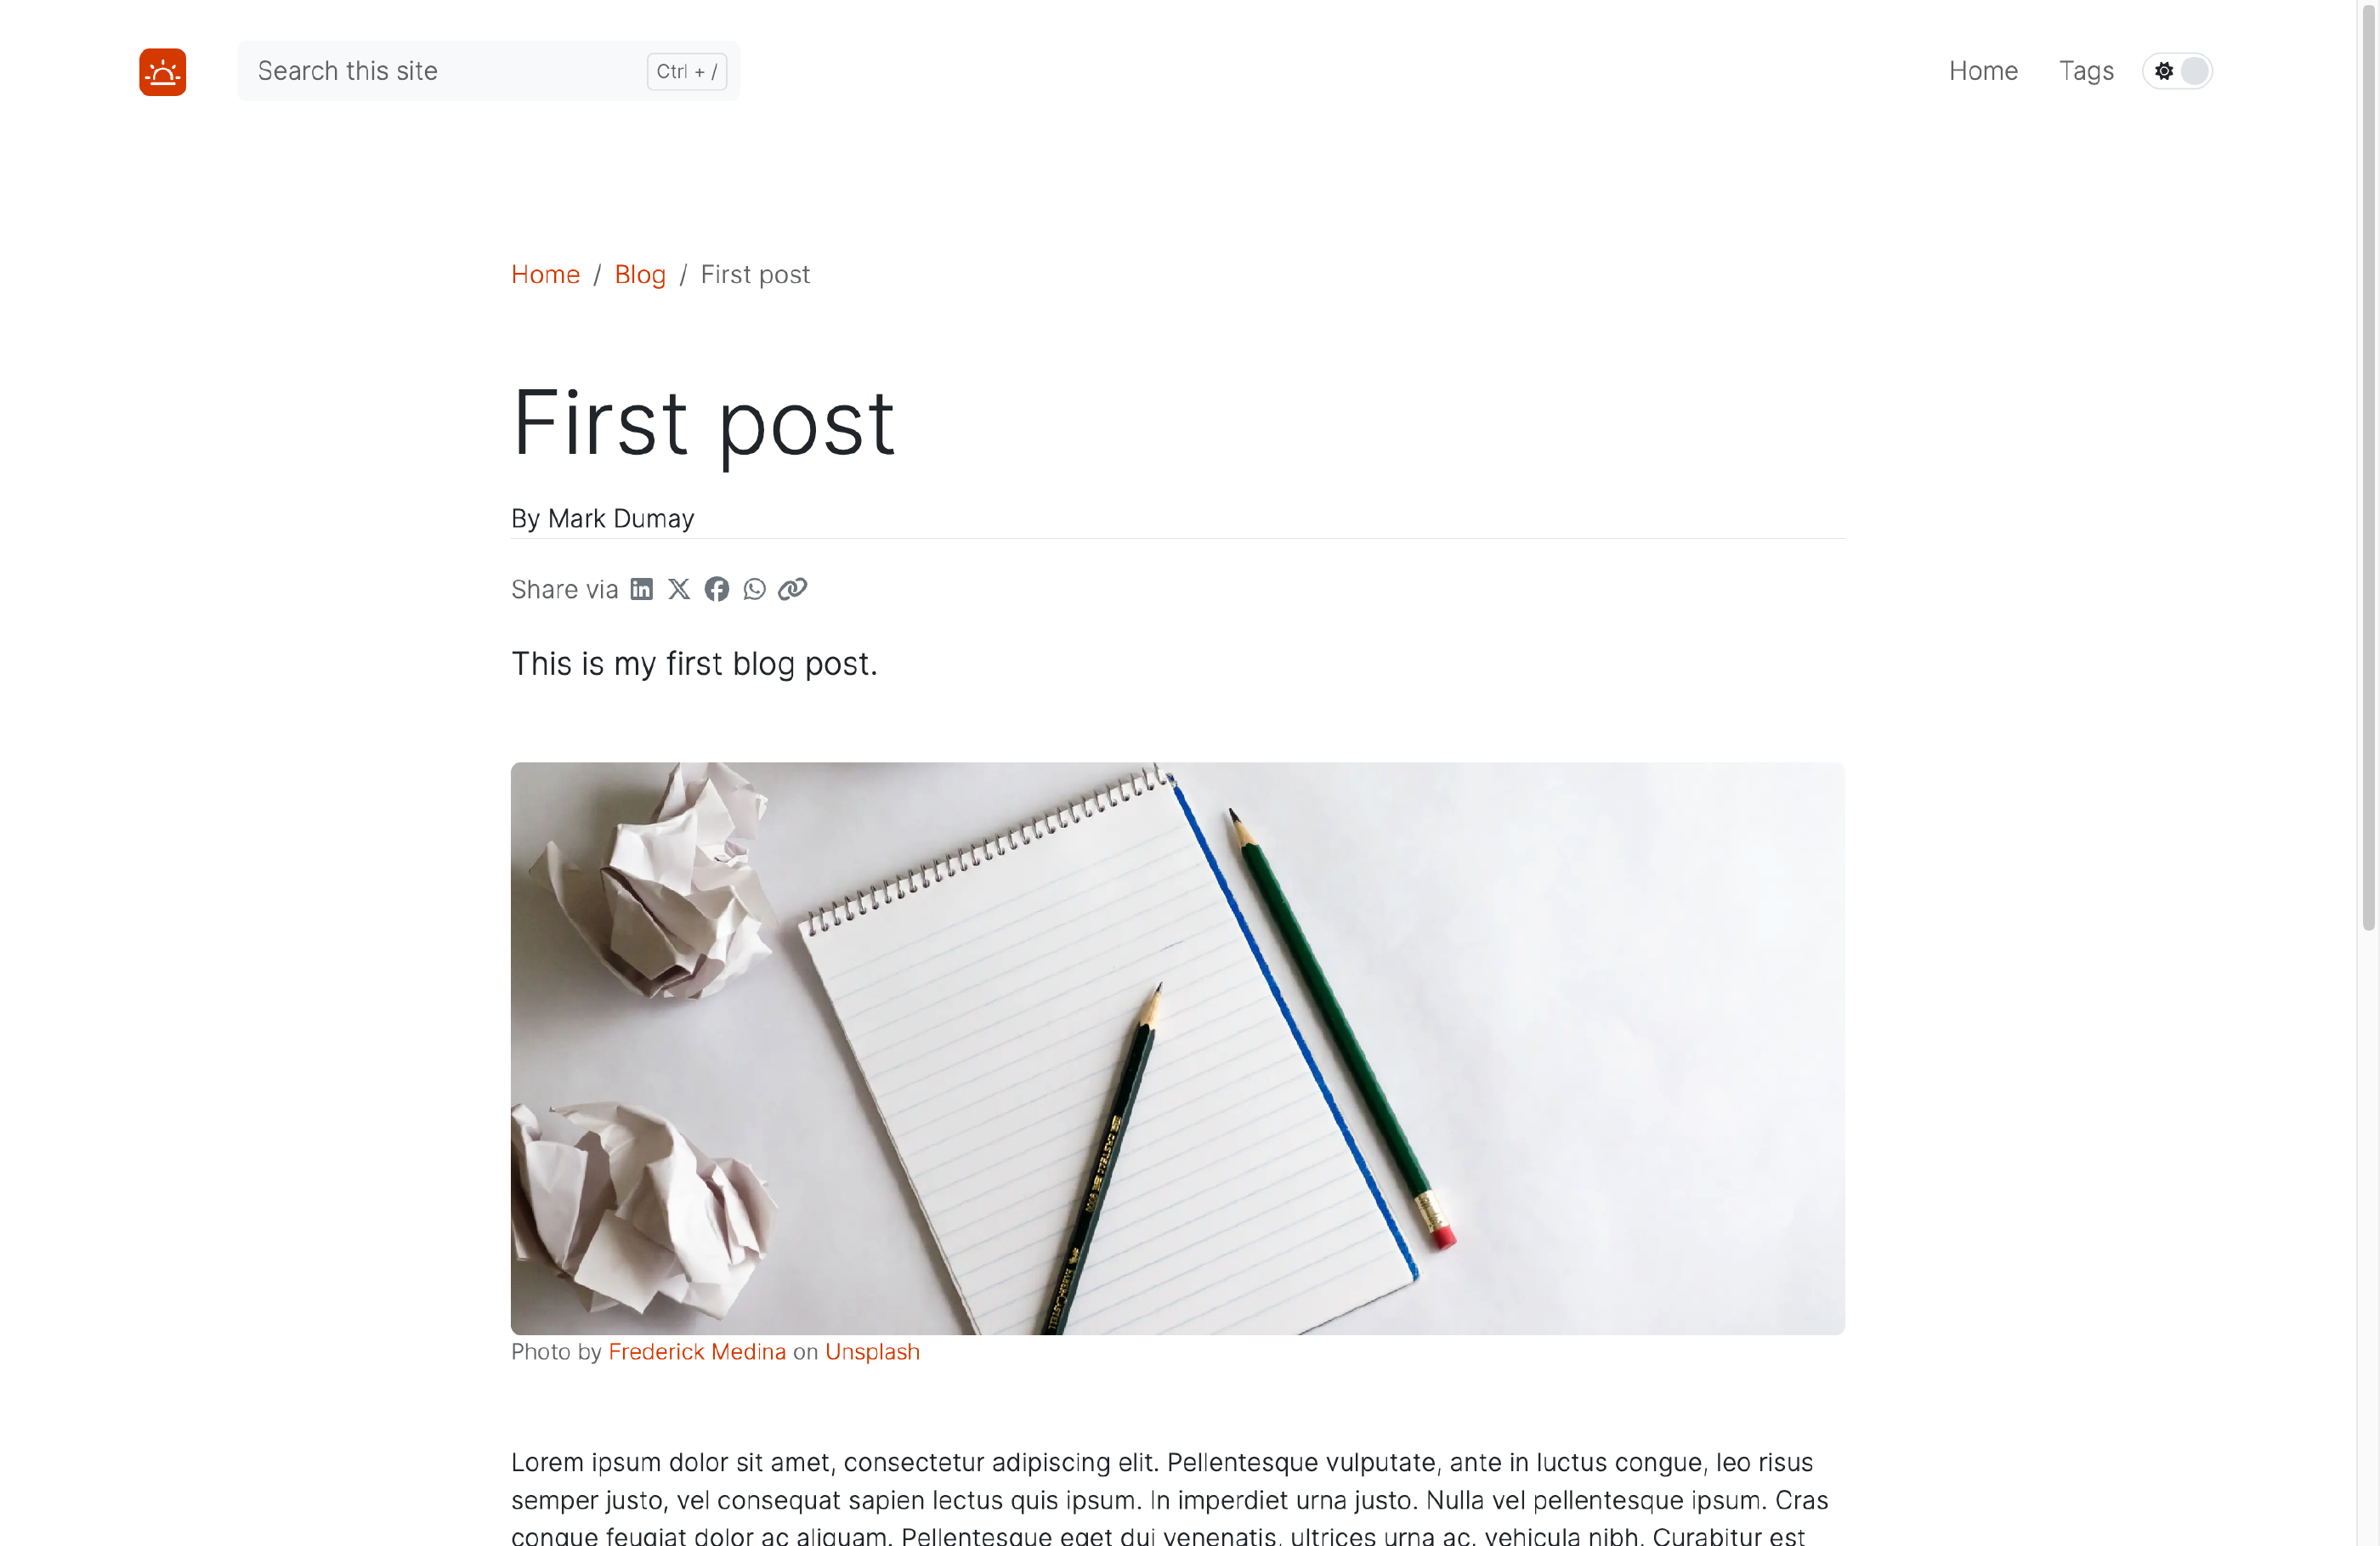
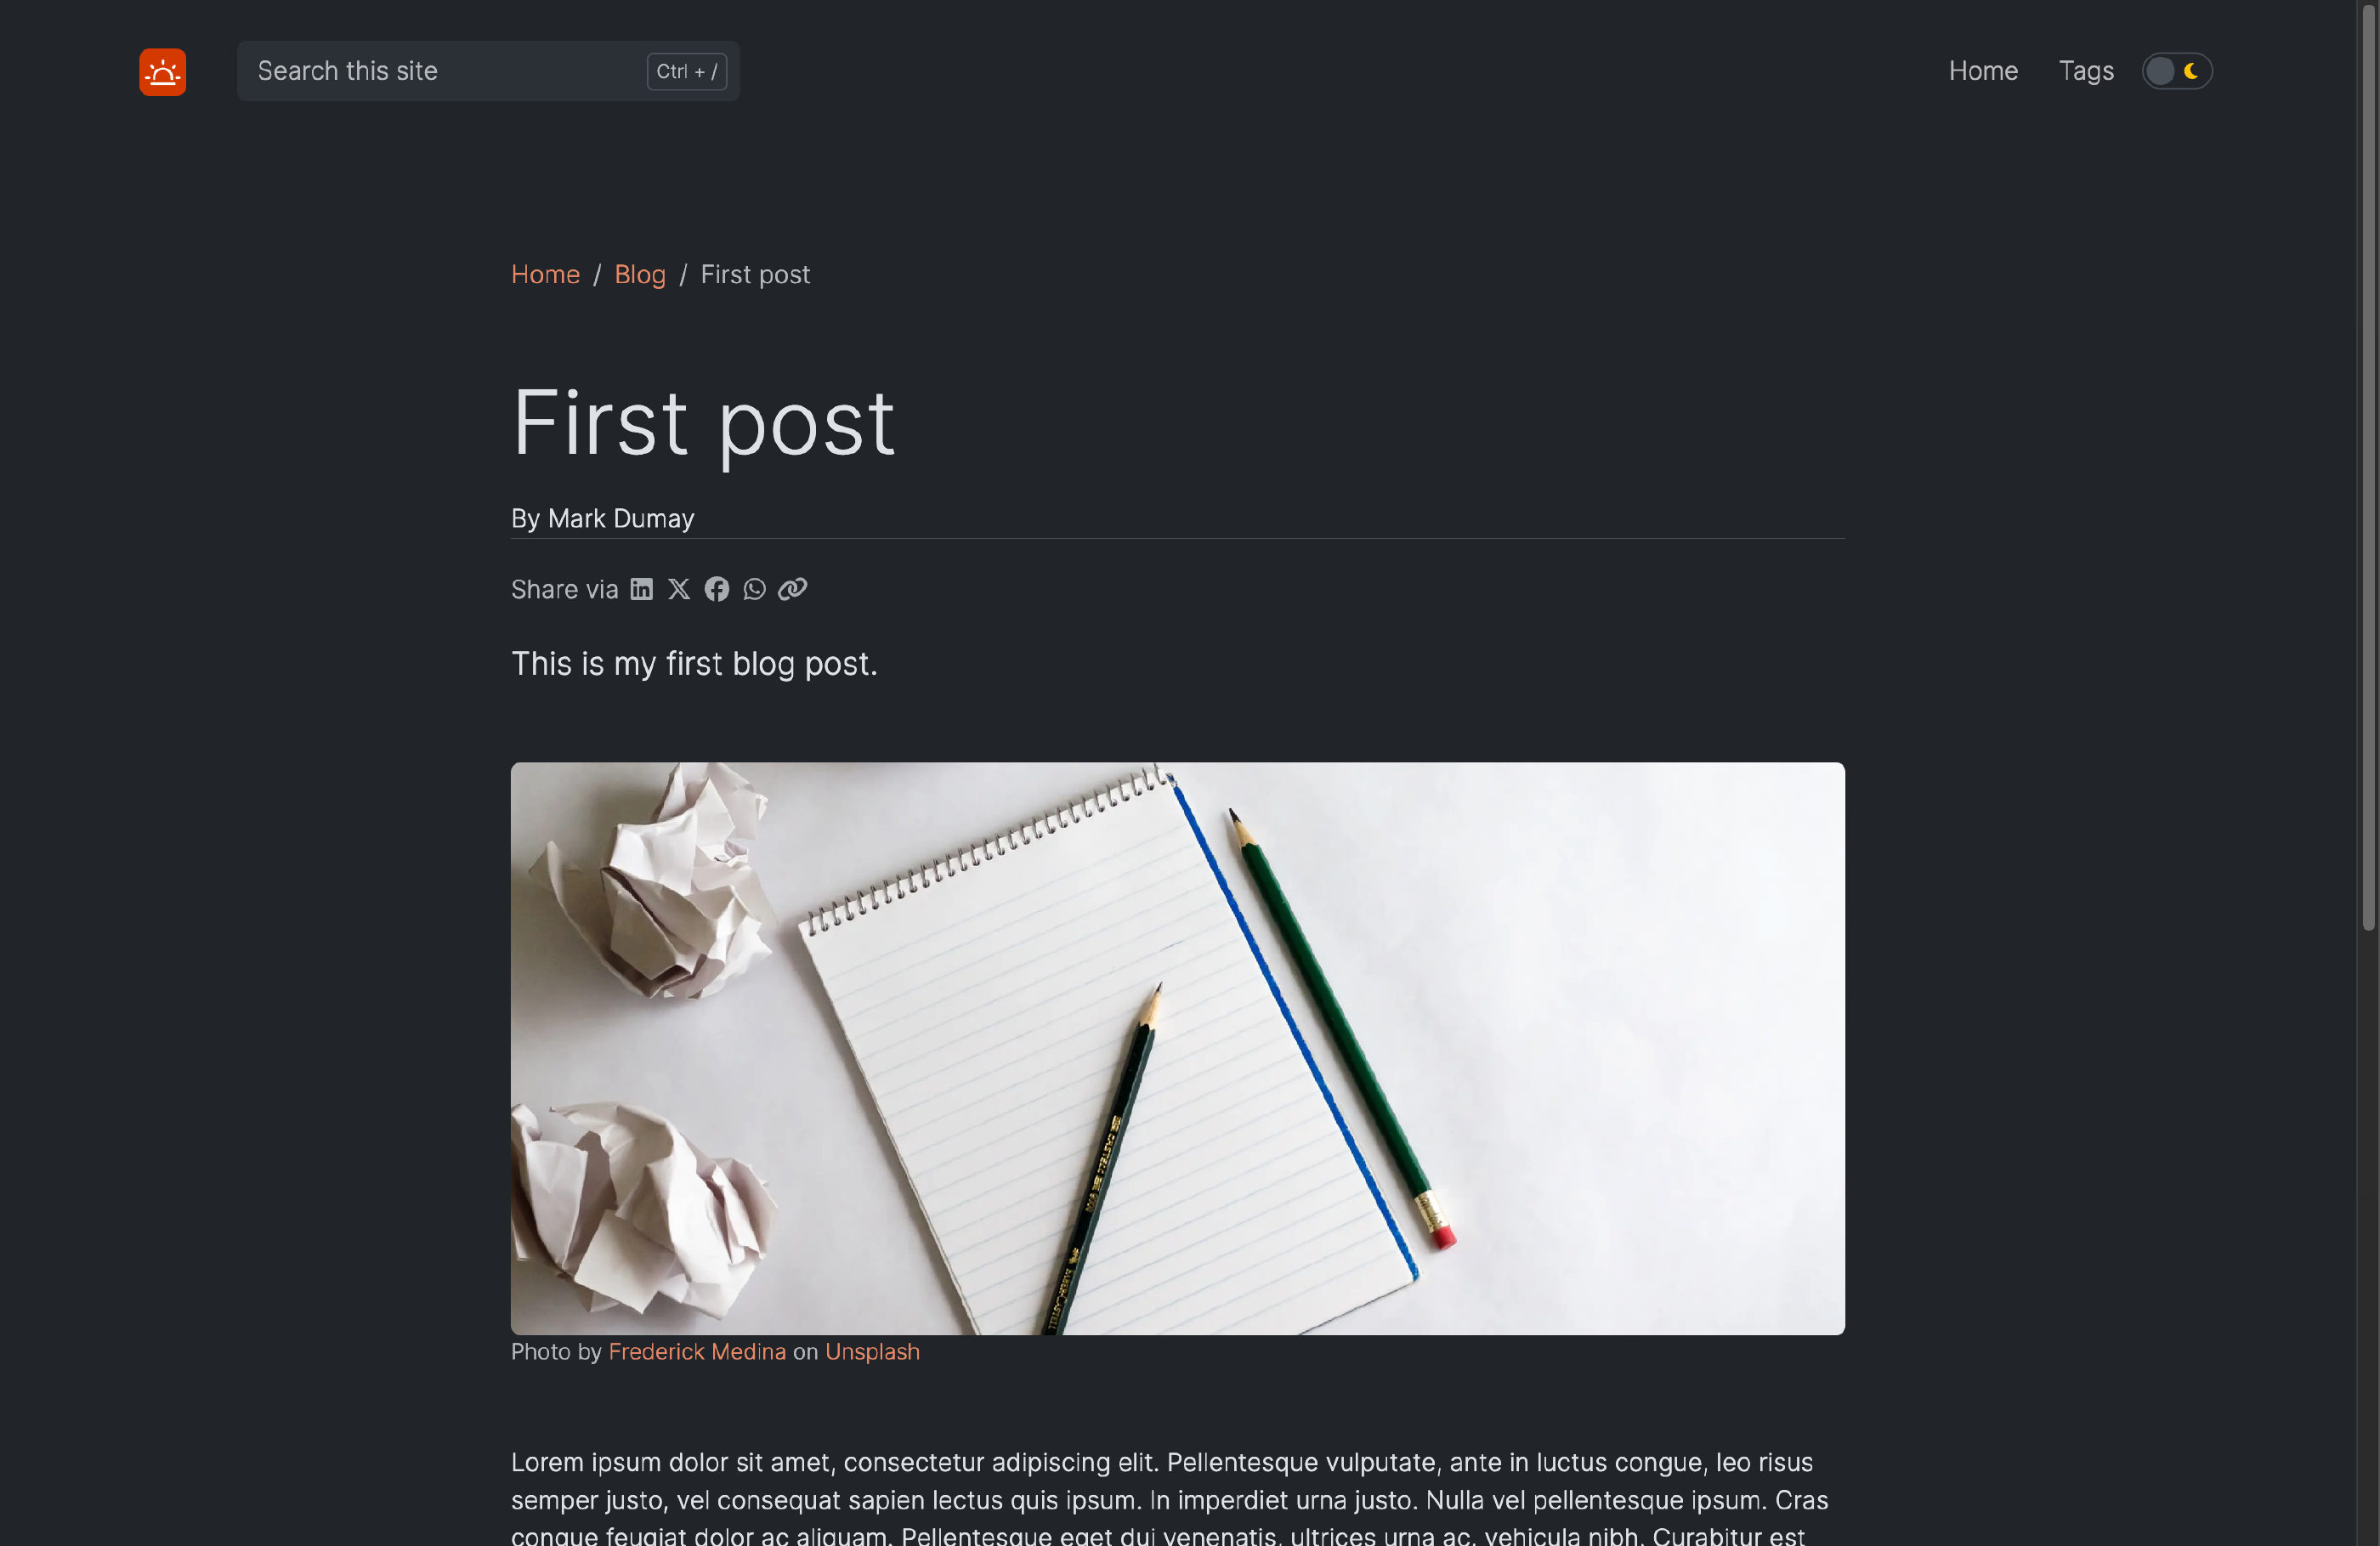
Add the following configuration to the frontmatter of content/blog/first-post.md:
---
type: custom
---
Next, copy the following code to layouts/custom/single/header.html to include the page author in the (single) page header. Hugo will match the template folder name custom with the frontmatter type:
{{ with .Title }}<p class="display-4 mt-5">{{ . }}</p>{{ end }}
{{ with .Params.author }}<div class="border-bottom">By {{ . }}</div>{{ end }}
{{ partial "assets/sharing.html" (dict "page" .) }}
<p class="lead mb-5">{{ .Description }}</p>
You can verify this behavior by looking at the other blog posts. You will notice these pages render without an author name.
Conclusion
In this guide we have customized the appearance of a Hinode site. We have adjusted the configuration of the homepage, added a new list view, and modified the appearance of single pages based on their type. The Layout Documentation provides more context about the available options.